My state is currently winning at winter. Minnesota had the coldest day this winter since 1996, and the most snowfall ever in the month of February. It’s March now, and the temperatures are still below 0°F. So, what do you do when you are faced with another weekend of snow and frigid temperatures? I gave up and hopped on a plane to Phoenix to spend a long weekend with my parents in Phoenix, AZ.

South Mountain - Mormon Trail
I think the best way to soak up some sun is by hitting the trails, and man was it nice to be outside without a hat, coat, and boots! Phoenix is known as the Valley because it is surrounded by mountains and the city has created Regional Parks in each of these mountain ranges with beautiful hikes - each park offers short hikes and long hikes, easy hikes and strenuous hikes. $7 a day will get you access to the parks or you can buy an annual pass for $65 and there are tons of options.
Here are four fantastic trails to try on your next trip to Phoenix.
1) Cave Creek Regional Park – Overton / Go John Loop
3.4 miles, 400ft in elevation gain

Cave Creek - Overton Trail
Trailhead – This trail takes off from the visitor center parking lot of Cave Creek Region Park. Cave Creek is on the North side of the Phoenix Metro area.

Cave Creek - Overton Trail
If you are looking for a beautiful longer but and easy hike, this is an excellent choice. The trail starts at the end of the nature center parking lot and gradually ascends upward. This first part of the trail is shared with horses. The trail curves and ascends between mountain peaks. Views of Phoenix can be seen on the first half of the hike, and then the trail wraps around to the backside of the mountain. The trail opens up into a gorgeous valley full of cacti and spring wild flowers.

Cave Creek - Overton Trail
After 1.6 miles, the trail comes to a well-marked junction. To return to the nature center in a loop, take the Go John trail towards the right, the sign will point towards the nature center. From here, the trail stays flat for awhile and slowly descends back. Nice and easy, very beautiful especially on the backside of the mountain. The trail will come to a parking lot, but not where you started. From here, you can either follow the road or stay on the Overton trail back to the nature center.

Cave Creek - Overton Trail
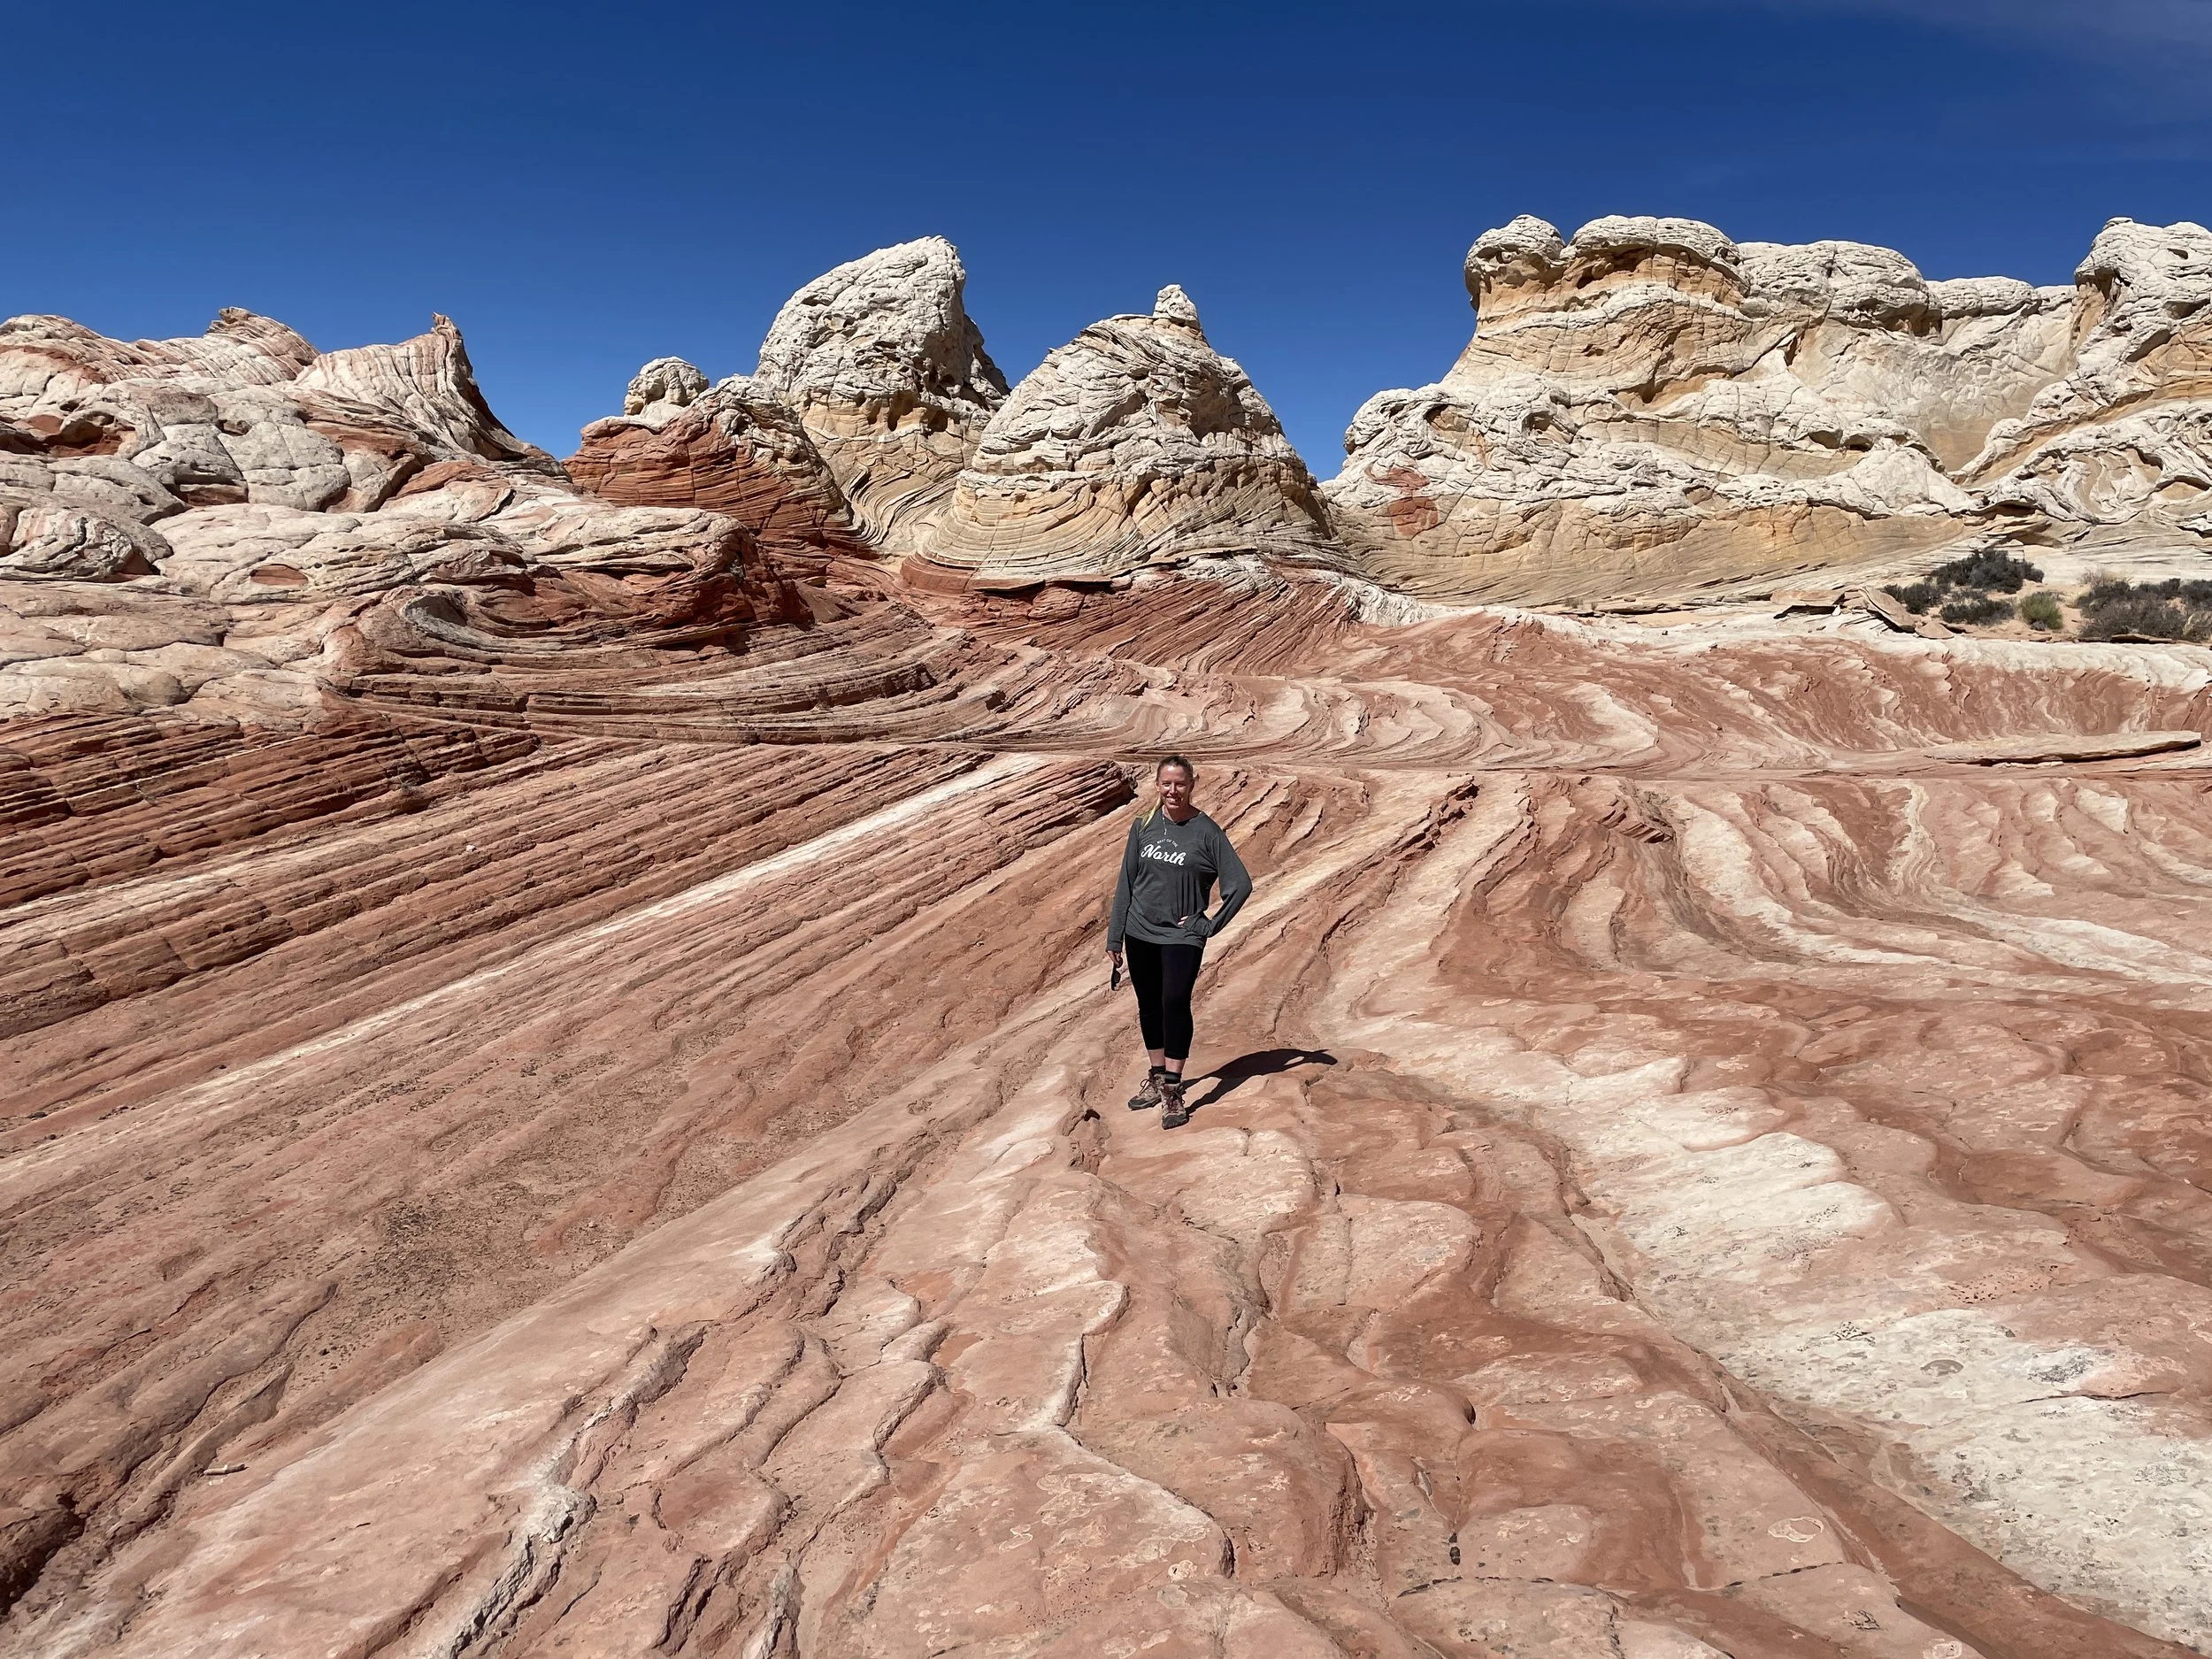
2) South Mountain – Hidden Valley via the Mormon Trail
3.4 miles, 800ft in elevation gain

South Mountain Mormon Trail to Hidden Valley
Trailhead – This trail takes off from a different spot than the main road up South Mountain. There is no fee to use this trail, but if you go into the main part of South Mountain, there will be fee. Use the following address for the trailhead parking lot: 8610 S. 24th St. Phoenix, AZ

South Mountain Mormon Trail
This is a fun hiking trail with lots of boulder scrambling, a tunnel, and a spot with a tight squeeze known as “Fat Man’s Pass.” A lot of the trail on the way up the mountain is directly on rock, rather than a dirt trail. Bring hiking poles if you need a little more stability.

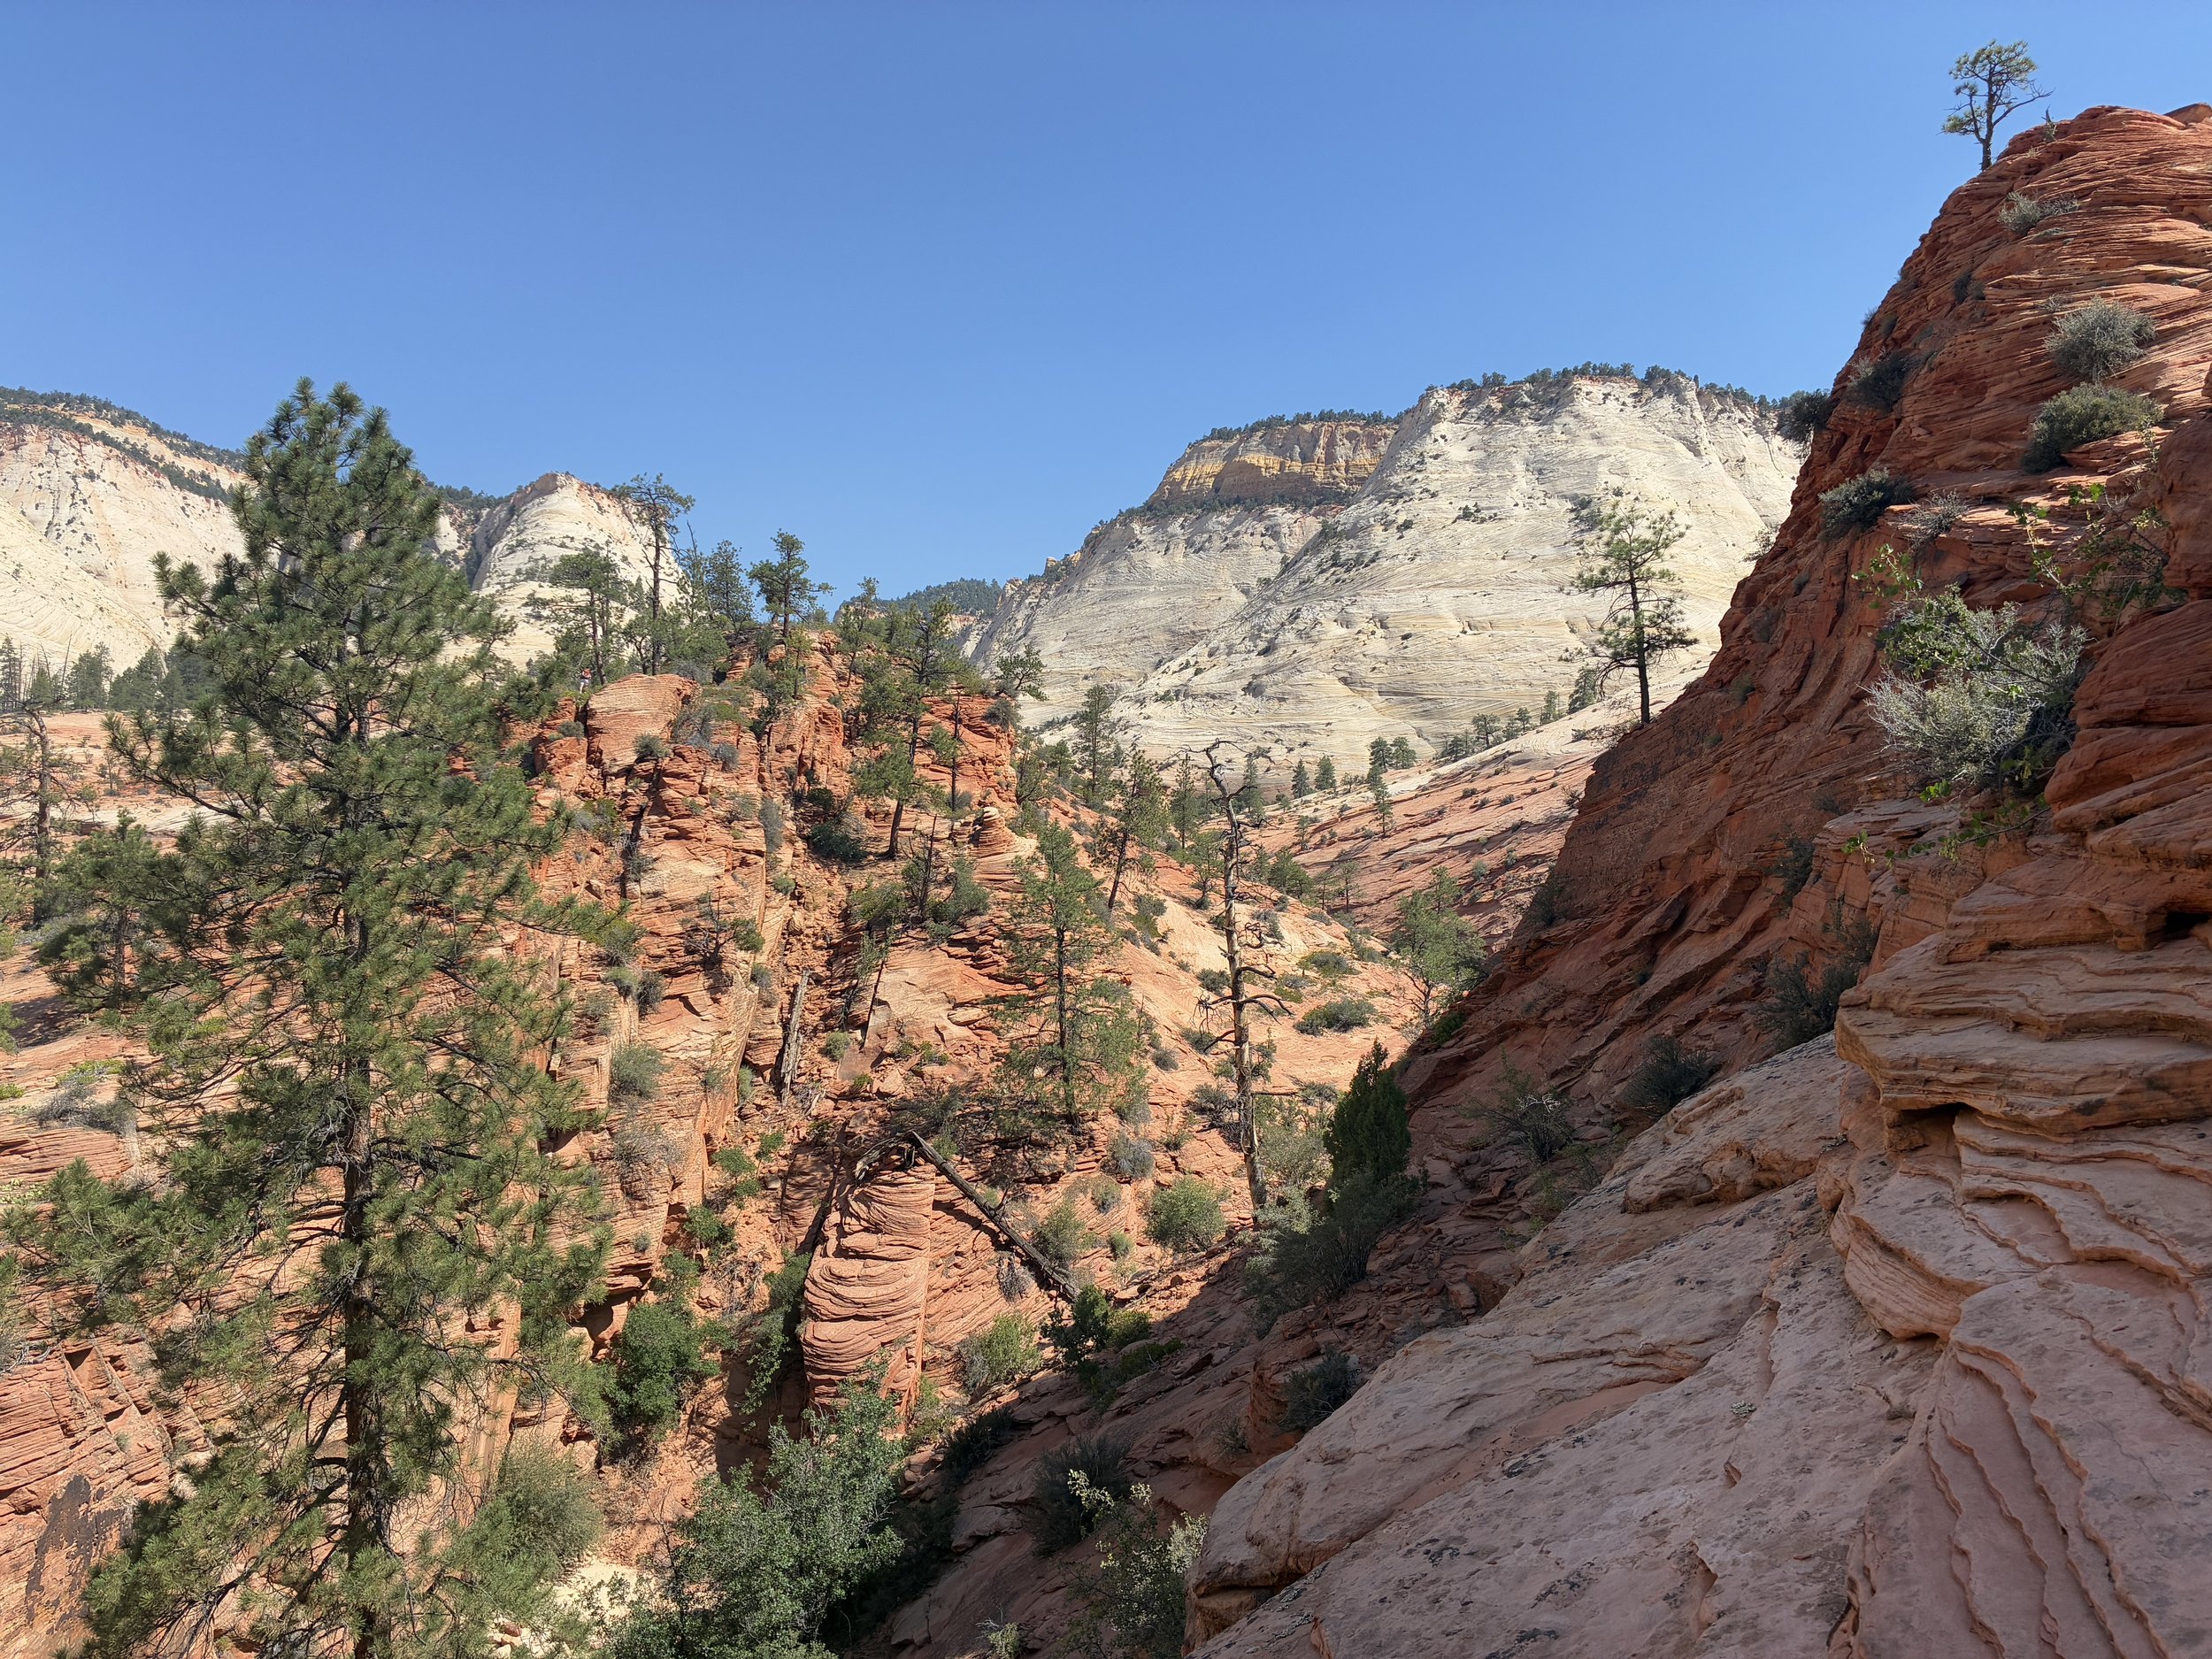
South Mountain - Mormon Trail
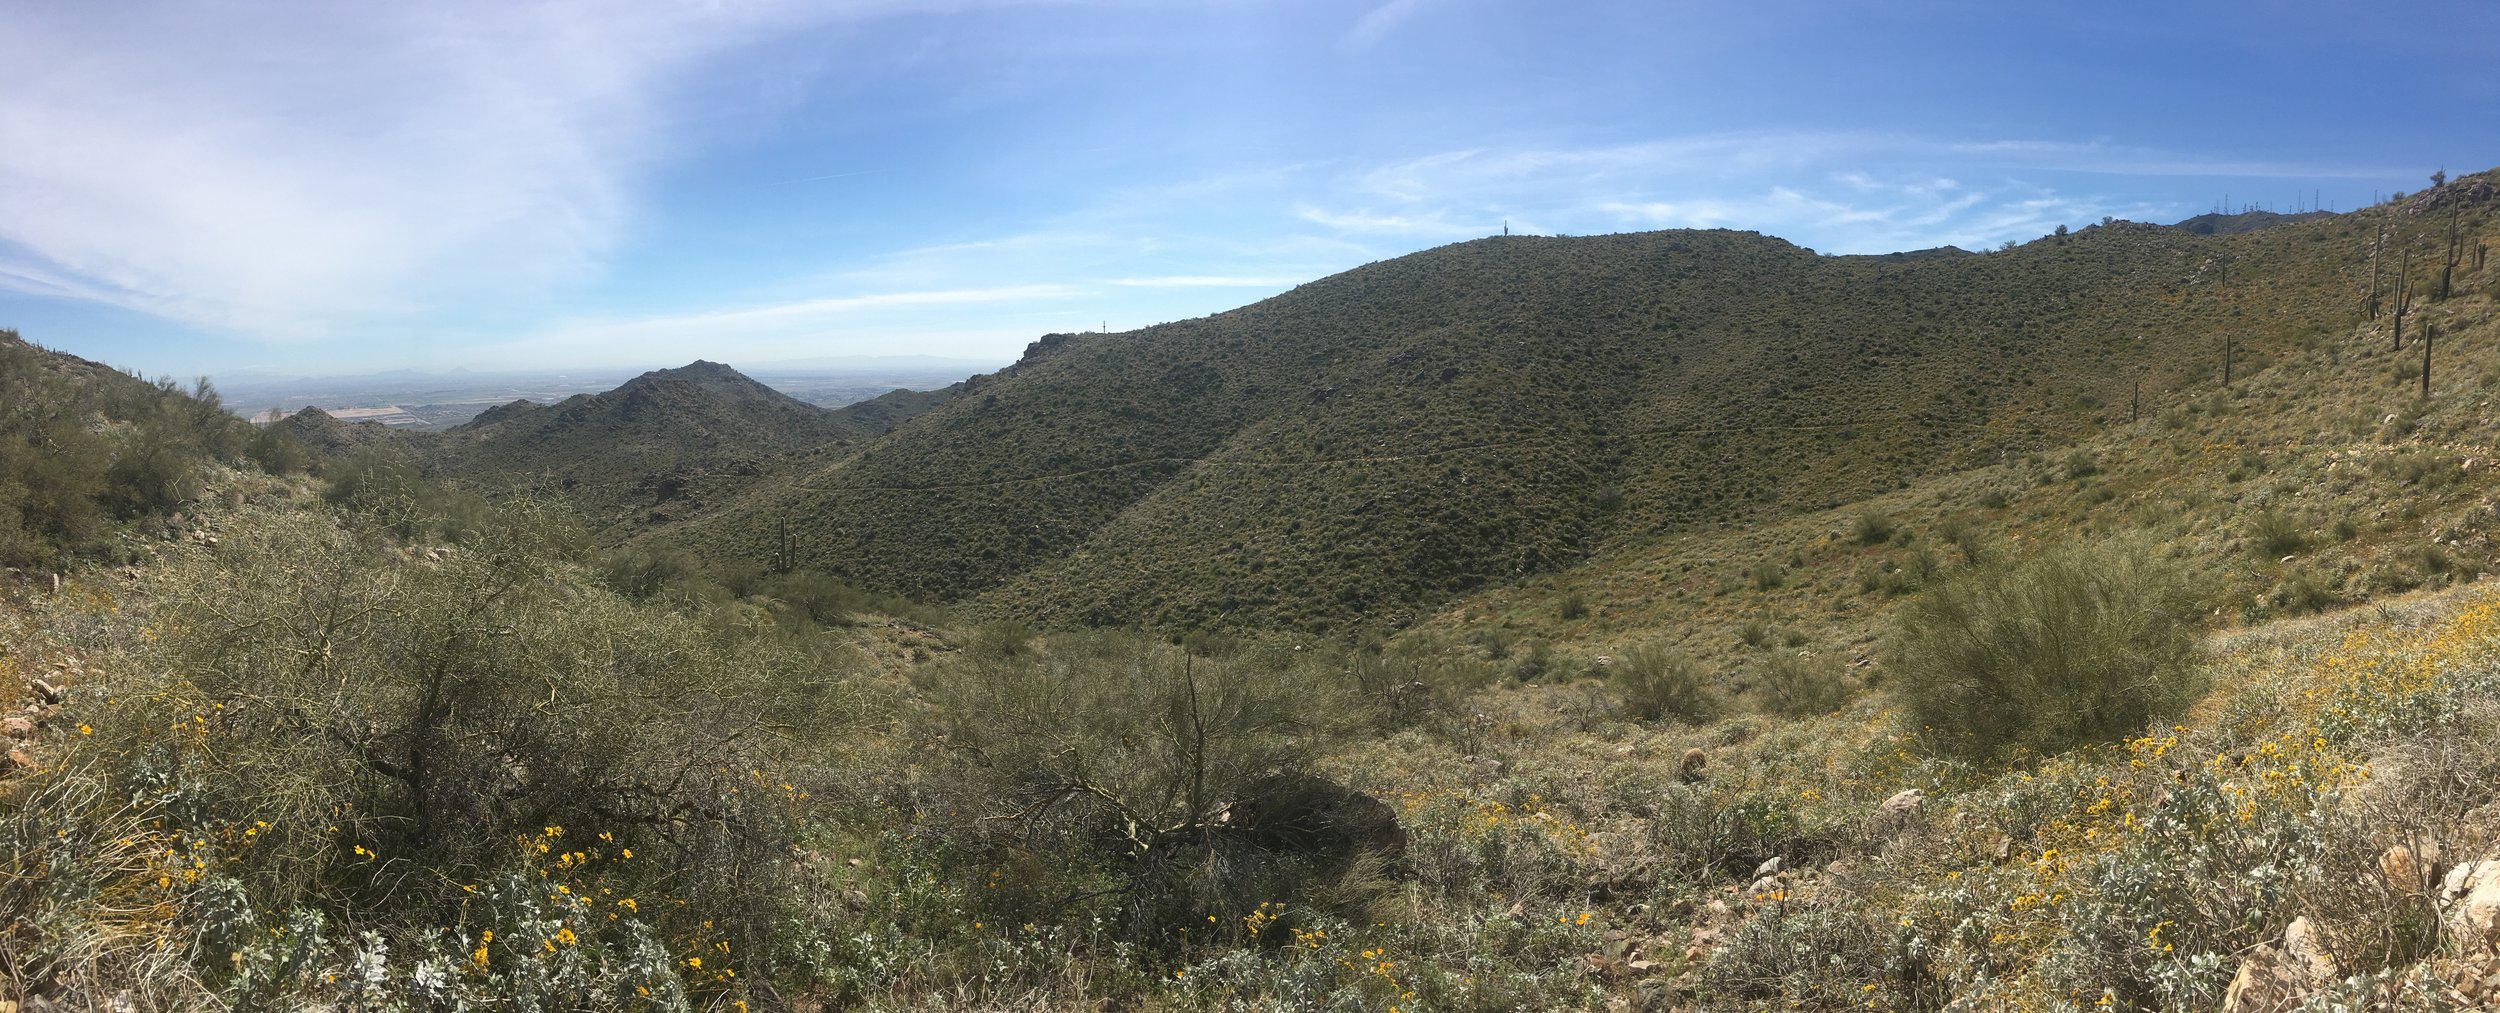
This trail up the mountain, Mormon Trail, is fairly steep with several short switchbacks. It is also a very busy trail that is shared with mountain bikers. There are several sections on the way up to find shade though, and to pause and rest.

View of Phoenix from the South Mountain Mormon Trail
The trail levels out at the top before Hidden Valley Loops. From here you will find a junction sign. The names of the trails make the junctions a little confusing. The trail you just came up is Mormon Trail. There is also Mormon Loop. Don’t take Mormon Loop. Instead head towards the National Trail. You will be on National Trail for 0.1 miles and then there will be another junction sign. This is where the loop starts. If you want to start clockwise, turn left at this sign and go towards Hidden Valley. If you want to go counter-clockwise, keep going another 0.3 miles and look for a junction labeled “Fat Man’s Pass”. I picked counter-clockwise.

South Mountain - National Trail
The spot with the tight squeeze is just after the trail junction labeled “Fat Man’s Pass”. There is a boulder that you can walk over and skip this tight spot, or you can hug the trail towards the right and see if you can squeeze through. I wasn’t sure where the trail went and so I traveled over the boulder and then peeked through the passage. I decided to skip it, but the two women I talked with at this point in the trail both said they were successful in making it.
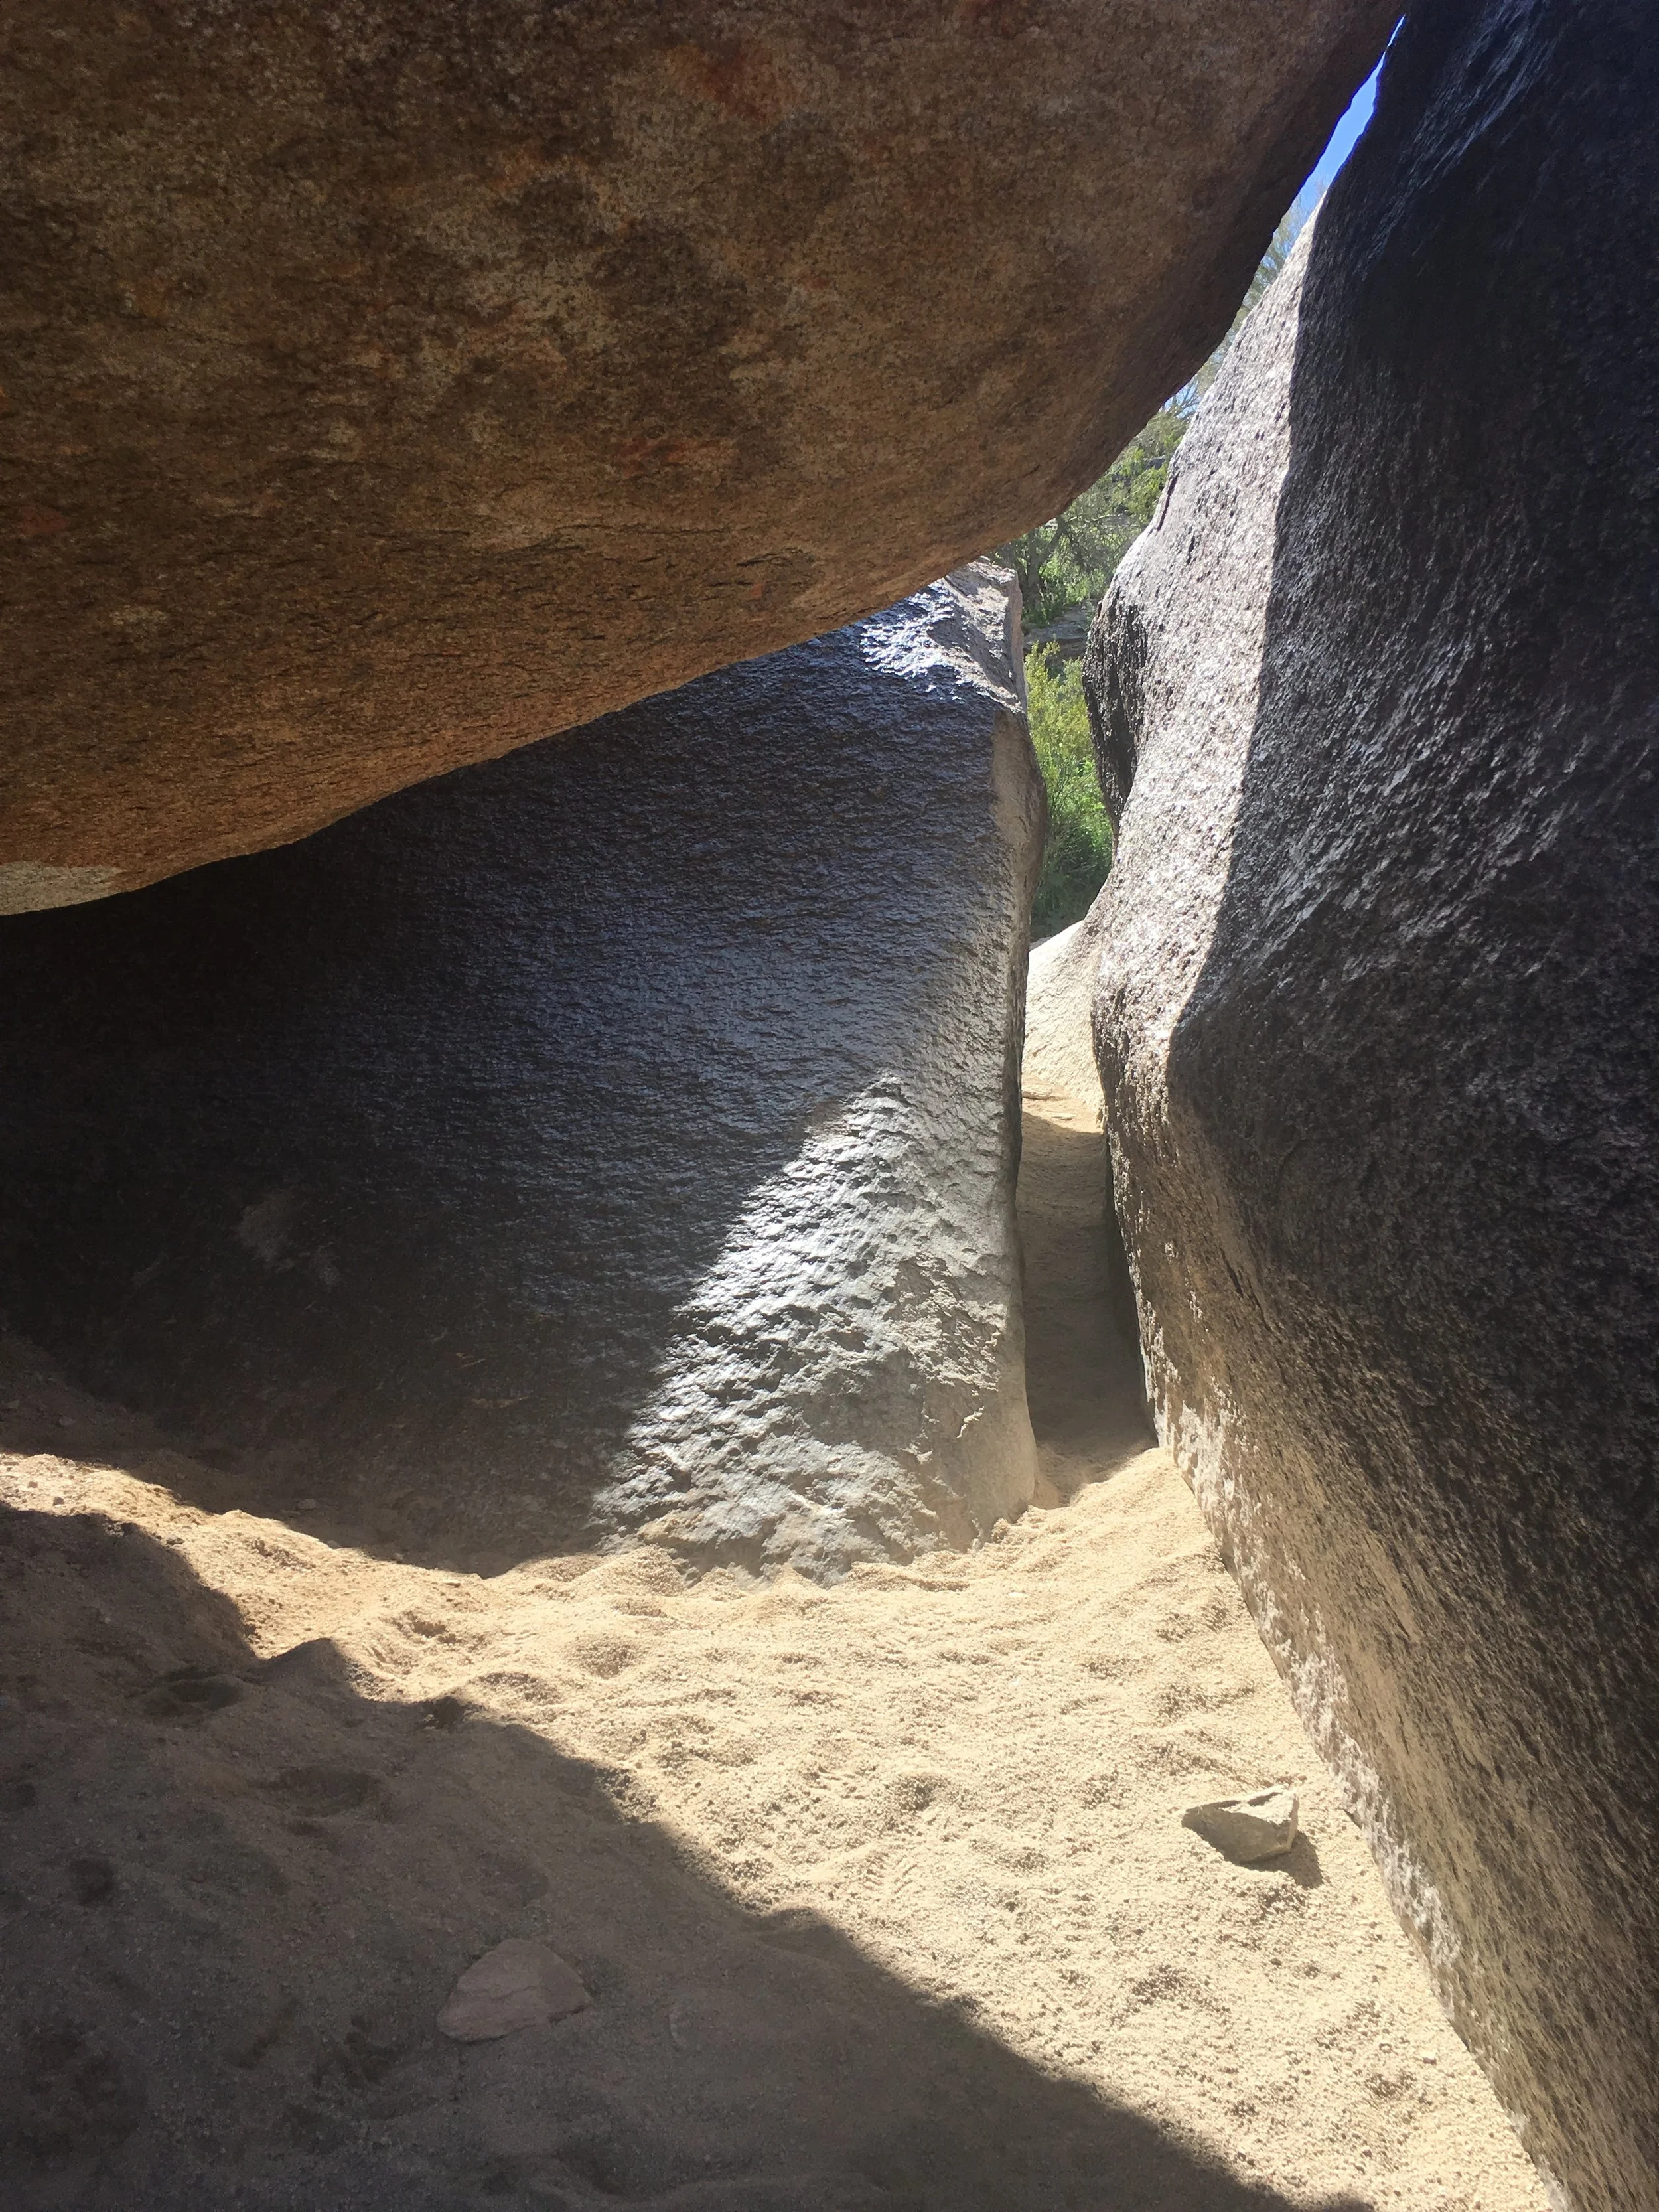
South Mountain - Fat Man’s Pass
Keep going on the trail. At this point the sand wash and the trail join, and it’s a little hard to keep straight which is the trail. Follow the path that goes straight. Eventually you’ll come to a point in the trail where it feels like you’re at a dead end. It opens up onto boulders and the trail picks up at the bottom. Go over the boulders. The easiest way is to hug the rocks on the right side and then go down. This is a very busy trail. If you aren’t sure, just wait a few minutes and you’ll find a hiker that knows the way.

South Mountain - Hidden Valley
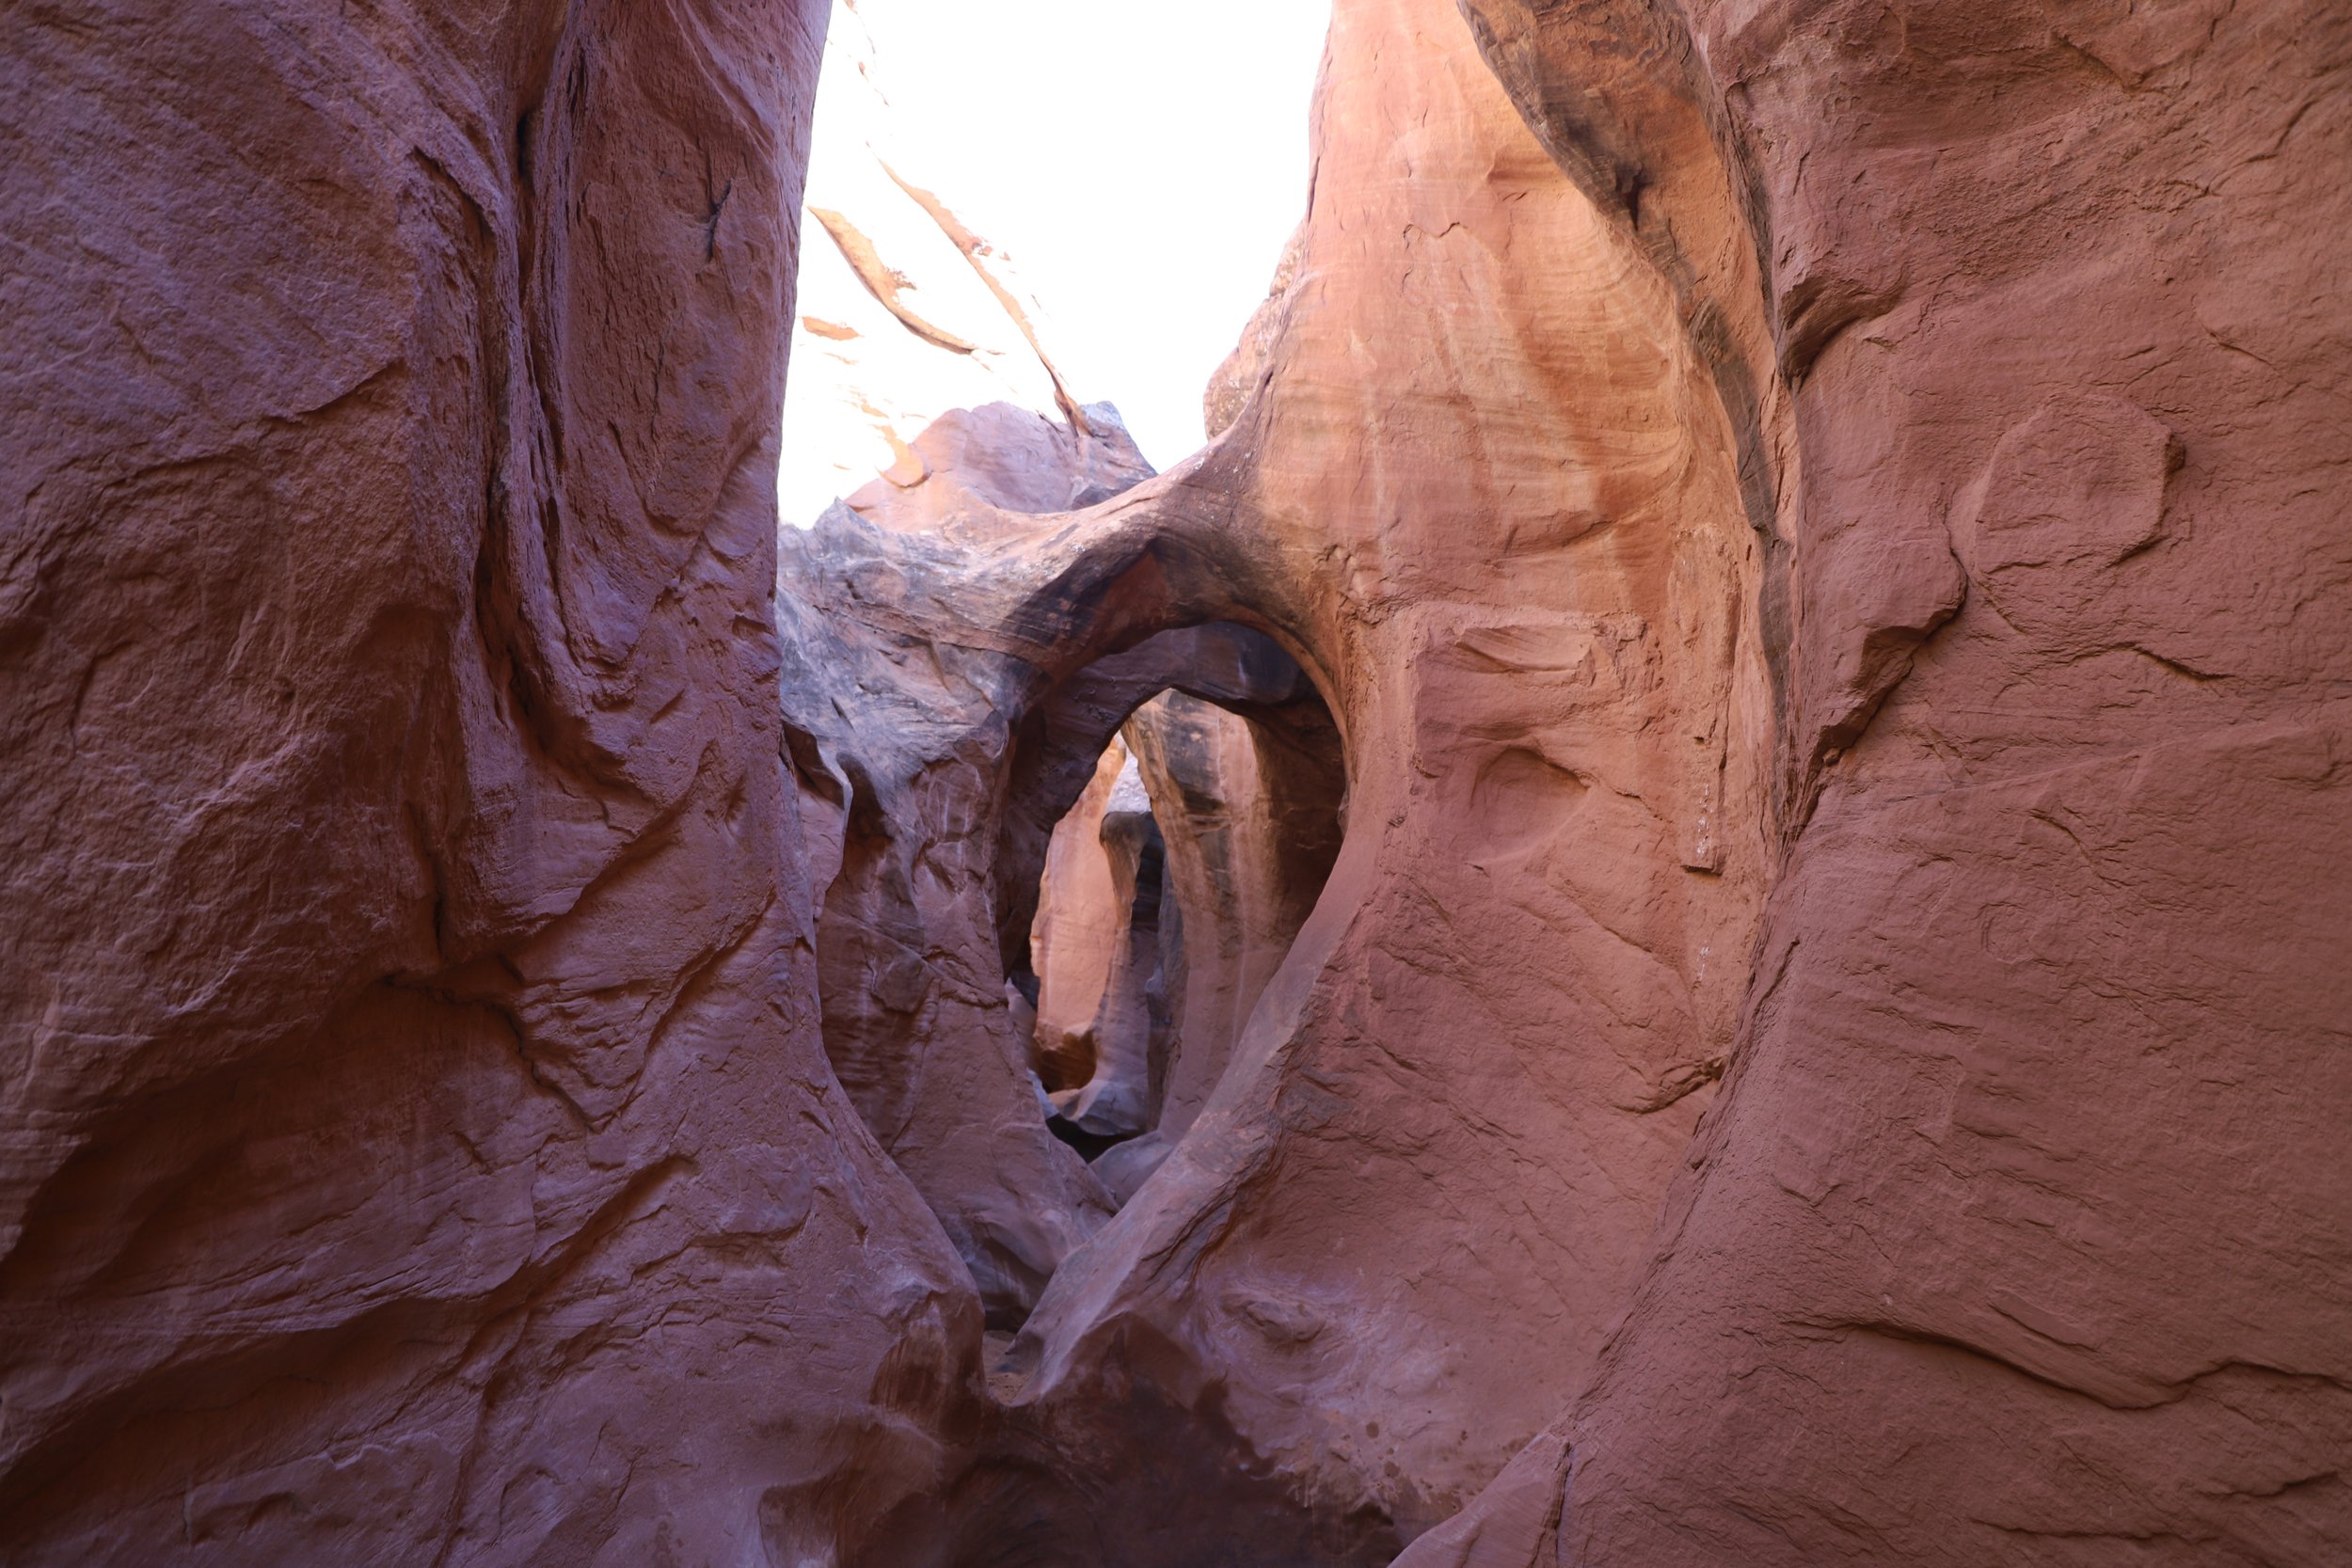
The boulders start the fun part of the trail. You will need to scramble over boulders. Some are easier to navigate than others. There is also is a tunnel you’ll get to go through. This one is an easy fit.

South Mountain - Hidden Valley
Following the tunnel there is another junction sign. I got confused here because I thought it was the first junction sign that I’d come to, but actually it was a sign I hadn’t seen before. I stopped here and asked a hiker which direction to go as I was confused over Mormon Junction versus the National Trail. Even asking for directions didn’t help because of the similarity in trail names. I thought I’d been here before so I took the National Trail thinking that this was the 0.1 mile section I needed to be on before the Mormon Trail. That was wrong. I eventually realized I was on a trail that I hadn’t been on before and turned back. You want to take the sign towards Mormon National Junction. Then follow the Mormon Trail back down the mountain

Follow the sign to Mormon / National Jct.
If you would like to receive notification of future posts, please sign up below. I will not share your email address information with anyone.
3) White Tank Mountains – Mesquite Canyon to Ford Canyon to Willow Canyon
8.5 miles, 1800ft in elevation gain
White Tanks - Mesquite Canyon
Trailhead – Start in the White Tank Mountain Regional Park and drive to parking area #7. The White Tanks are on the west side of the Phoenix Metro area.

White Tanks - Mesquite Canyon
If you are looking for a hike to get out into the desert wilderness, the Mesquite Canyon won’t disappoint. This is a well-marked trail that appears to also be well-loved. This was a long hike with significant elevation gain, but the trail incline was slight and steady, and going up wasn’t too bad. The trail starts off with some switchbacks and quickly gains in elevation. There are a few benches to stop and rest along the way up. The trail then cuts to the right where it passes into the backside of the mountain.

White Tanks - Mesquite Canyon
From here the trail goes down slowly until you hit a junction with the Willow Canyon Trail which can be used to form a loop. From the trail head to the Willow Canyon Trail is 1.8 miles.

White Tanks - Willow Canyon
We continued on the Mesquite Trail until the Ford Canyon junction (2.4 miles). This part of the trail remains pretty easy for a large portion of this section. Eventually it wraps around one of the mountains and then starts to climb again before turning into Ford Canyon. Again, the elevation is steady and significant but gradual. As you come around the corner and look down into Ford Canyon you can see the trail at the bottom near the wash. Before you get there though, it will follow the mountain side for another half mile or so, and then finally switchback downwards. At the top of the switchbacks is the trail junction with Ford Canyon. From this sign to the next trail junction with Willow Canyon is 0.9 miles.

White Tanks - Ford Canyon Junction
At the bottom of the mountain, the trail descends into the wash area. The trail is well-marked with sign posts so it’s clear where the trail goes. There are some nice rocks in the wash for a picnic (as the trail doesn’t have much for benches beyond the initial ascent). After coming out of the wash, there is another trailhead junction with Willow Canyon.

White Tanks - Ford Canyon
Willow Canyon back to the Mesquite Canyon trail is 1.6 miles. This part of the trail was relatively easy. The trail ascends again along the mountain side, but does not go up near as far as the first part of the loop. Eventually this trail starts descending, where it joins back up with the Mesquite Canyon trail. Follow this back the way you came to get back down the mountain.

White Tanks - Mesquite Canyon
A few notes: 1) This trail is mostly exposed to the sun. Pick a cooler day to hike. 2) The poppies along this trail were beautiful! This is a great spring hike! 3) There were rocks along the trail that can make it a little tough on knees, but no boulders to climb.

White Tanks - Mesquite Canyon
4) Papago Park – Butte Loop and Hole-in-the Rock
Both hiking locations are free

Papago Park - Butte Loop
If you are looking for a metro-feeling sort of hiking experiences, these are great trails to try. You can see the Phoenix skyline and get views of each of the mountains surrounding the valley. You are in the city though, and especially around the backside of the butte loop trail you will hear the city traffic from nearby McDowell Rd.
Butte Loop
2.3 miles, no elevation gain
Trailhead – The easiest way to find the Papago Parking Lot for Butte Loop is to set your map to the Phoenix Zoo. Once you are on Galvin Pkwy, turn left at the intersection where the signs say to turn right for the Zoo. The parking lot will be right there. There are no bathrooms at this trailhead. Go to the nearby Hole-in-the-Rock parking lot for bathrooms (directions below).

Papago Park - Butte Loop
There are two buttes with trails around both of them. The trail going around the larger Butte is called Butte Loop. From the parking lot, look for the kiosk. The gravel trail starts right behind it. There are a few options for trail varieties on your way out to the Butte. Just aim for the middle of the butte and you’ll get there. Cross the paved road in front of the butte and you’ll see the gravel trail that leads around it.

Papago Park - Butte Loop
There isn’t any elevation gain, but the trail is made of loose gravel, and the trail goes up and down in a few spots. Around the backside, you’ll see a large abandoned amphitheater that must have been a fun location for concerts and large events until McDowell was constructed.

Papago Butte Loop
There are also split-off trail locations to walk up to and climb the lower portions of the rocks.
Hole-in-the-Rock
0.3 miles, 200ft elevation gain

Papago Park - Hole-in-the-Rock
Trailhead – From the Butte Loop parking lot, go back to the intersection for the zoo, and this time cross Galvin Pkwy as if you are heading to the zoo. Keep to the left and follow Papago Rd to the parking lot for Hole-in-the-Rock. Type “Hole in the Rock” into your map app, and that should get you to the right spot.

This is a super short trail, but it’s steep and loose gravel / rocks. If mobility is tough, remember to bring your hiking poles.

When you are in the parking lot looking up at the hole, undoubtably you will see people on the rock that have climbed in the hole and you’ll wonder how on earth they got up there. The trail wraps around the back; it’s not too hard of a hike – short and steep but doable. Once you get to the top, you’ll need to climb up a few of the last rocks to see through the hole. You might need to wait a few minutes to get a picture without people in the way – this is a popular hike.

Papago Park - Hole-in-the-Rock
Other Posts from Nature Impacts Us
The trail to Zebra Slot Canyon is a relatively easy 5.25 mile out-and-back hike through gorgeous desert backcountry. Hiking to Tunnel Slot Canyon adds 1.8 miles. Hike early in the morning to avoid the afternoon heat, bring 4L of water per person, pre-download a GPS map, and be prepared to get wet inside Zebra. Water shoes are helpful inside the canyon.