
Inspiration Point at Whitewater State Park
If you enjoy my blog, please consider signing up below to get email notifications of my latest posts. I will not share your email.

Something for Everyone
Whitewater is my favorite non-North Shore MN State Park, and unlike most of my posts on places to hike, I’m not going to list recommended trails, as I love every inch of this park. I would highly recommend staying at the campground and spending a few days here to have enough time to see everything and go everywhere.
There’s a wonderful beach and small lake (large pond?) to swim in, stones to jump across the river, flat trails that follow the creeks and river, lots and lots of stairs, beautiful views from the bluffs, and a pretty cool rock with holes large enough to squeeze into.

Whitewater State Park
Planning Your Trip
Whitewater State Park is in the southeastern part of MN, a little more than 30 minutes east of Rochester. It’s a bit less than two hours from Minneapolis, and a slightly more than an hour and a half from St. Paul. I think this is drivable from the Twin Cities Metro if you have the whole day and leave early enough in the morning, but to fully enjoy the park, I would recommend either staying in the campground, as I mentioned above, or find a hotel in either Rochester or Winona.

Chimney Rock
See the below interactive map for additional places to hike in Minnesota and neighboring states. Use two fingers on the map to zoom in and look around. Links to blog posts for each pin are included.
Location and Parking Lots
You will come into the park on MN-74, no matter which direction you come from. There are several places to park, which a little bit confusing when you are coming in from the fast-moving highway. You will need to start at the north end of the park to pay at the visitor center, unless you already have the MN State Park Annual Pass. This isn’t going to be the most convenient place though to leave your car. I would recommend parking at the North Picnic Area. Keep going south on MN-74 after you have left the visitor center. The street will cross Whitewater River. Just after this bridge, look to your left for parking. I have this parking lot highlighted with a red dot on the map below. The mileage I list assumes you’ve parked there. Note that if you are going to one specific place in the park and not wandering around further, there are likely closer parking lots, so look on the state park map.

Bridge over Whitewater River, near the North Picnic Area
Closest Cities
As I’ve mentioned, I think with a full day this park is drivable from the Twin Cities, but if you have more time I would use it here. The campgrounds are nice. We stayed in one of the sites that backs up to the river, and my boys had great fun with that. The campground also has nice showers - I know that is important to some families. And if camping isn’t your thing, both Rochester and Winona are great cities to spend some time in with plenty of hotels, dining options, and other things to do.

View from Coyote Point
Time Needed and Other Things to Know
If you want to get the most out of your trip to Whitewater, I would spend a minimum of 6 hours if you have children, and 4 hours if you are hiking only with adults. If you don’t have that much time, the short hikes are great, but it kind of depends on how far you are driving to get the most out of the effort you need to put in to get here. Think of your trips to Duluth and the North Shore State Parks. Likely if you live in the Twin Cities Metro, those are weekend trips. Whitewater is the same.
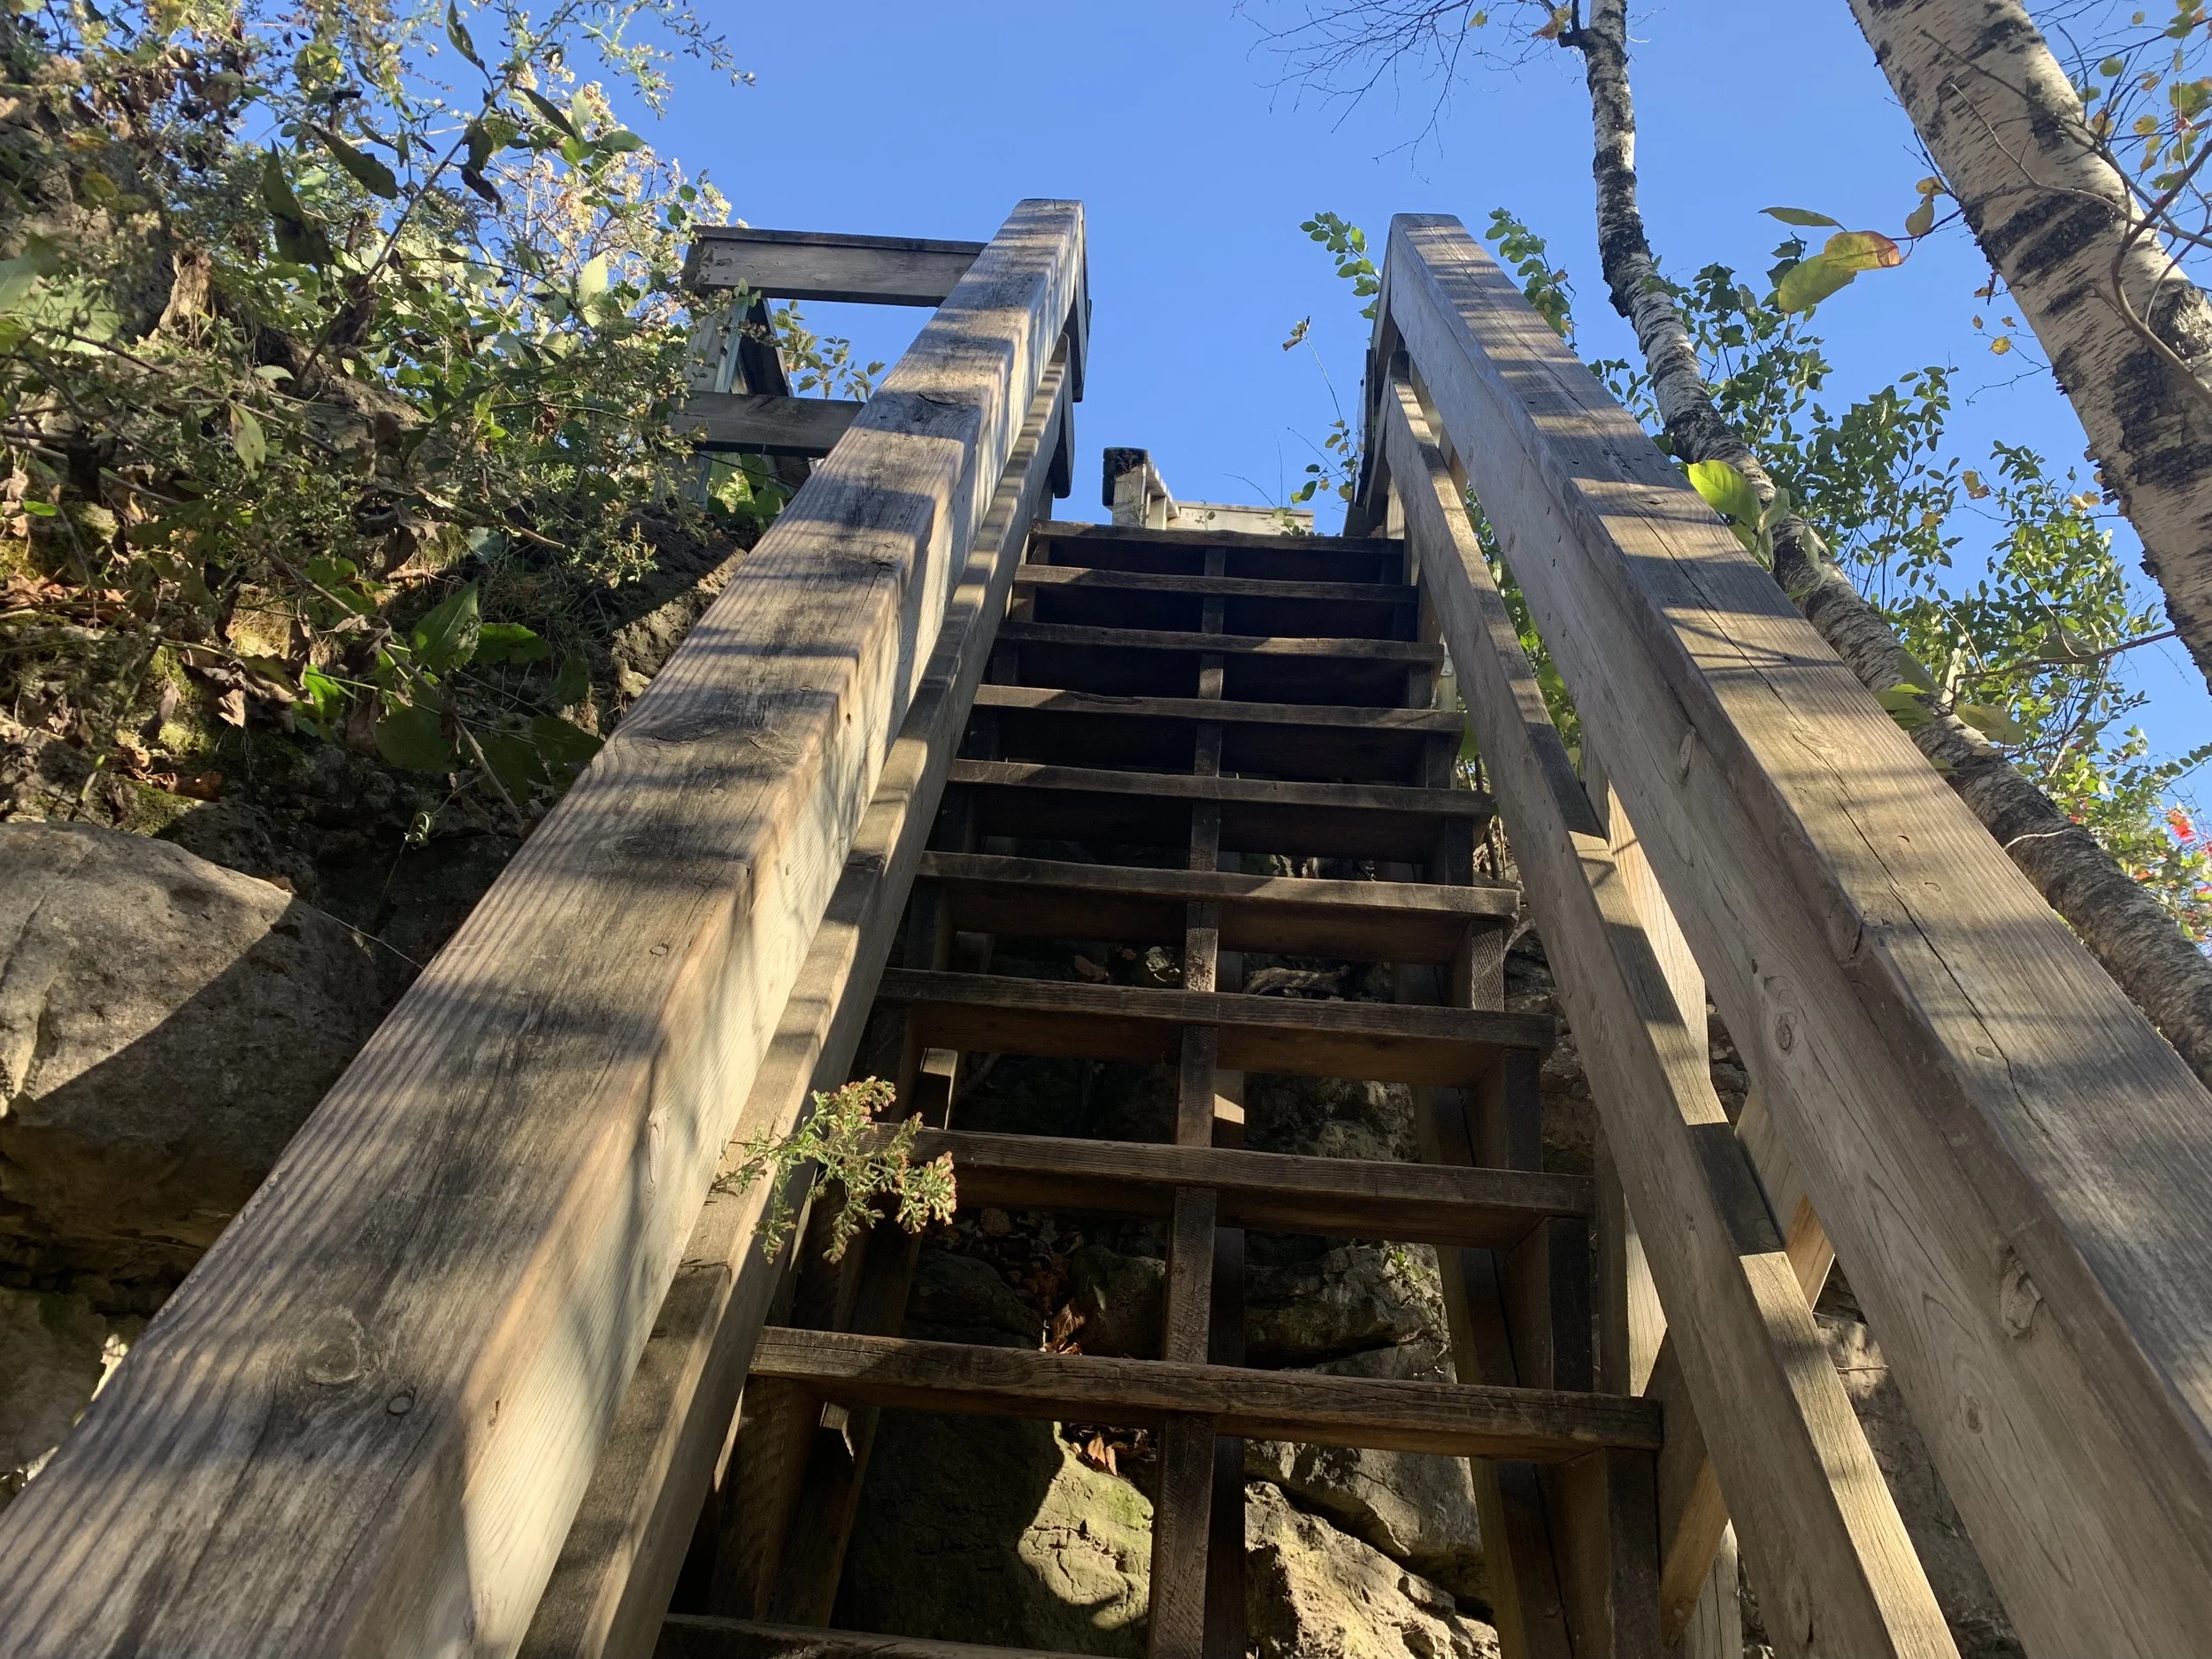
Steps up to Coyote Point - the picture makes this look a bit more dramatic than it actually is. My kids did this trail when they were 3 and 7, we just took our time.
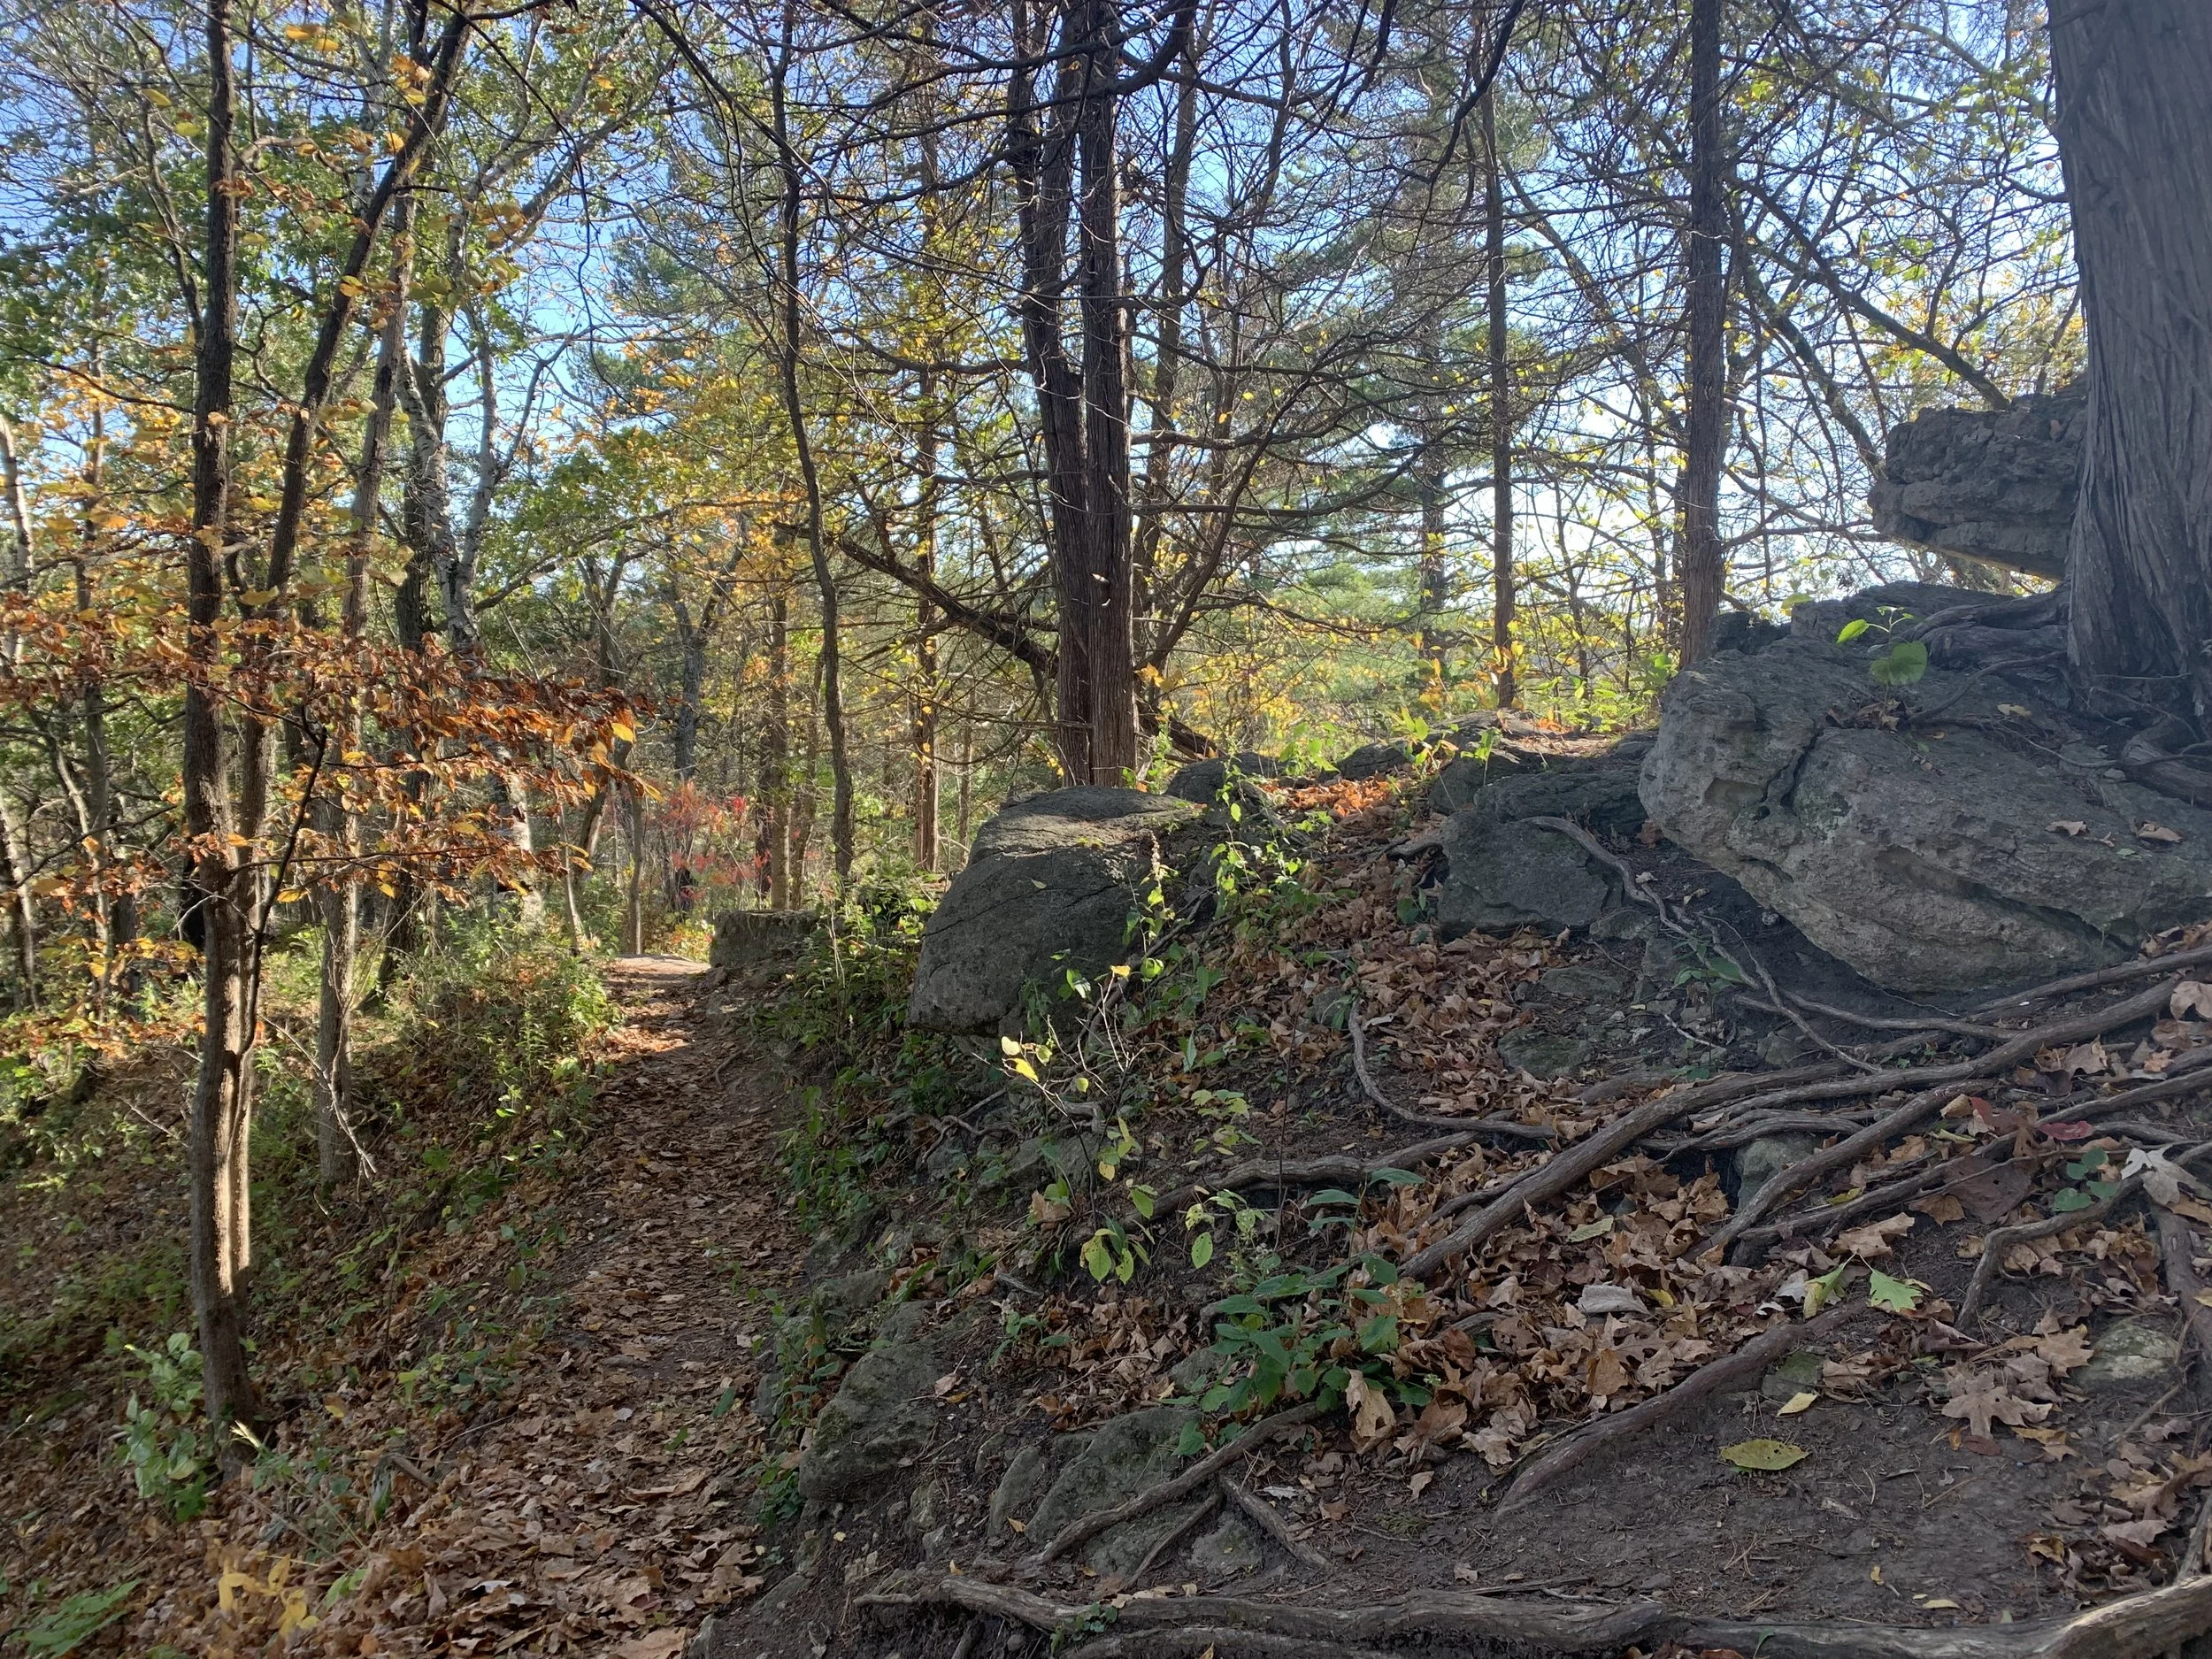
One other thing that I think is worth mentioning is regarding mobility. Although there is a nice meadow and valley trail, the rest of the park requires the ability to cross stone to stone in several of the creek and river crossings, and there are lots and lots of stairs.
Hikes at Whitewater State Park

The Whitewater State Park map and trail markings are pretty easy to follow as they have named their trails, which not all state parks do. The main downloadable state park map is the same one that they hand you at the visitor center, and it does not list the mileage on the map itself. They instead list it for the entire trail by name, but that’s a little confusing as some of the trails are out and back - and I always wonder - is this for one way or both ways? And some trails like Dakota, don’t form an entire loop and you need to walk back along the road. As you hike, the pictures of the maps along the trail include the mileage. I’ve transferred that mileage to the above map.
When you look at the map, you will see letters inside of boxes. That should correspond with a letter on a signpost on the actual trail, as shown below so you know where you on the map are while you hike. Note though that some of the letters are no longer on the posts.
Lastly, I’ve added random colors to the map above to describe the trails in this blogpost so you can see where I am referring to quickly. These colors are not present on the trails at Whitewater.

Letter J along the Dakota Trail that corresponds with where J is marked along the map
Swimming / Beach

Swimming beach at Whitewater
The quickest way to get to the beach is to park at the North Picnic Area (same parking lot I have referred to above). The beach is about 0.1 from the parking lot.
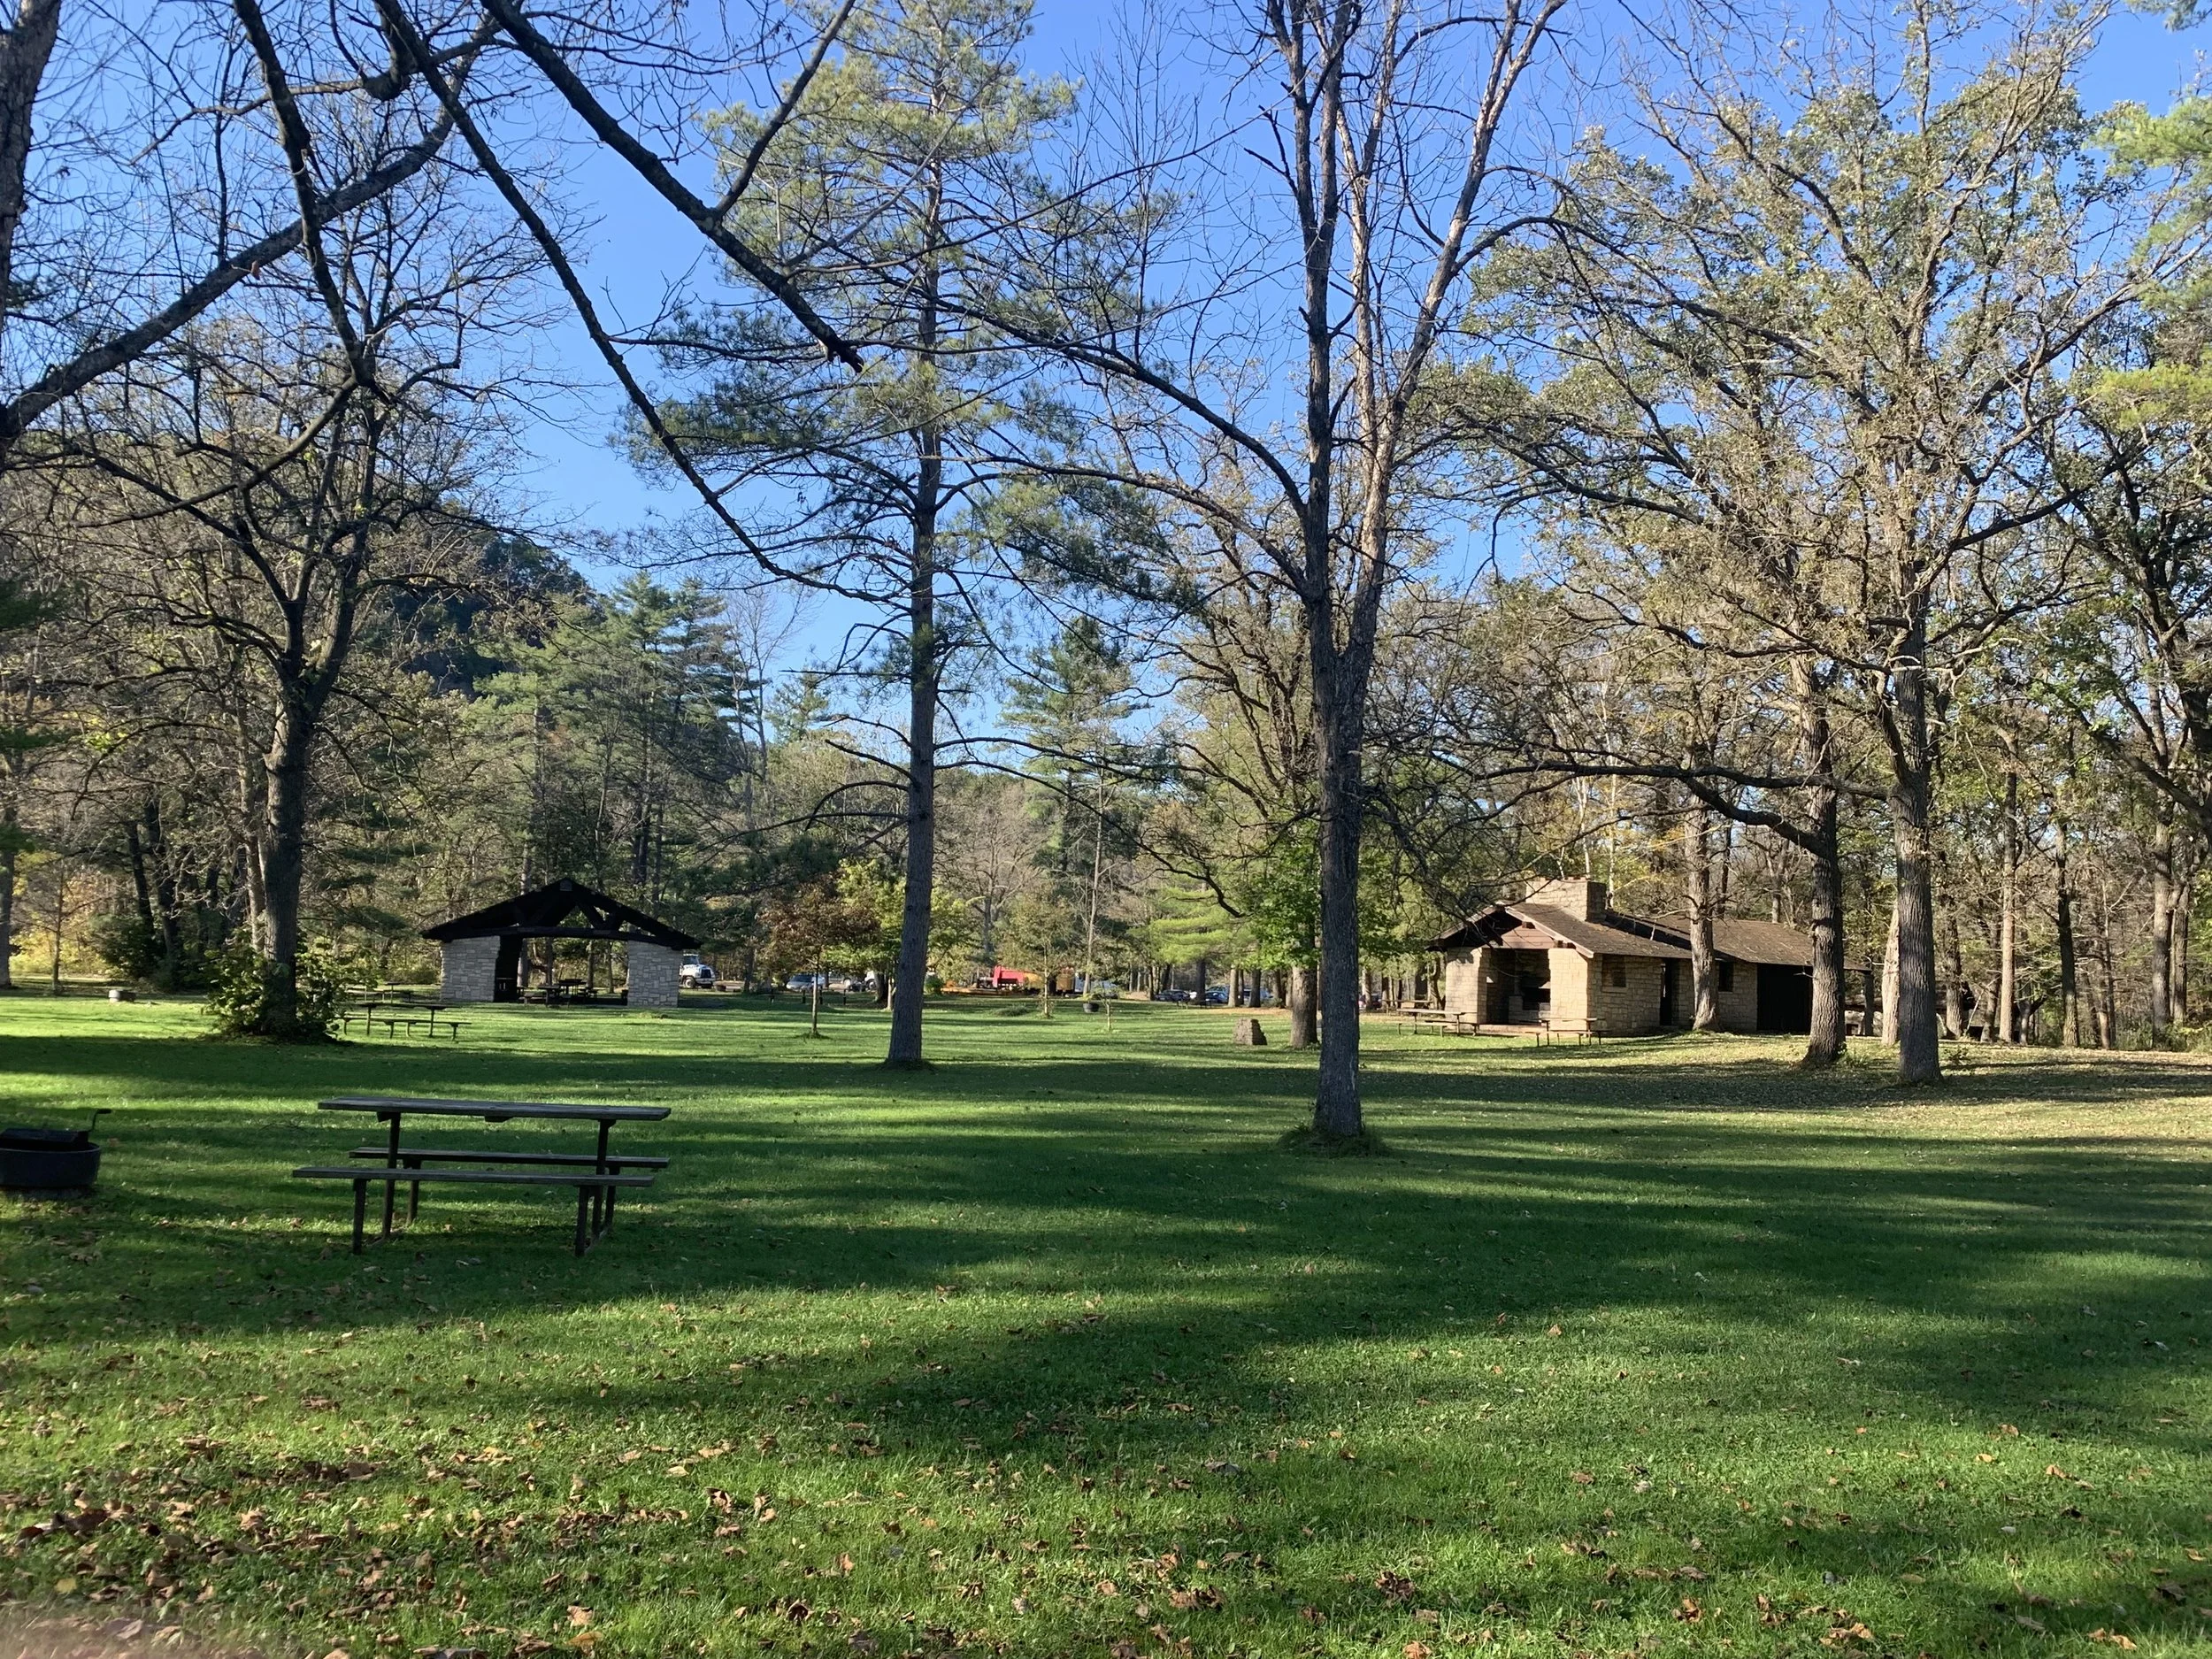
North Picnic Area
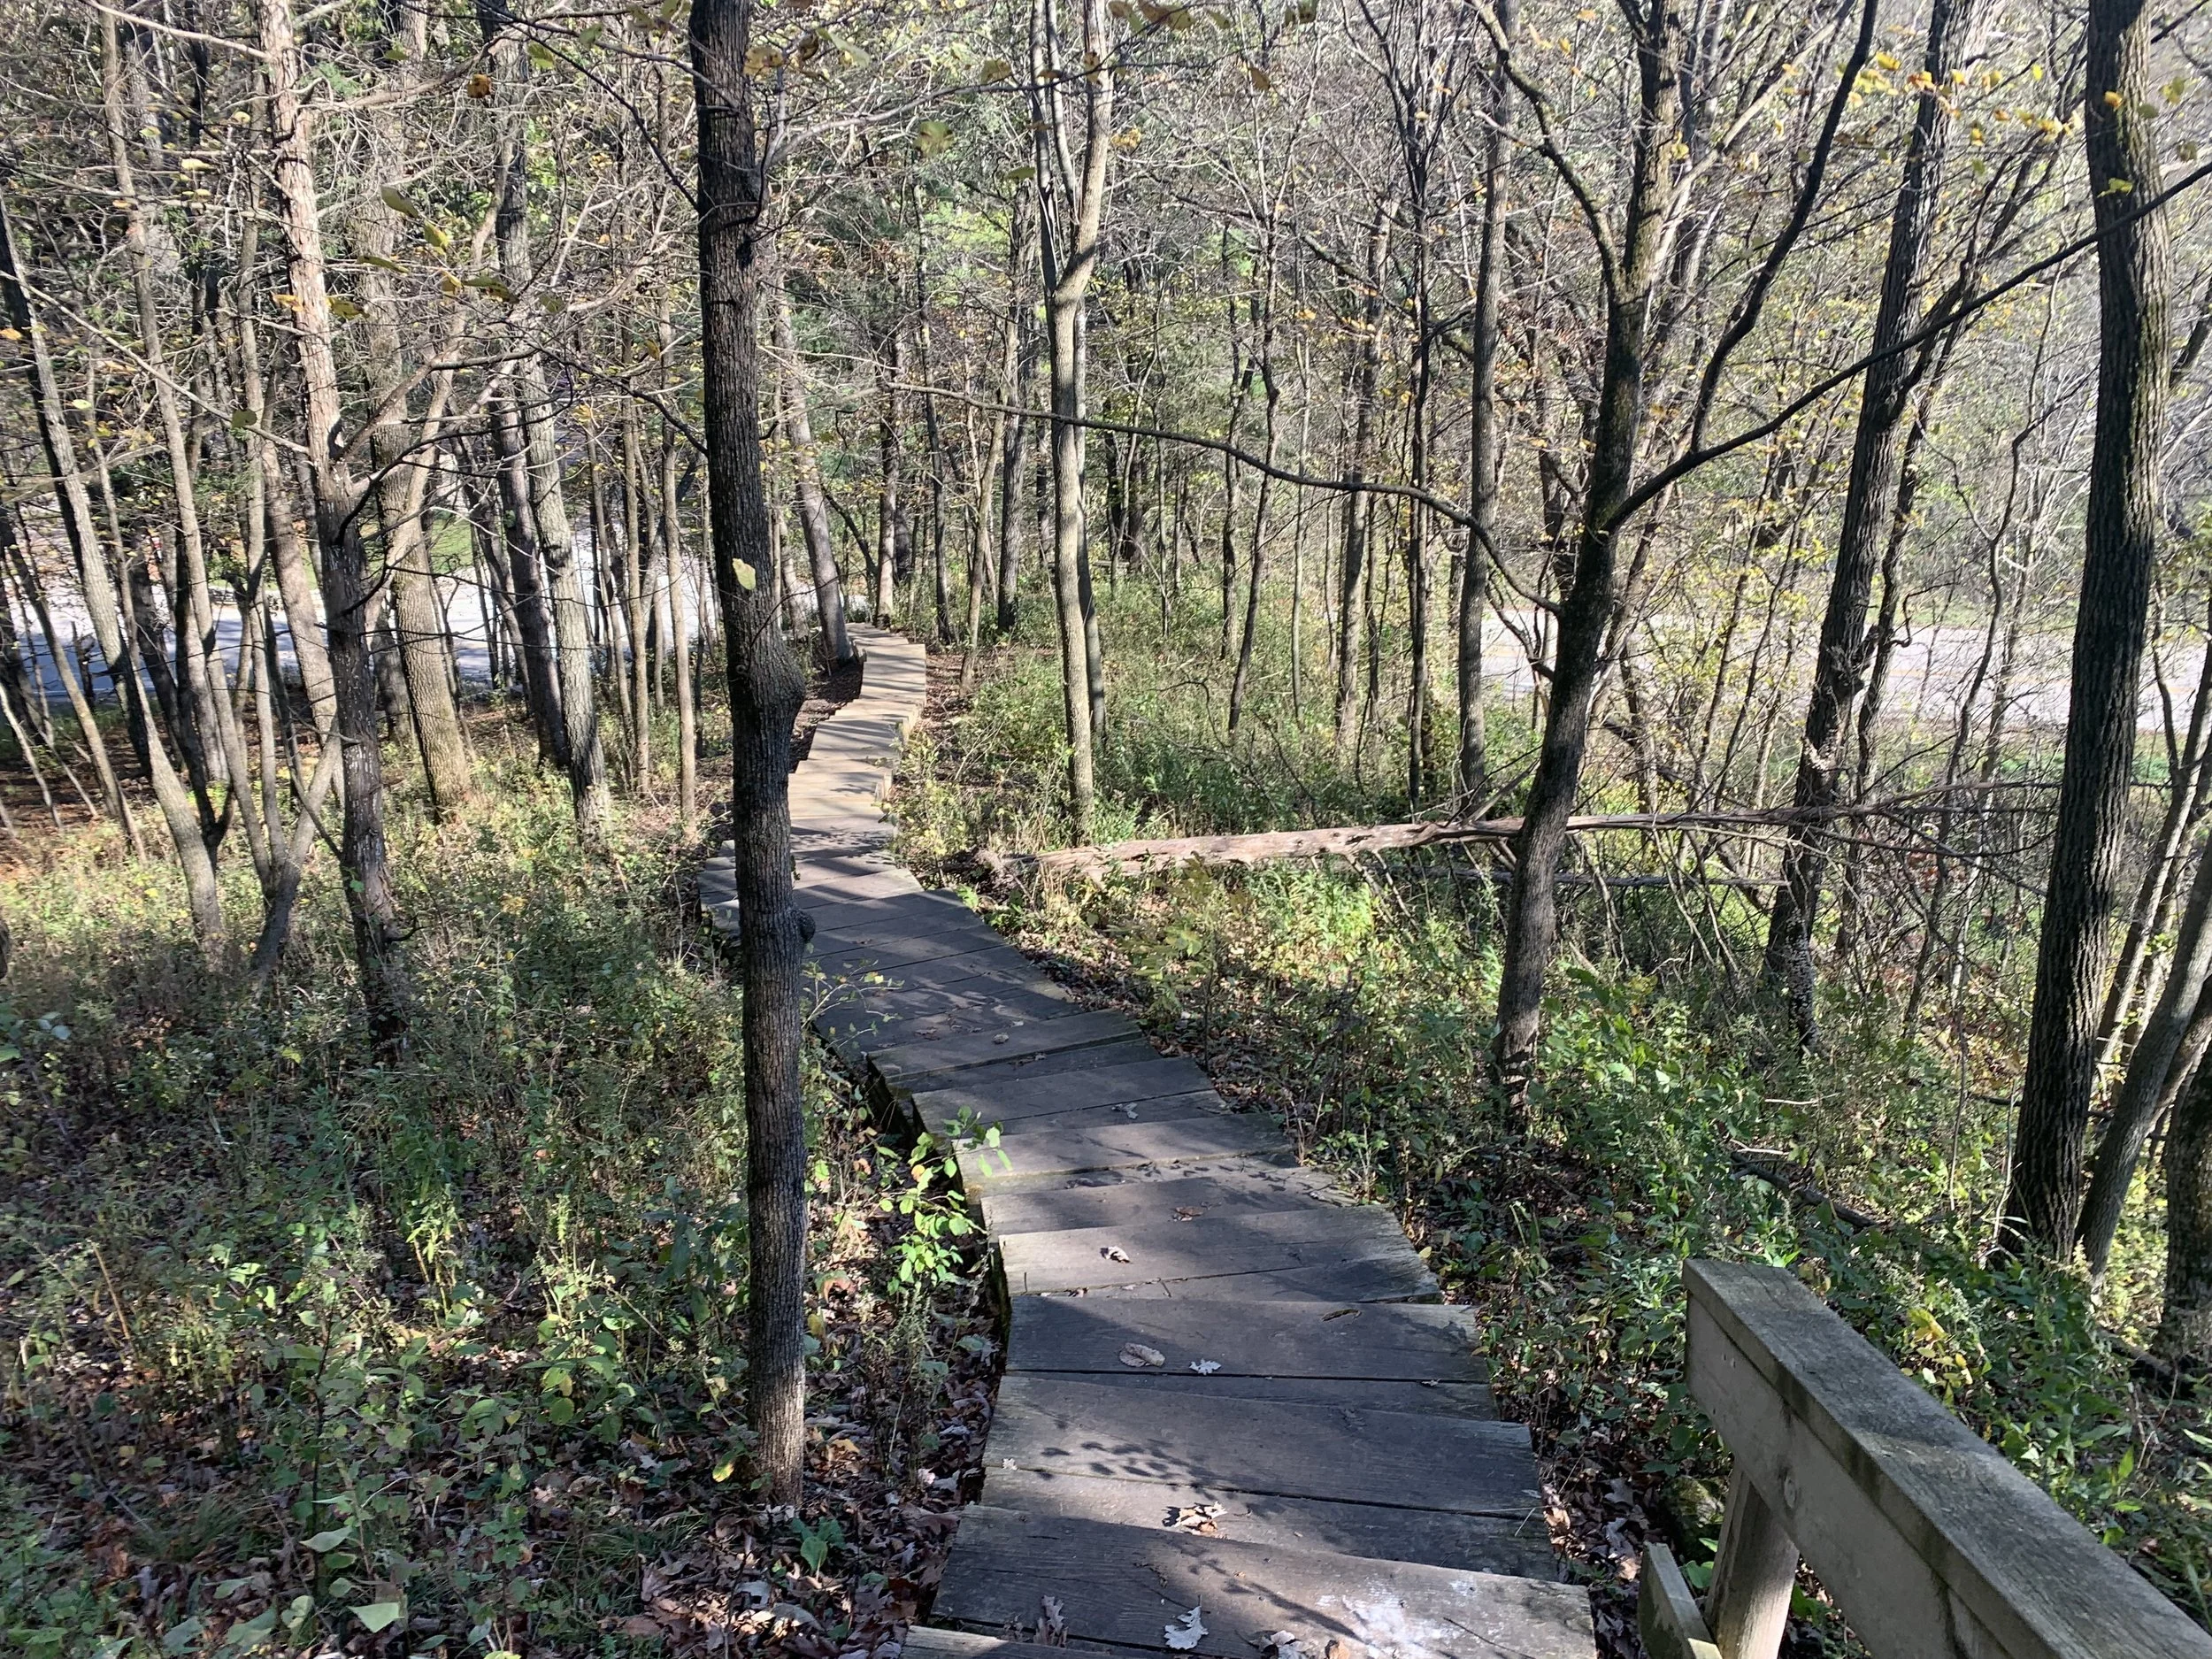
You will be able to see the beach from the picnic area. To get to the beach, you will first need to cross over the below bridge. The beach and swimming area will be off to the right.

Bridge next to the beach

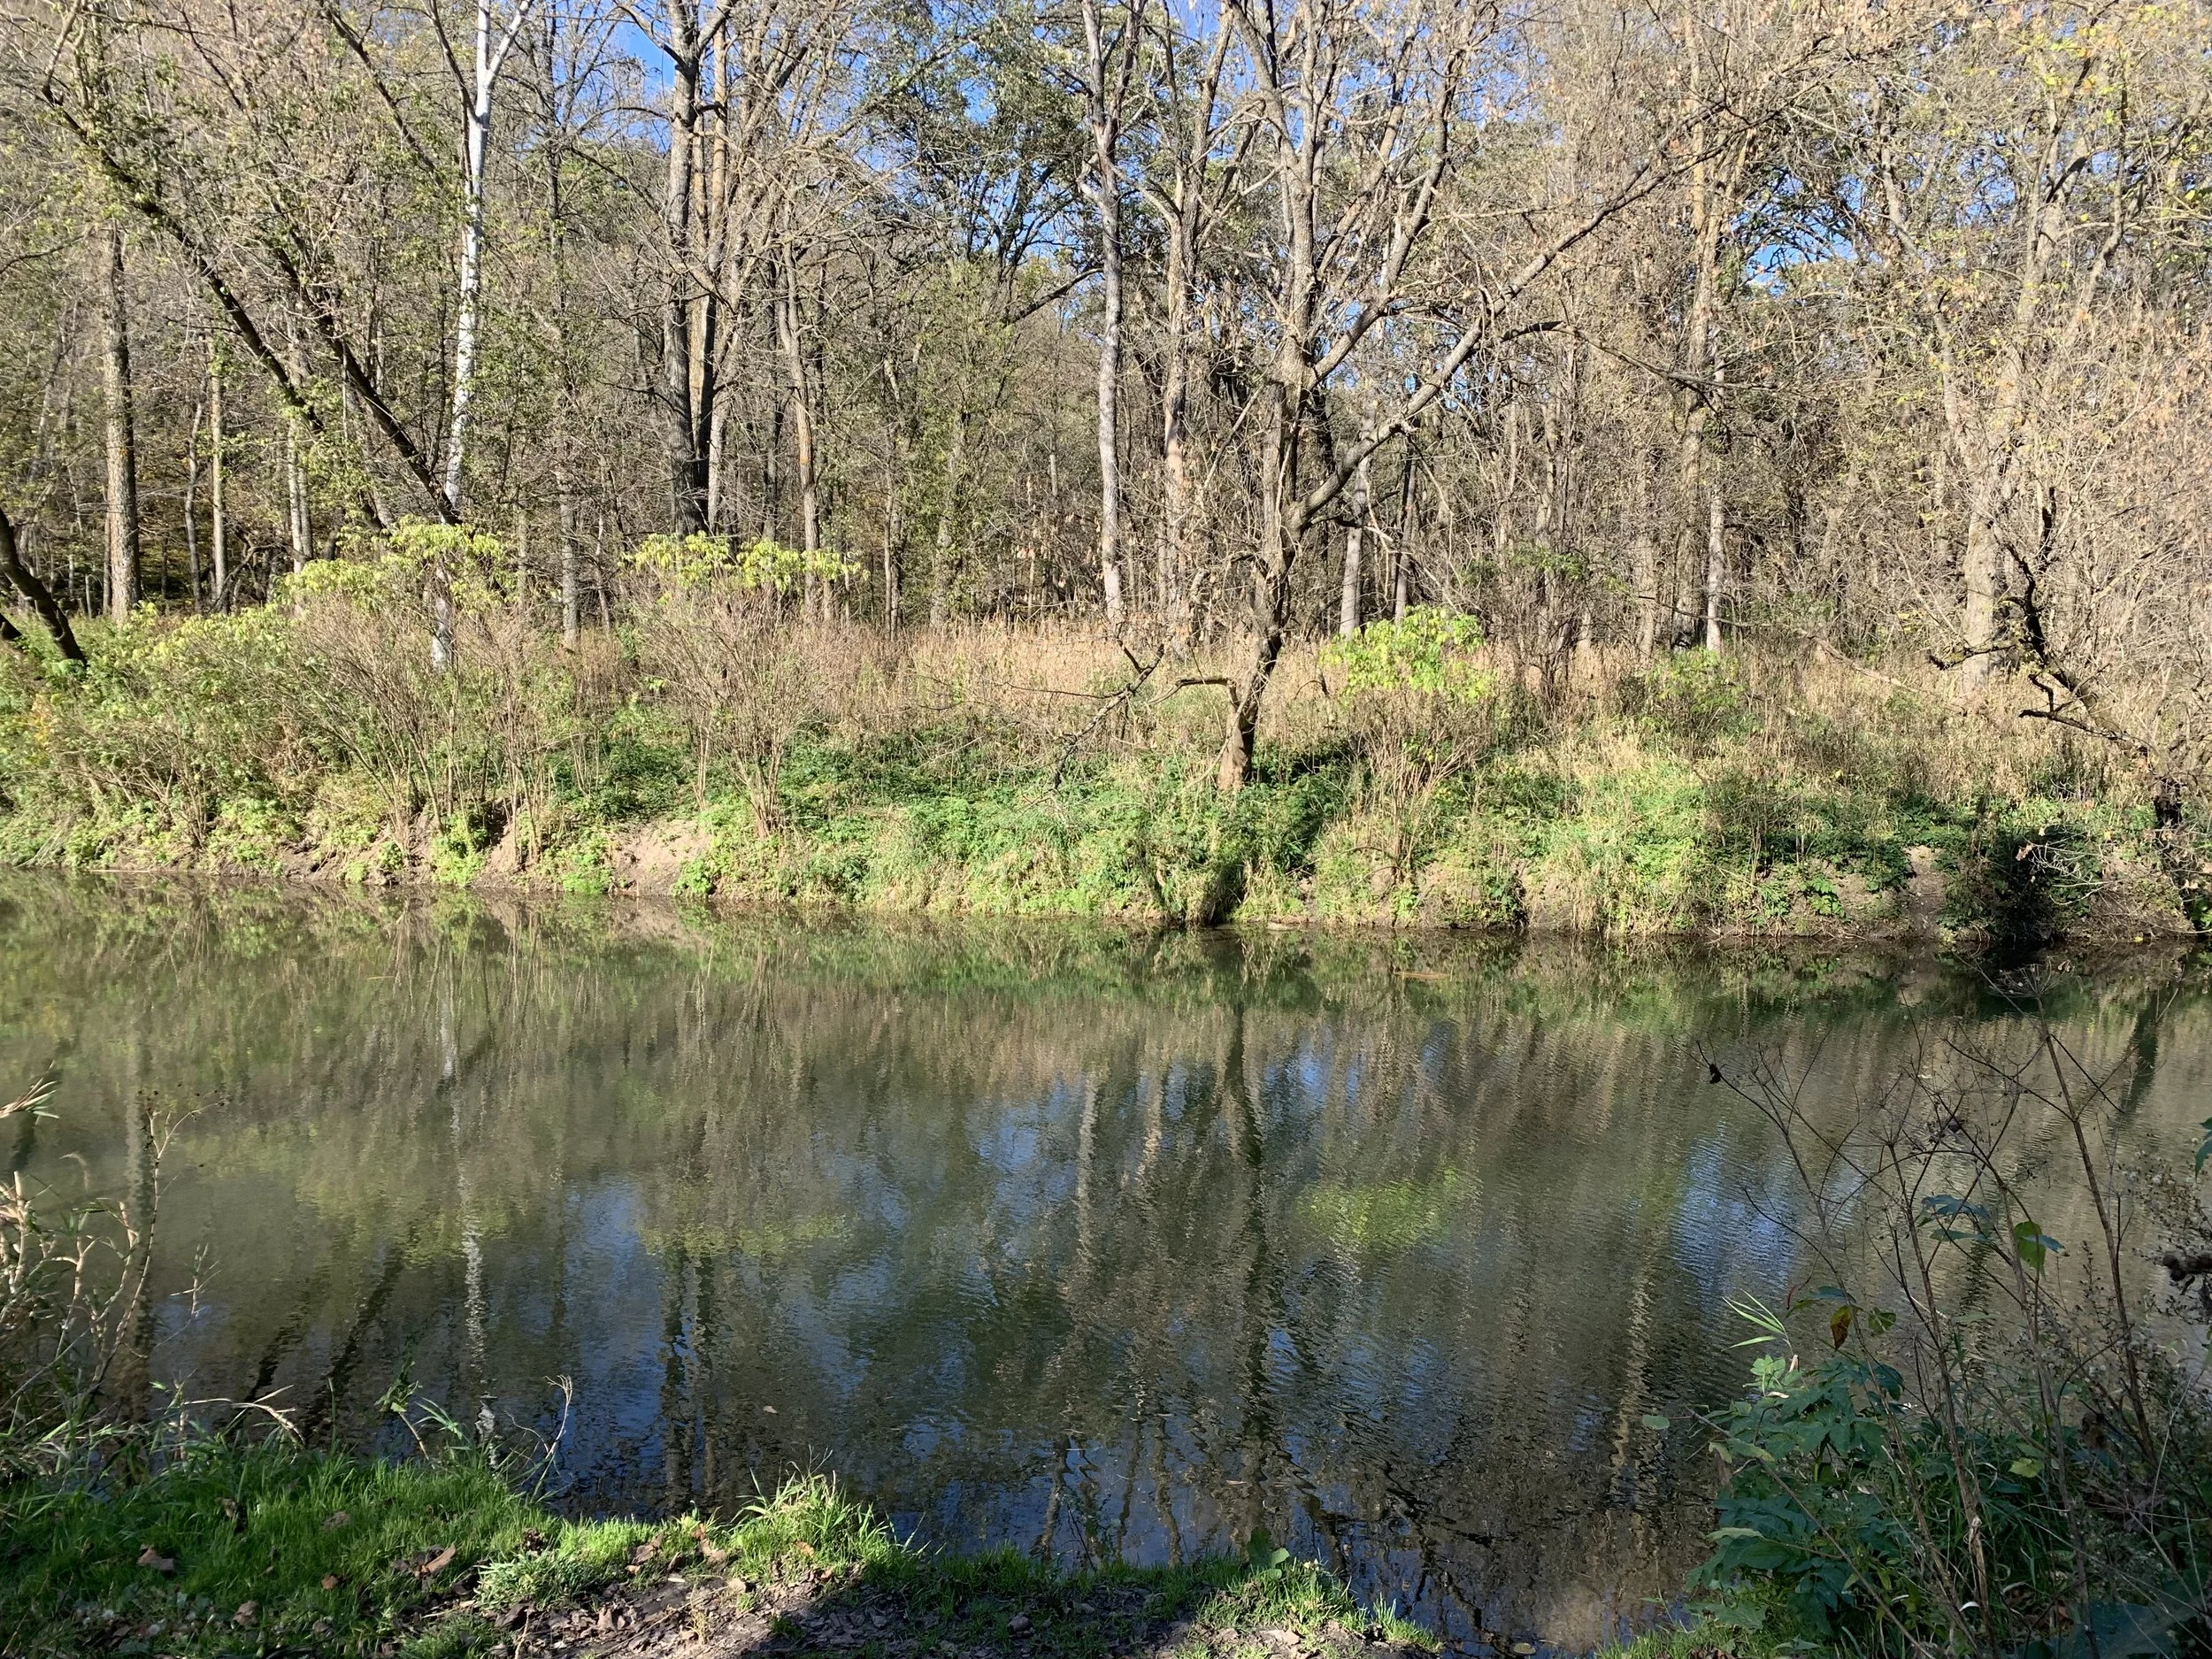
Creek connecting the pond with Whitewater River
We came here for an end of year celebration in 5th grade, and I found about 20 tadpoles here in Whitewater River near the bridge. I don’t remember how I got them home - I must have used a ziplock bag from my lunch. Regardless, it was really fun to watch to the tadpoles turn into frogs, and convenient that I had both understanding parents and a grandma who helped me care for them until needing to let them go, as frogs are a bit harder to contain than tadpoles. Perhaps beware of your children collecting critters while enjoying their time at this park.
Chimney Rock

Exploring the holes in Chimney Rock

Chimney Rock is the trail that I have marked on the above map with orange. You can do it as an out and back, or hike it in a short loop. Both options are about 0.75 miles from the parking lot.
To get to the trail, you will need to cross over a second bridge towards your left (the beach is towards your right).

View of Whitewater River from the bridge
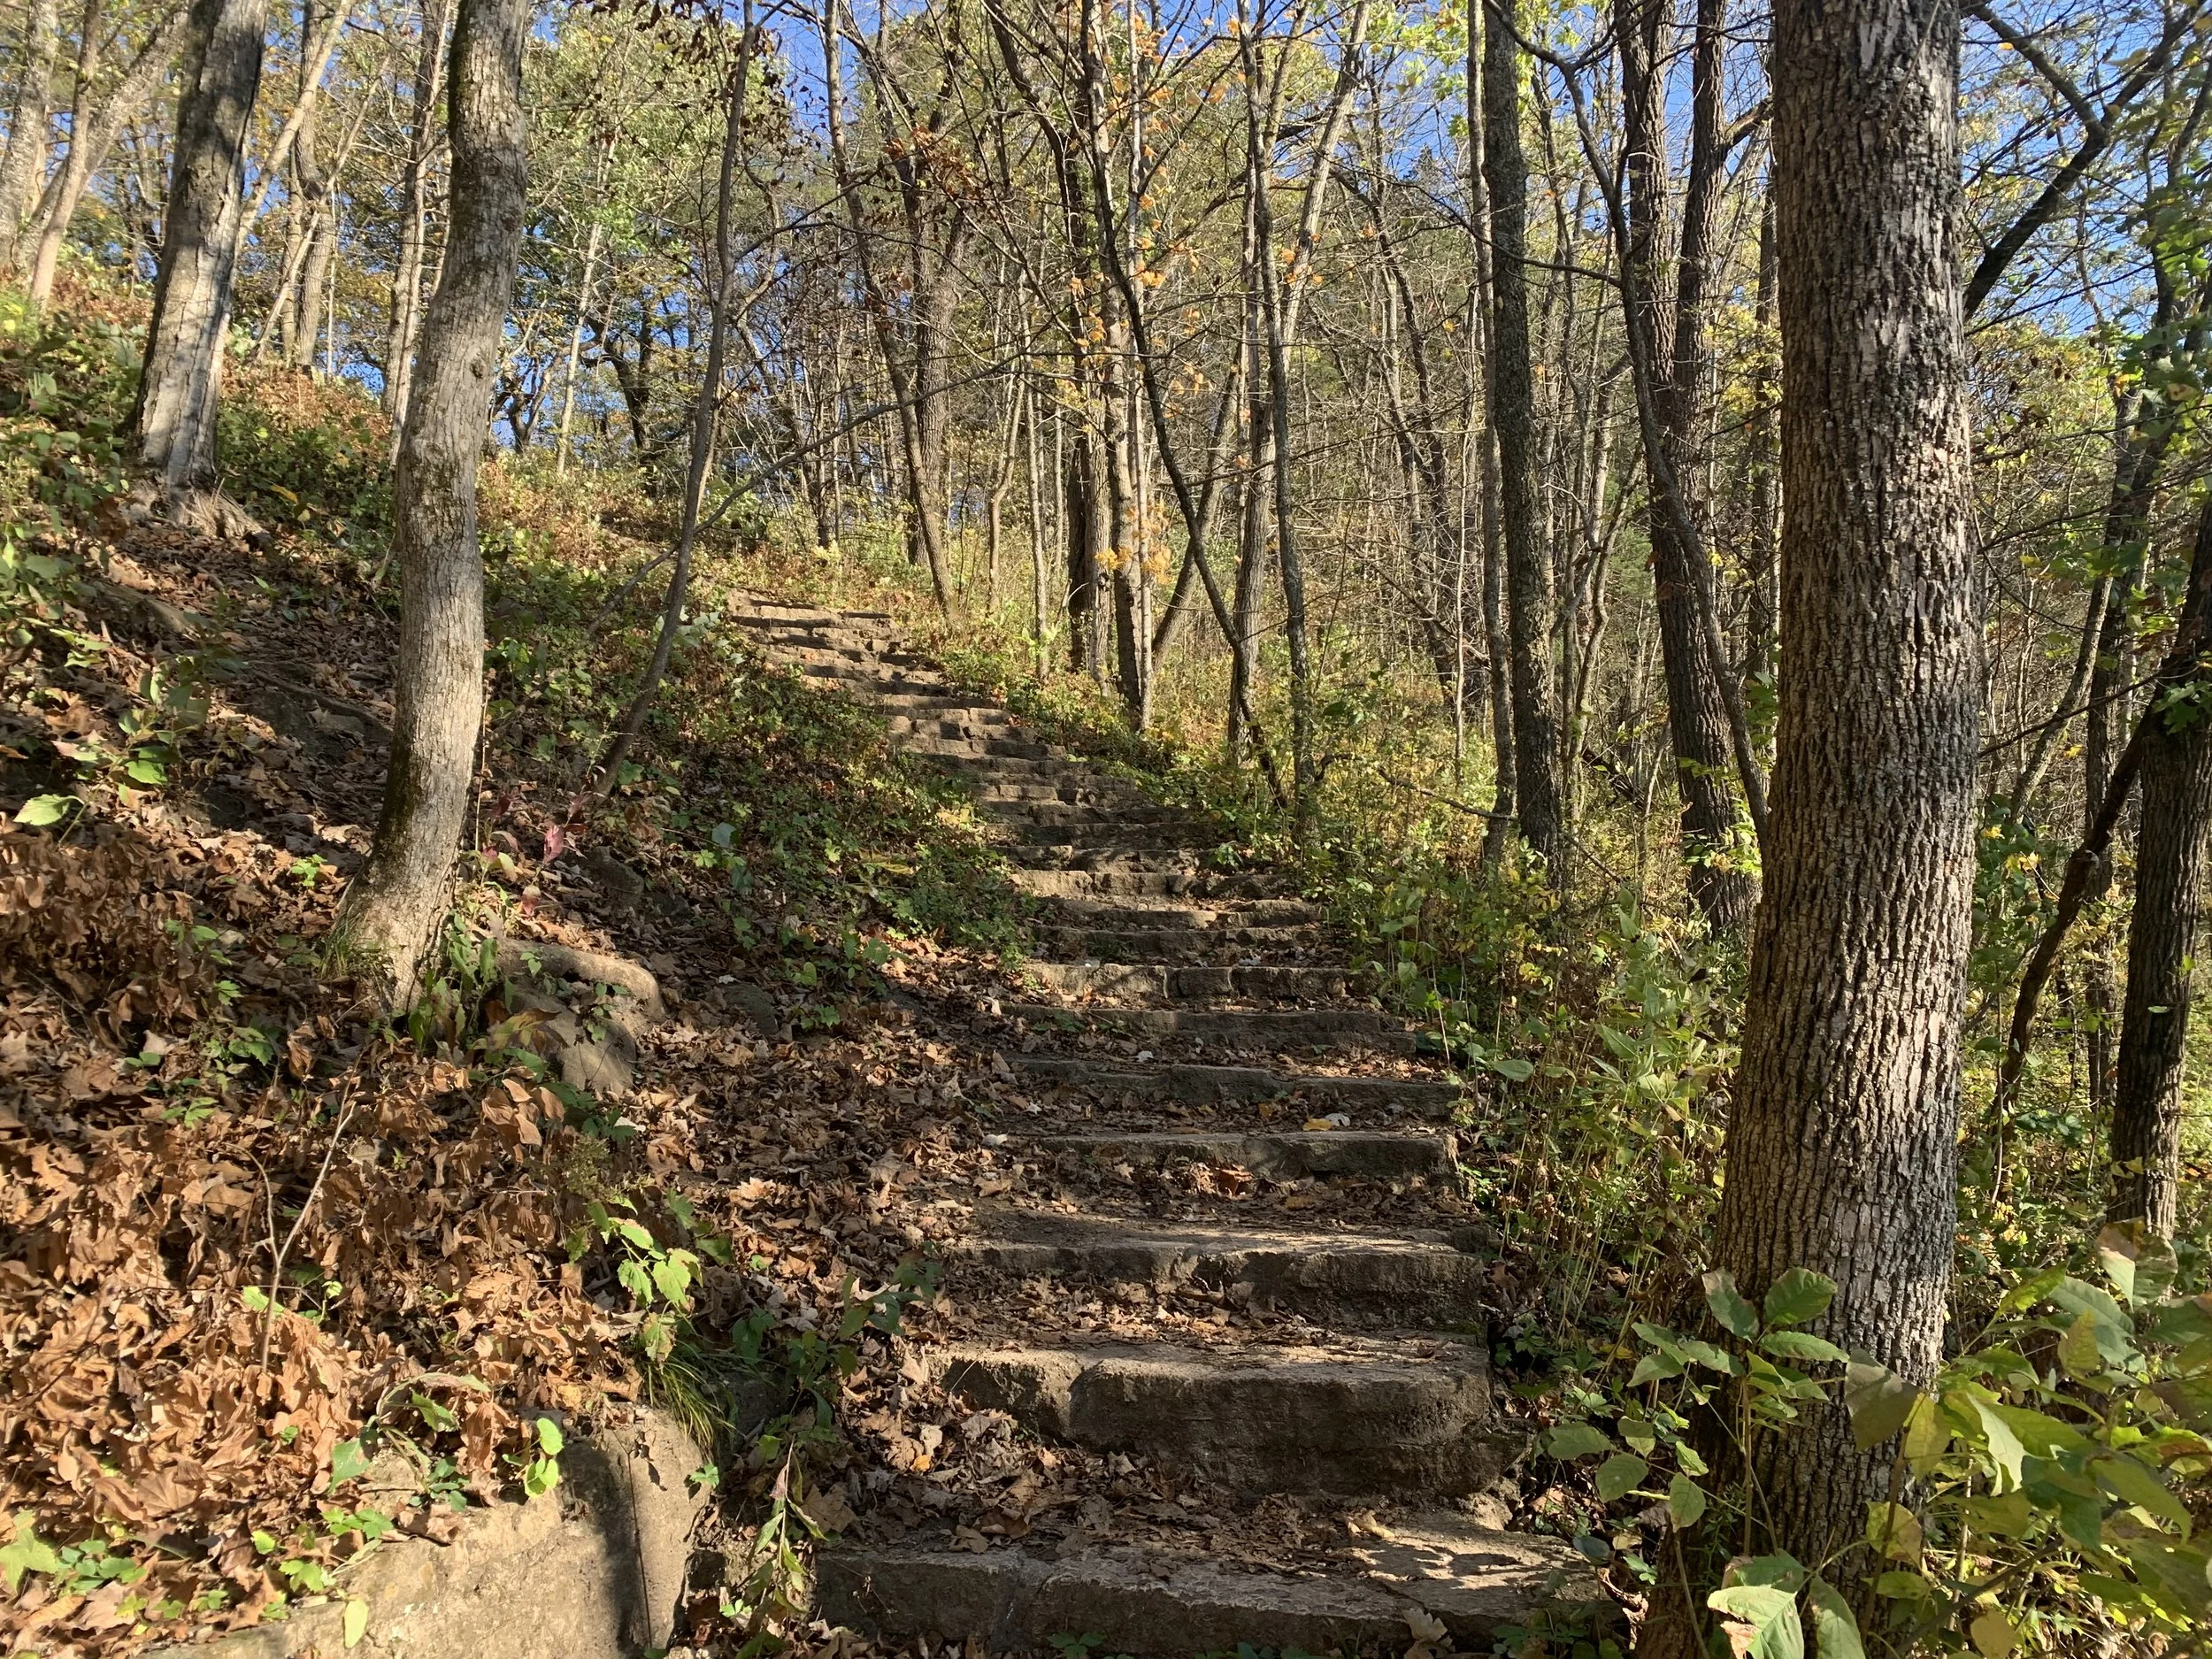
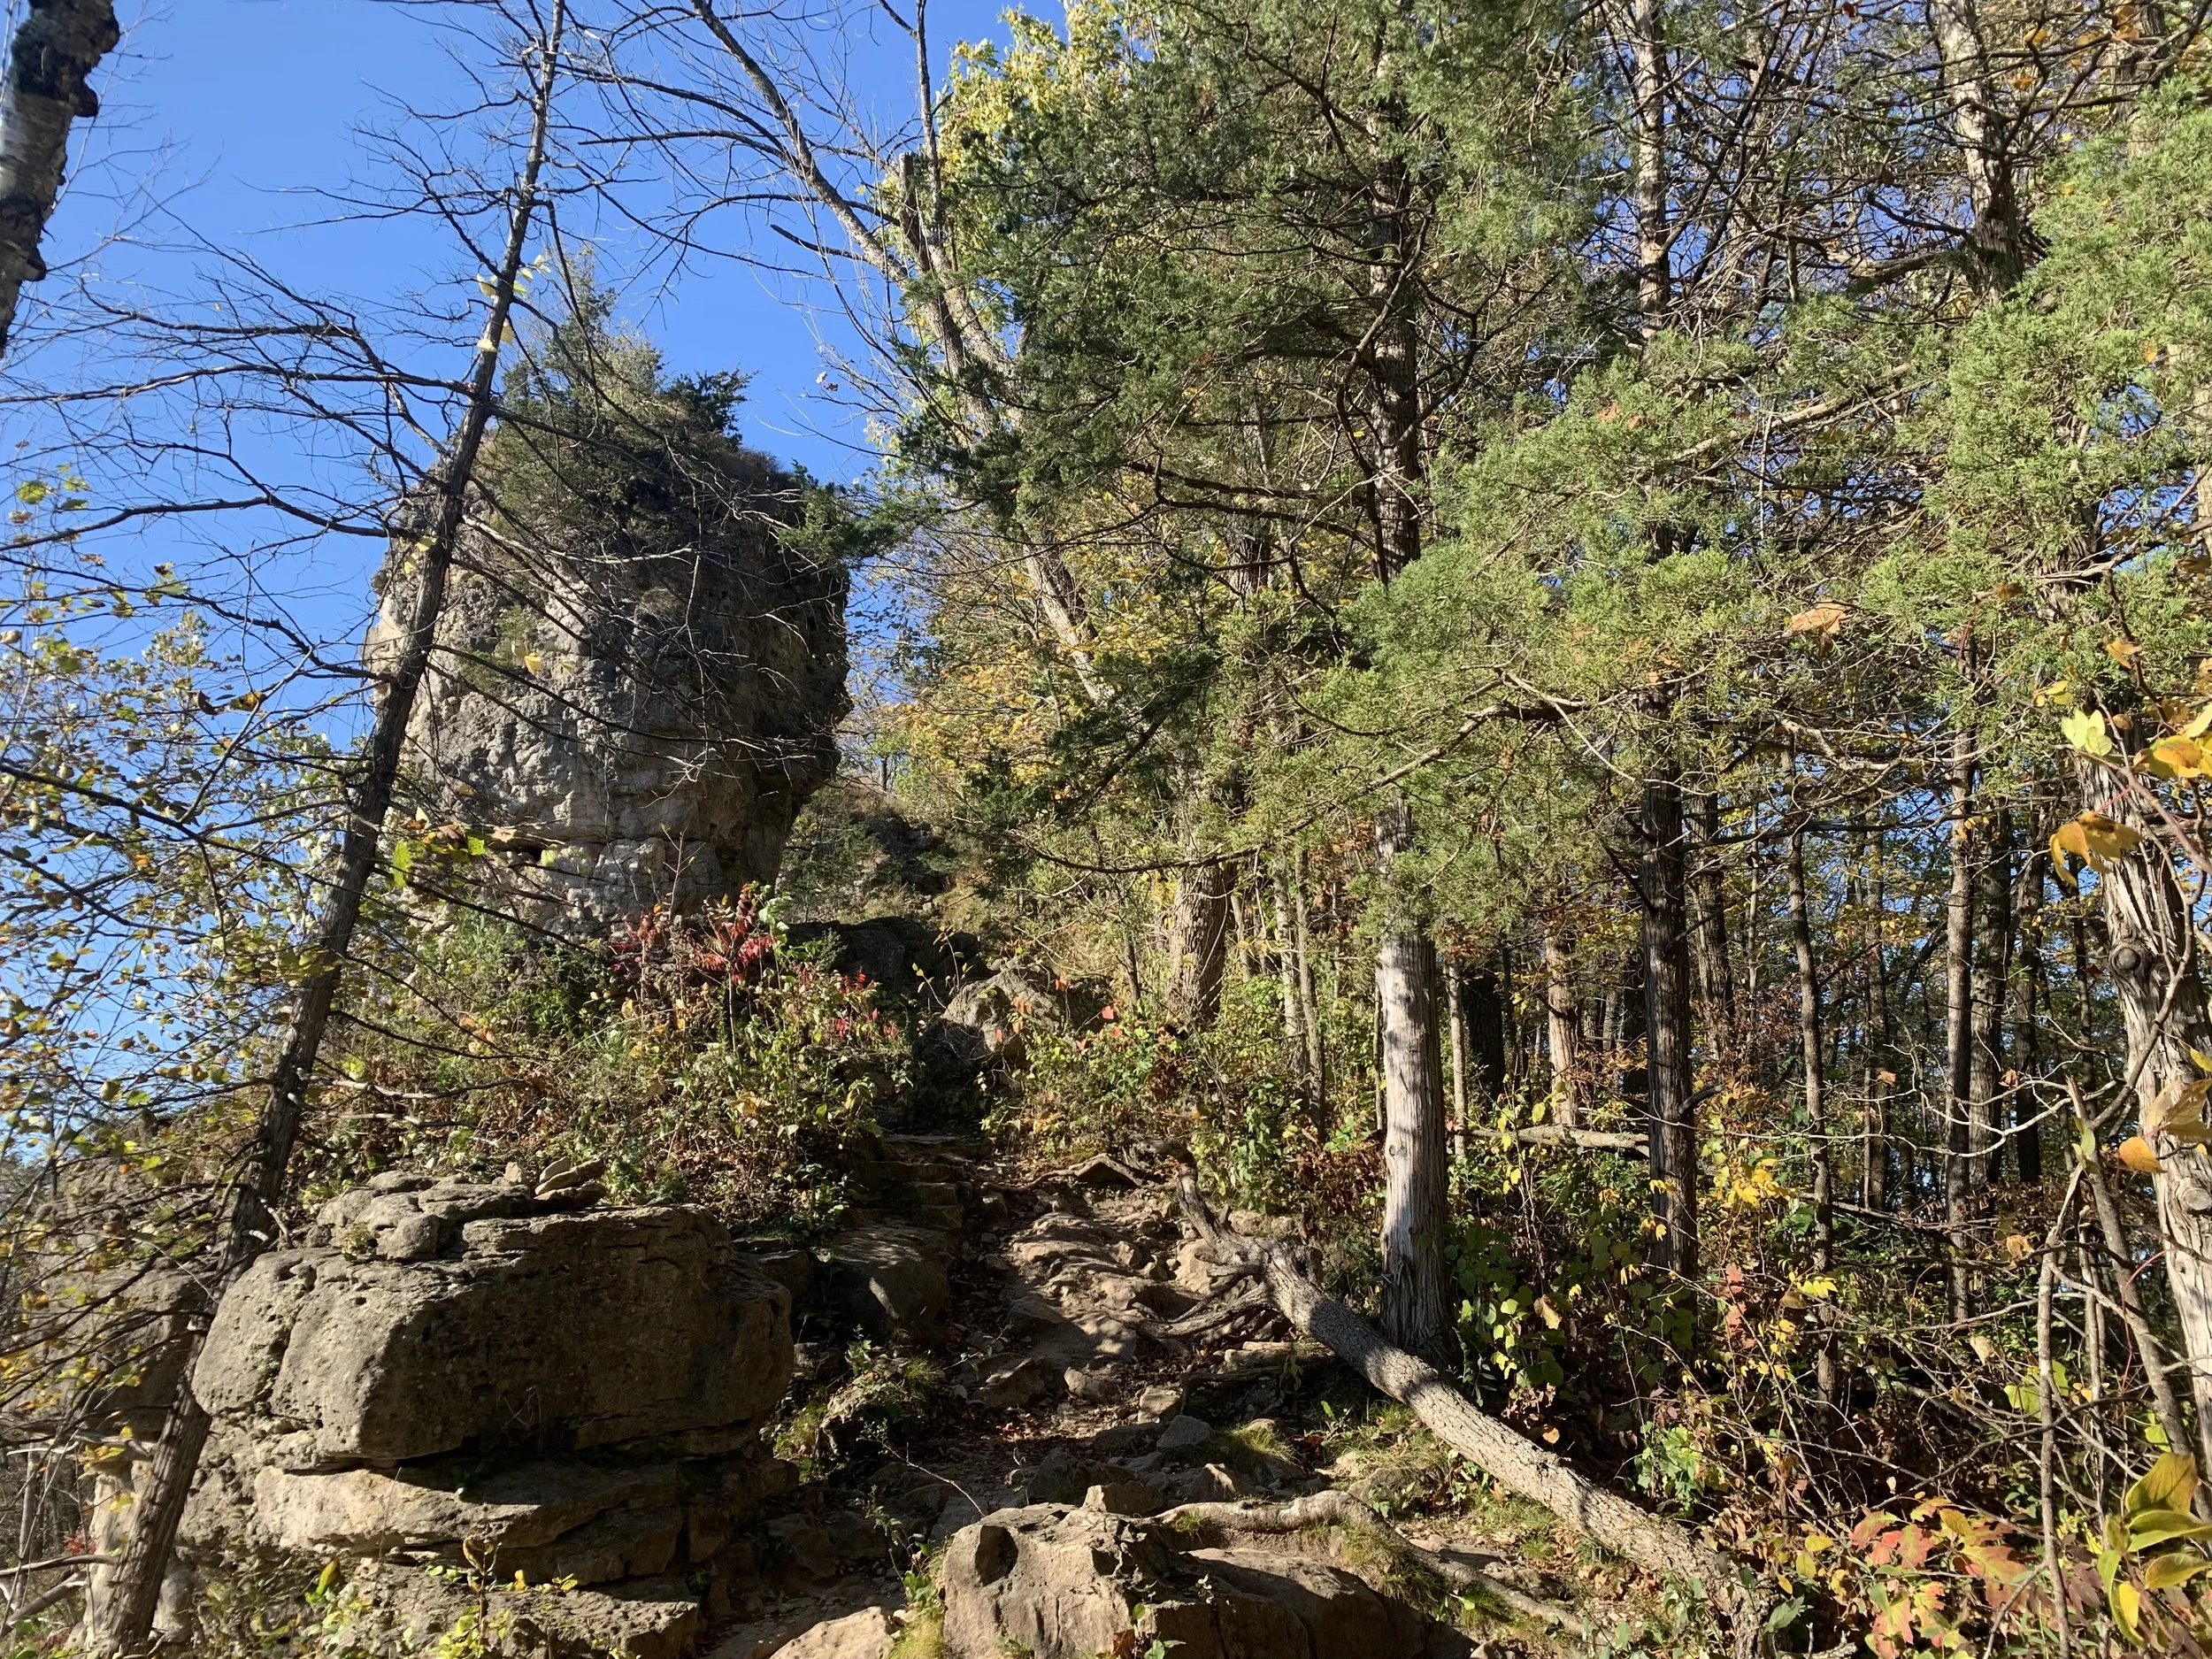
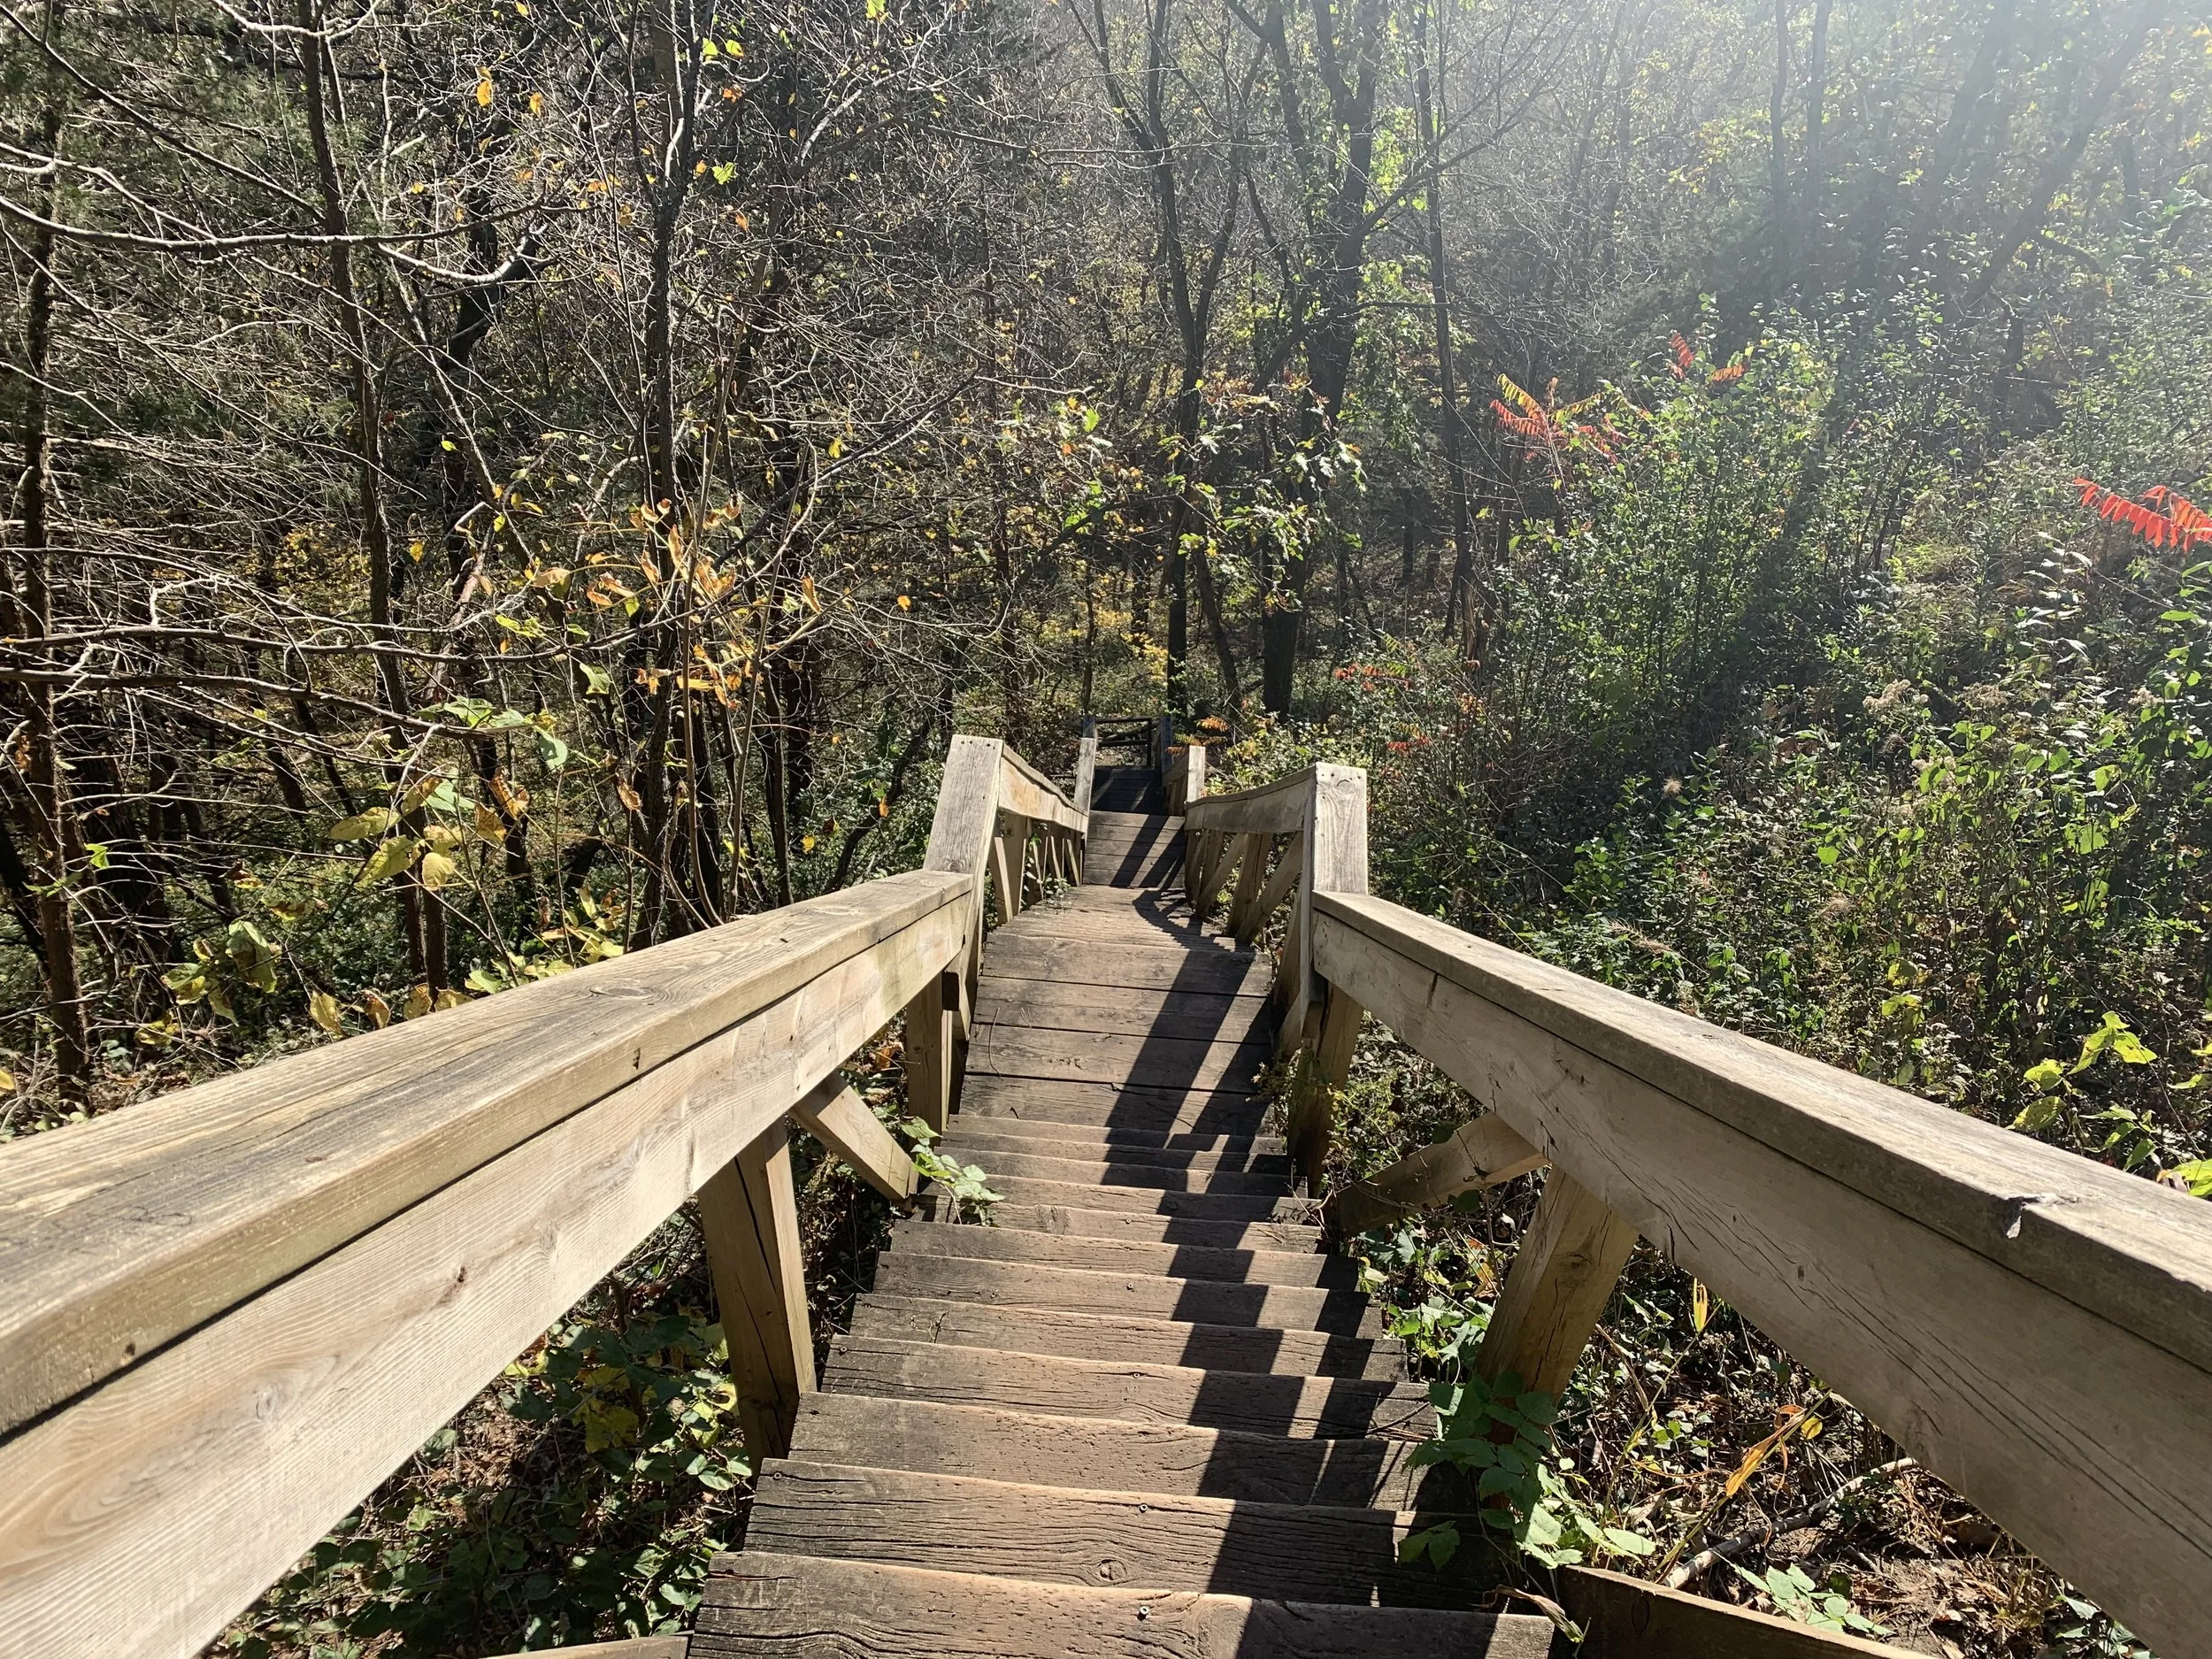
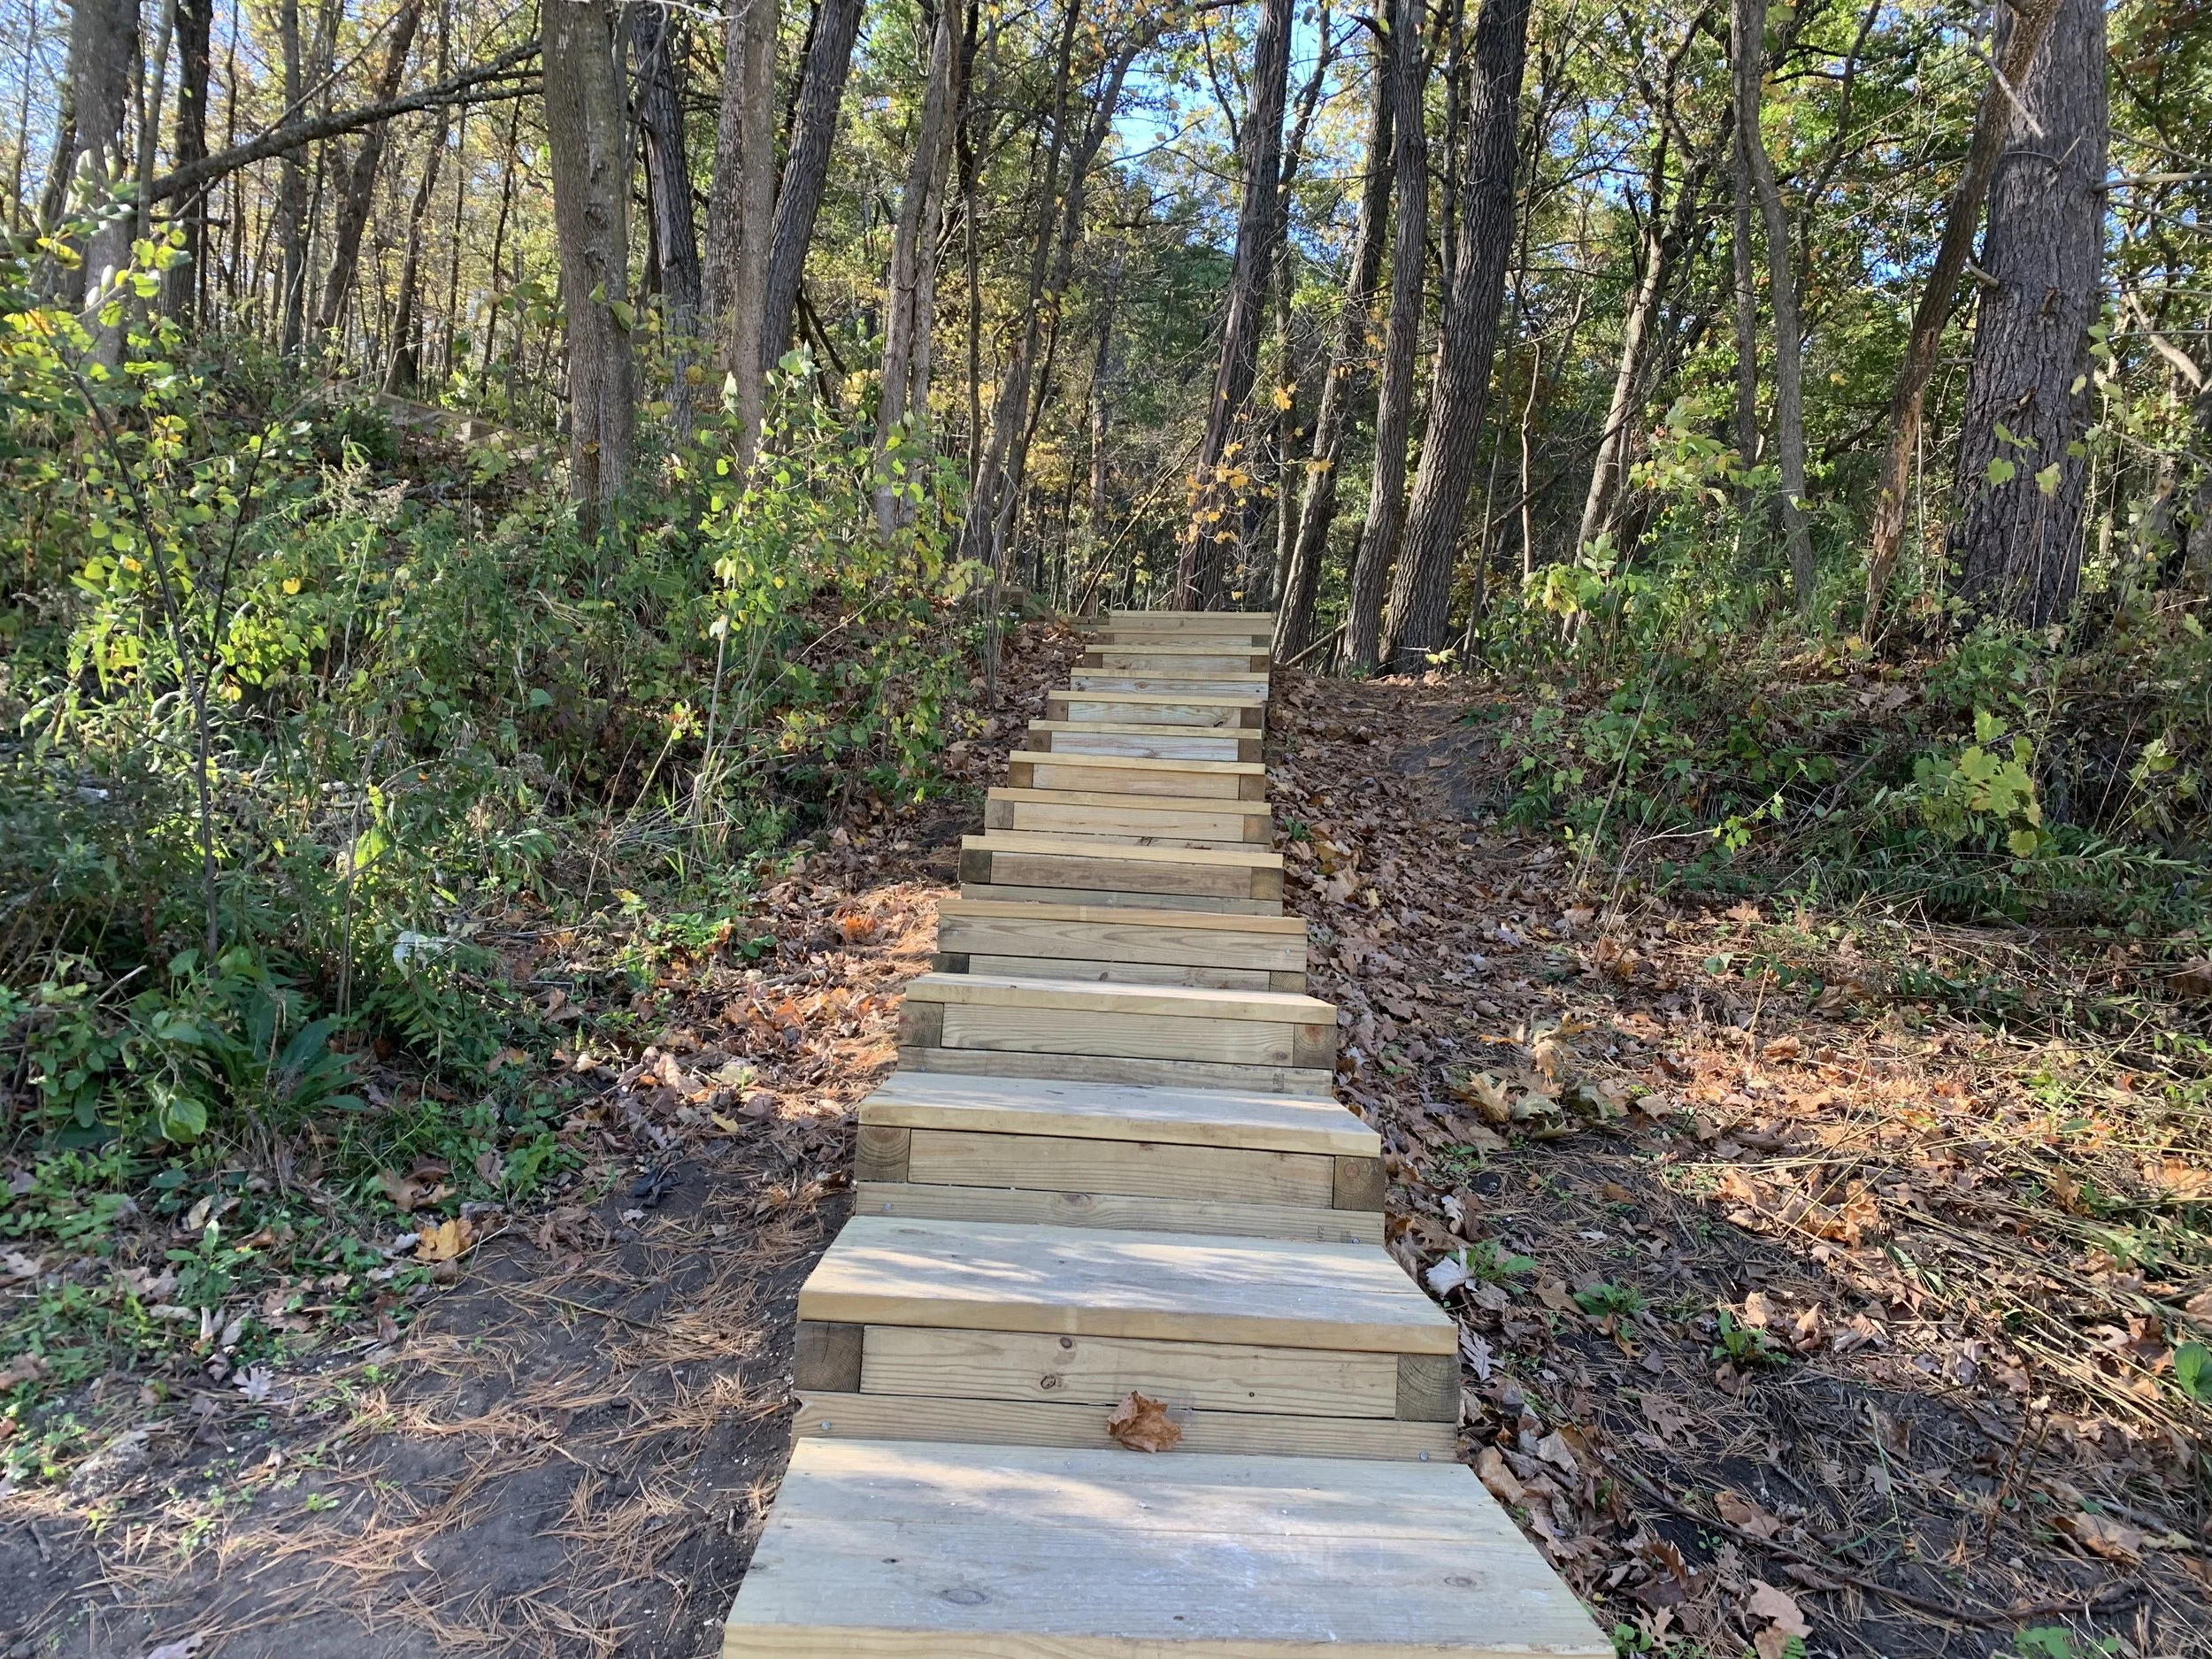
Hang a right when the trail splits, and you’ll start walking up some steps. This trail does go up, but less than 200ft, so it’s not one of the more difficult trails at the park.

Steps to Chimney Rock
And more steps… I’m not joking when I say there are a lot of steps at this park.
More steps up to Chimney Rock
In a short ways, Chimney Rock will come into view.
Chimney Rock
Kids are going to have the advantage when playing in the small holes inside of Chimney Rock, but adults can squeeze in as well.

Inside Chimney Rock
If you hike up the trail a bit and look back, you’ll understand why it’s called Chimney Rock.

View of Chimney Rock from the other side of the trail
From Chimney Rock, you have three options. 1) Turn back and head back to your car or the beach the same way you walked up 2) Keep going on the trail, it will form a loop and will get you back to the parking lot in about the same distance 3) Take a few steps back down the trail that you just walked up and head off at the split towards Inspiration Point. My advice would be to walk up the trail a bit to see the views and then walk back and head off to Inspiration Point.

Viewpoint above Chimney Rock
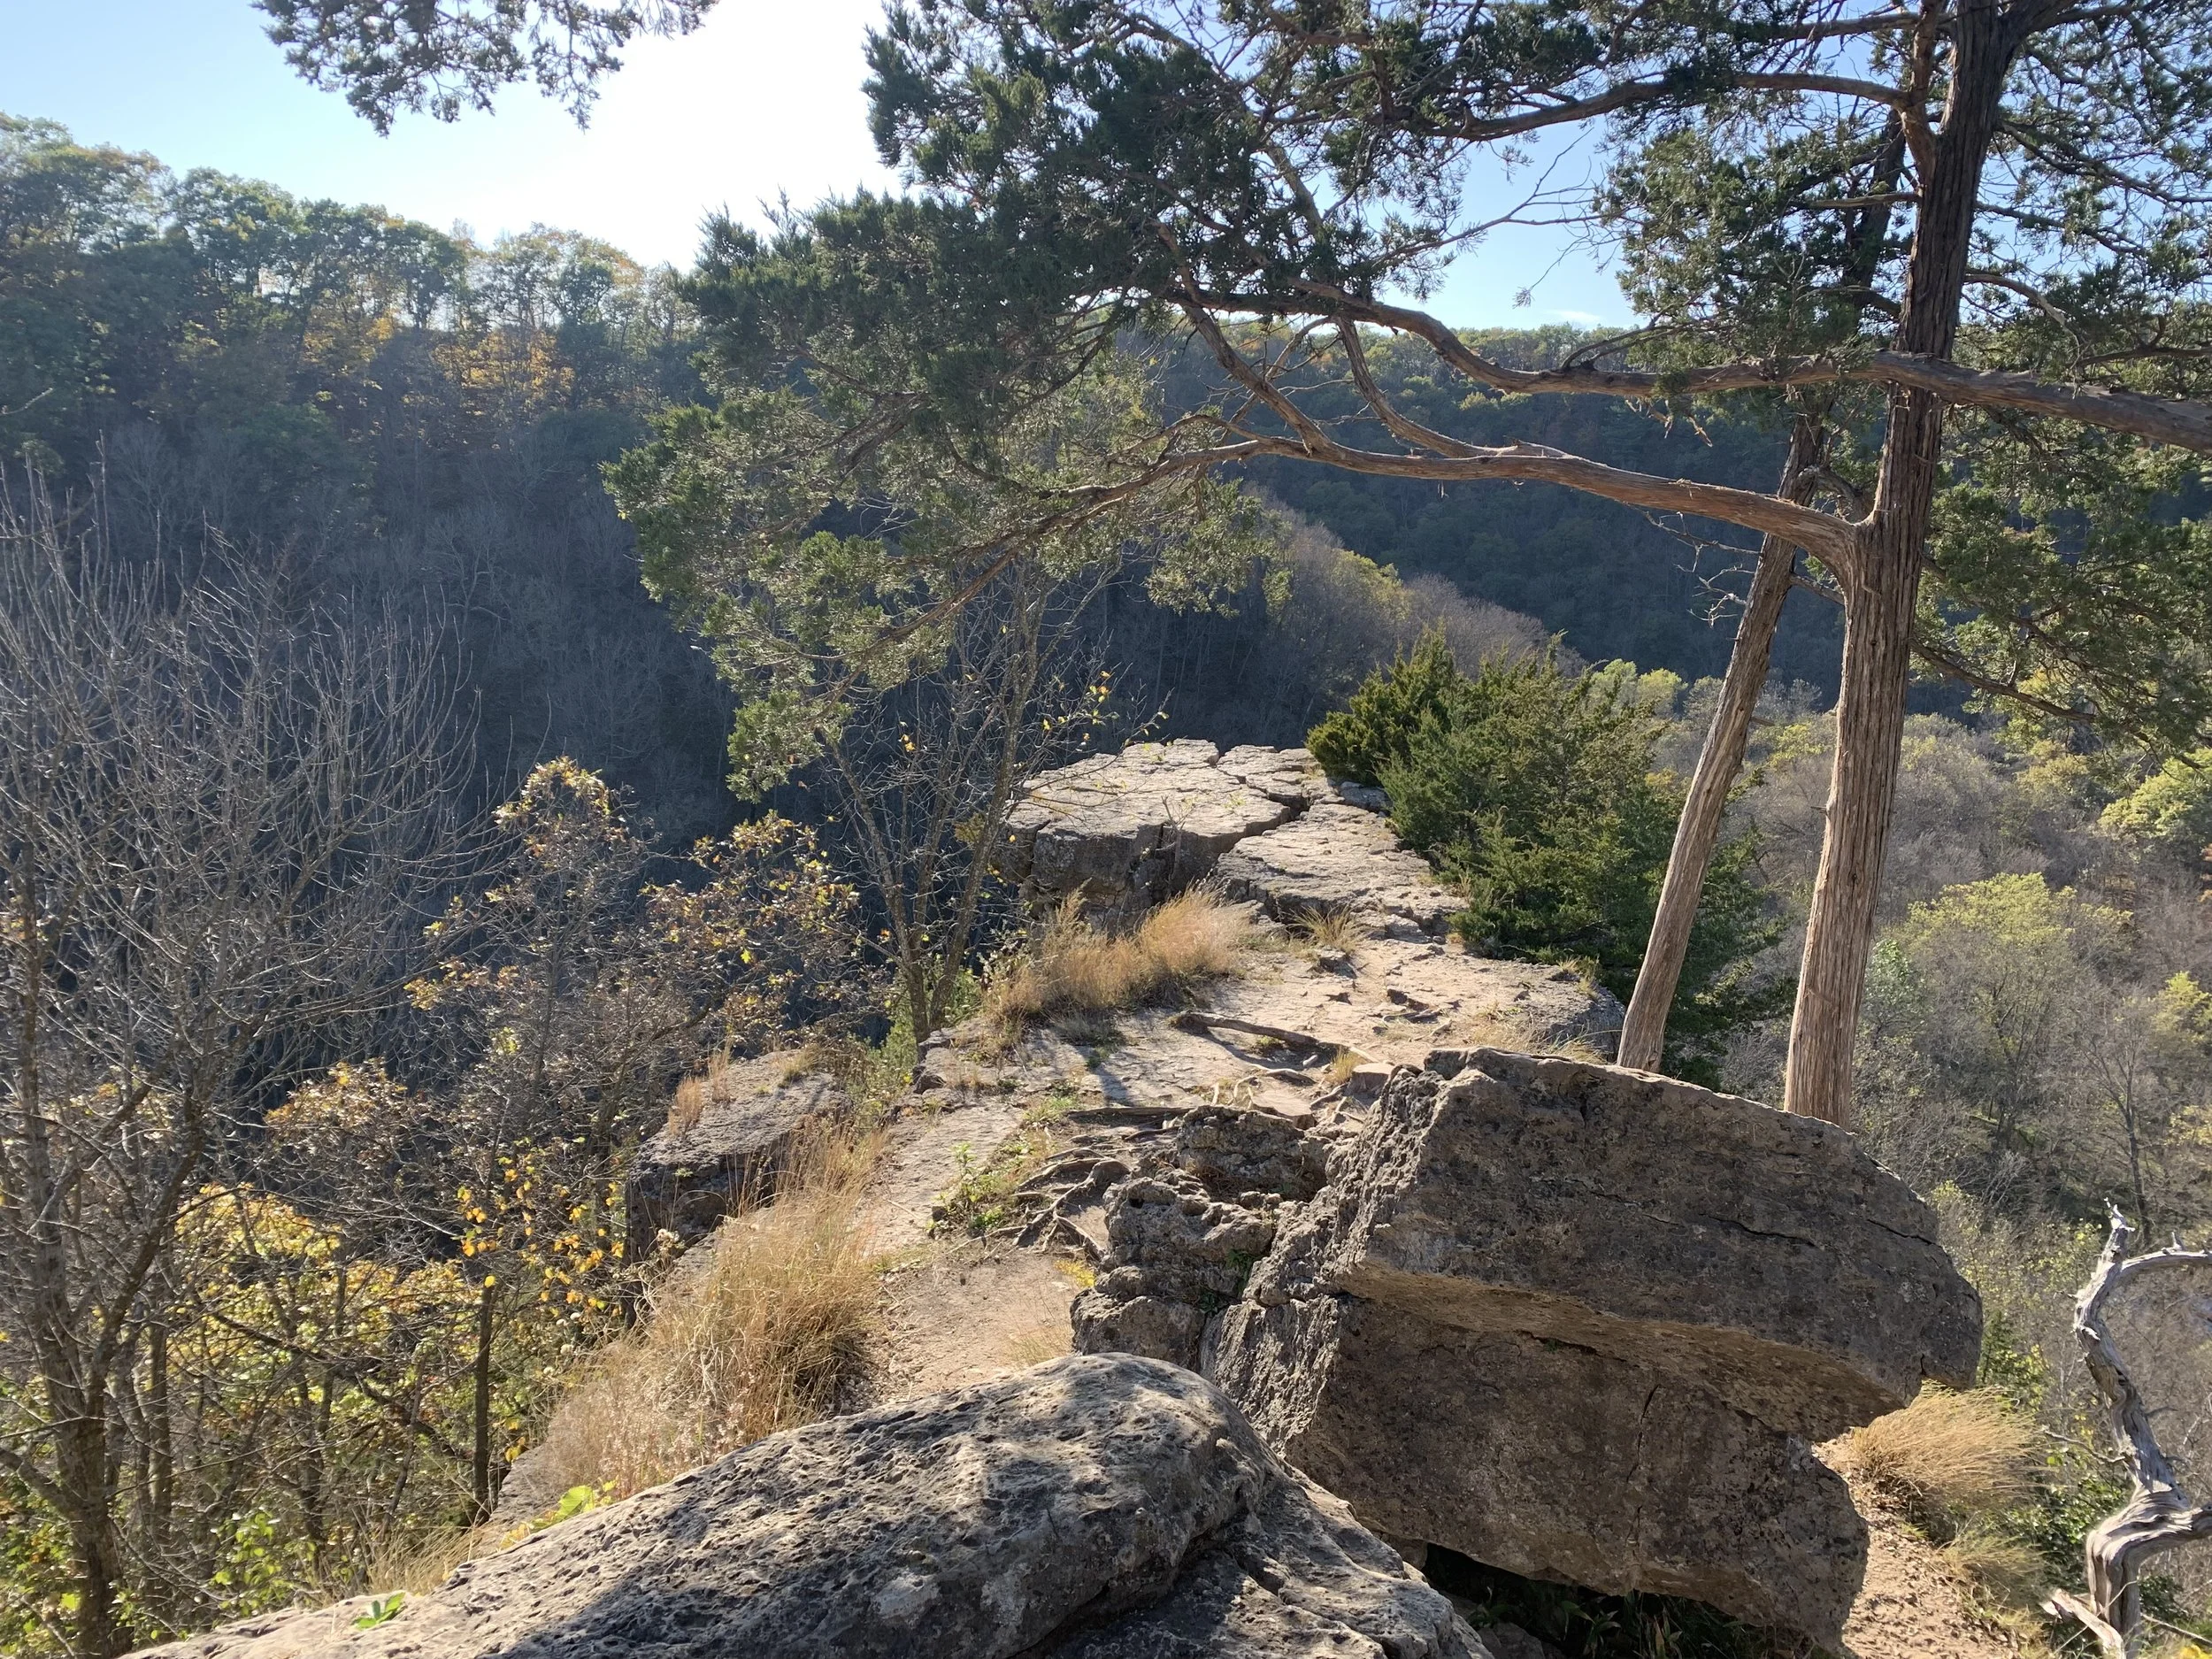
Inspiration Point

The shortest distance to get to Inspiration point is to park at the South Parking Lot and do an out and back, which would be a 0.6 mile hike. My preferred route though is a 2 mile loop (marked as the purple trail), starting at the North Picnic Area parking lot, heading first to Chimney Rock and then going to Inspiration Point. Then take Dakota Trail to the South Picnic Area parking lot and head back along the road to the North Picnic Area parking lot.
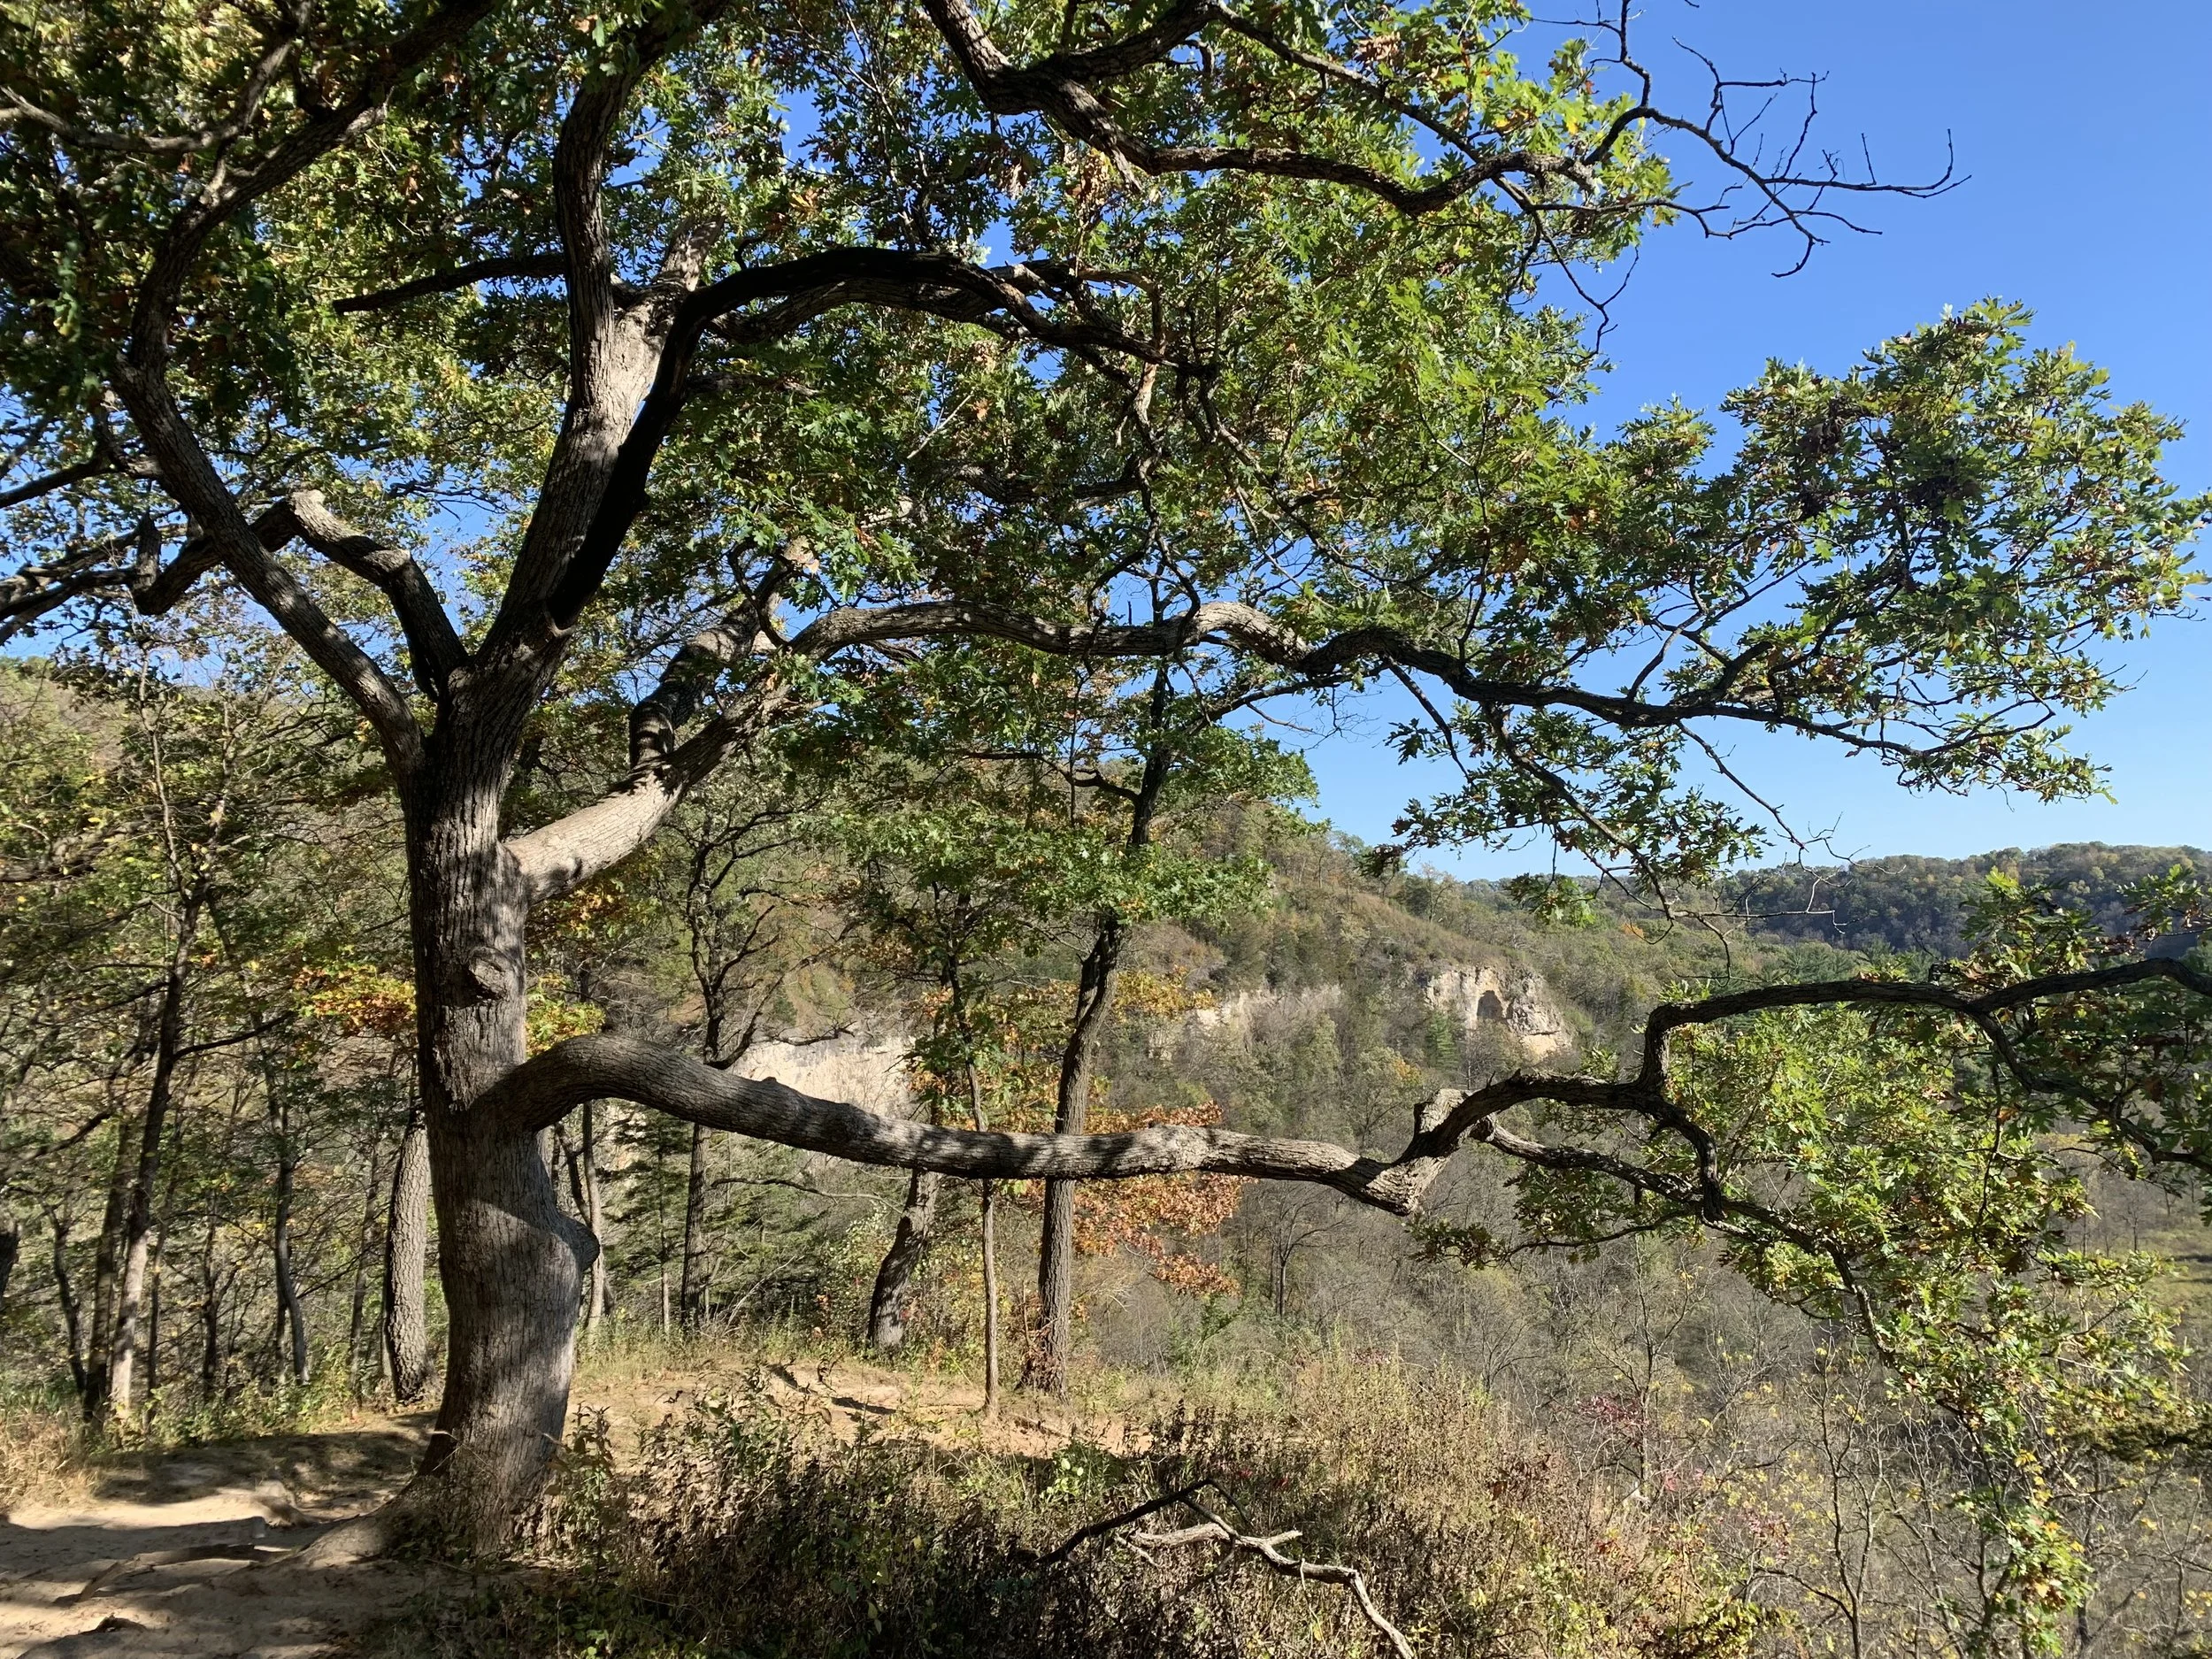
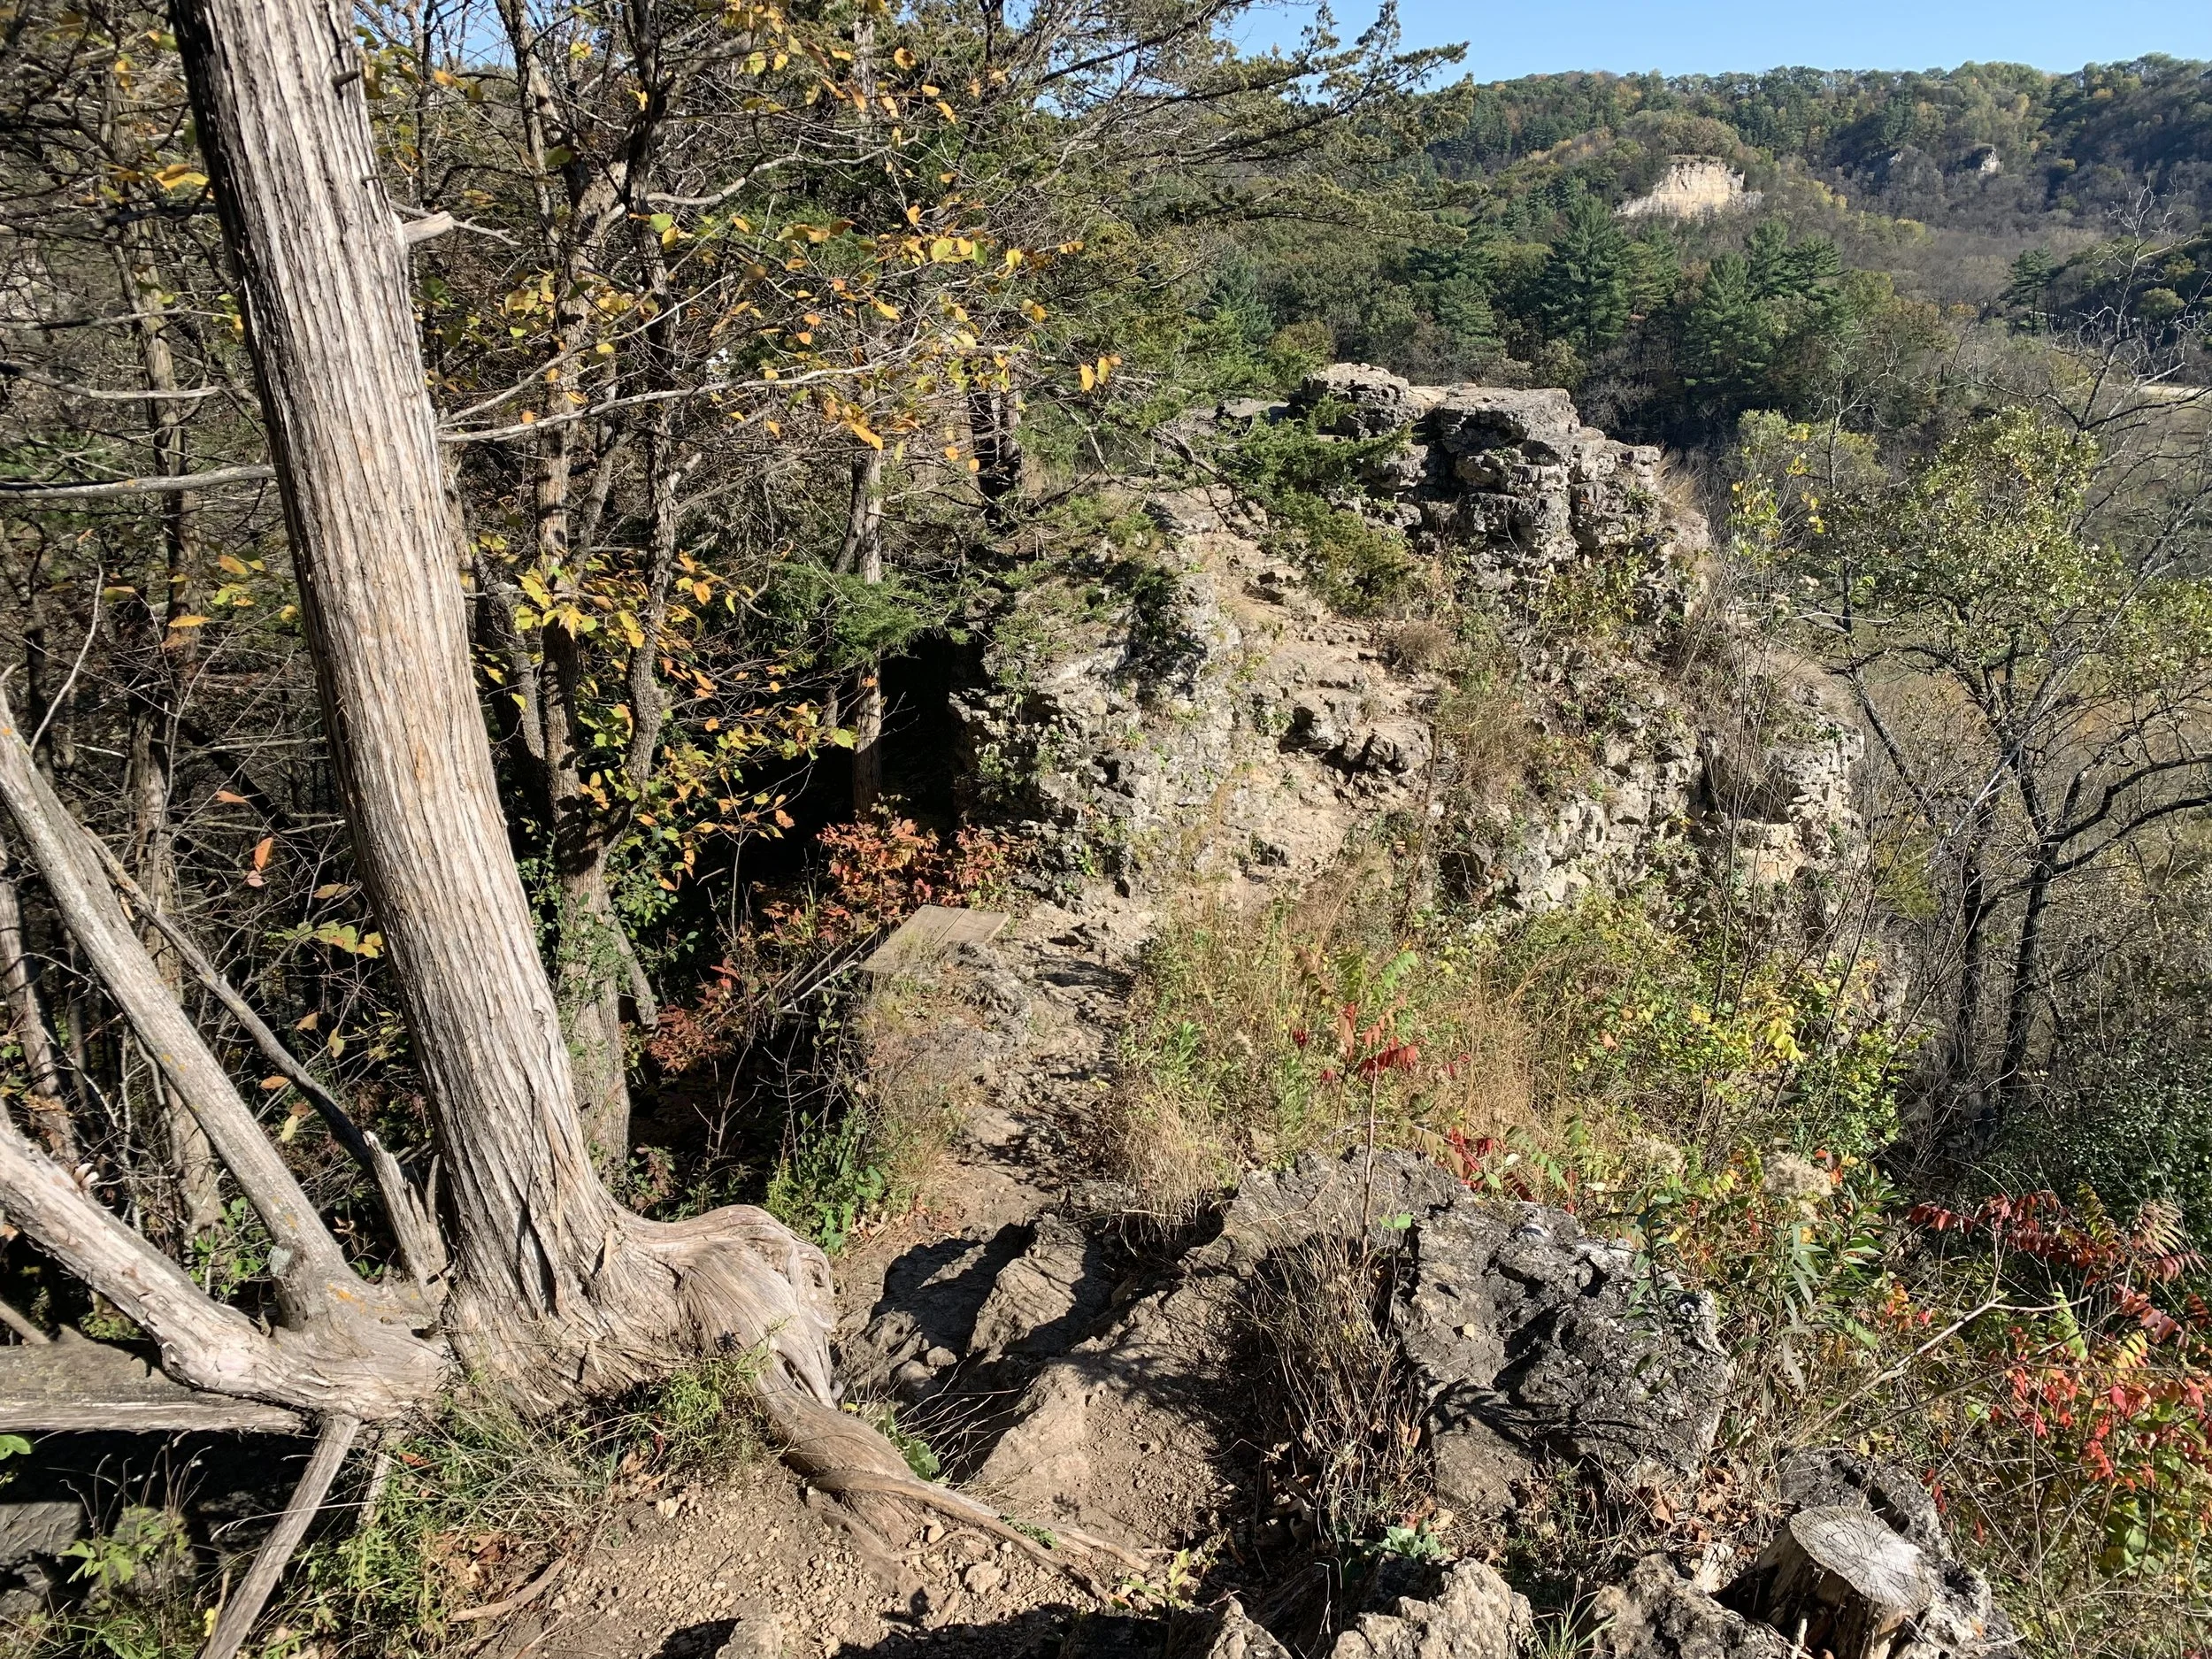
Views of bluffs between Chimney Rock and Inspiration Point
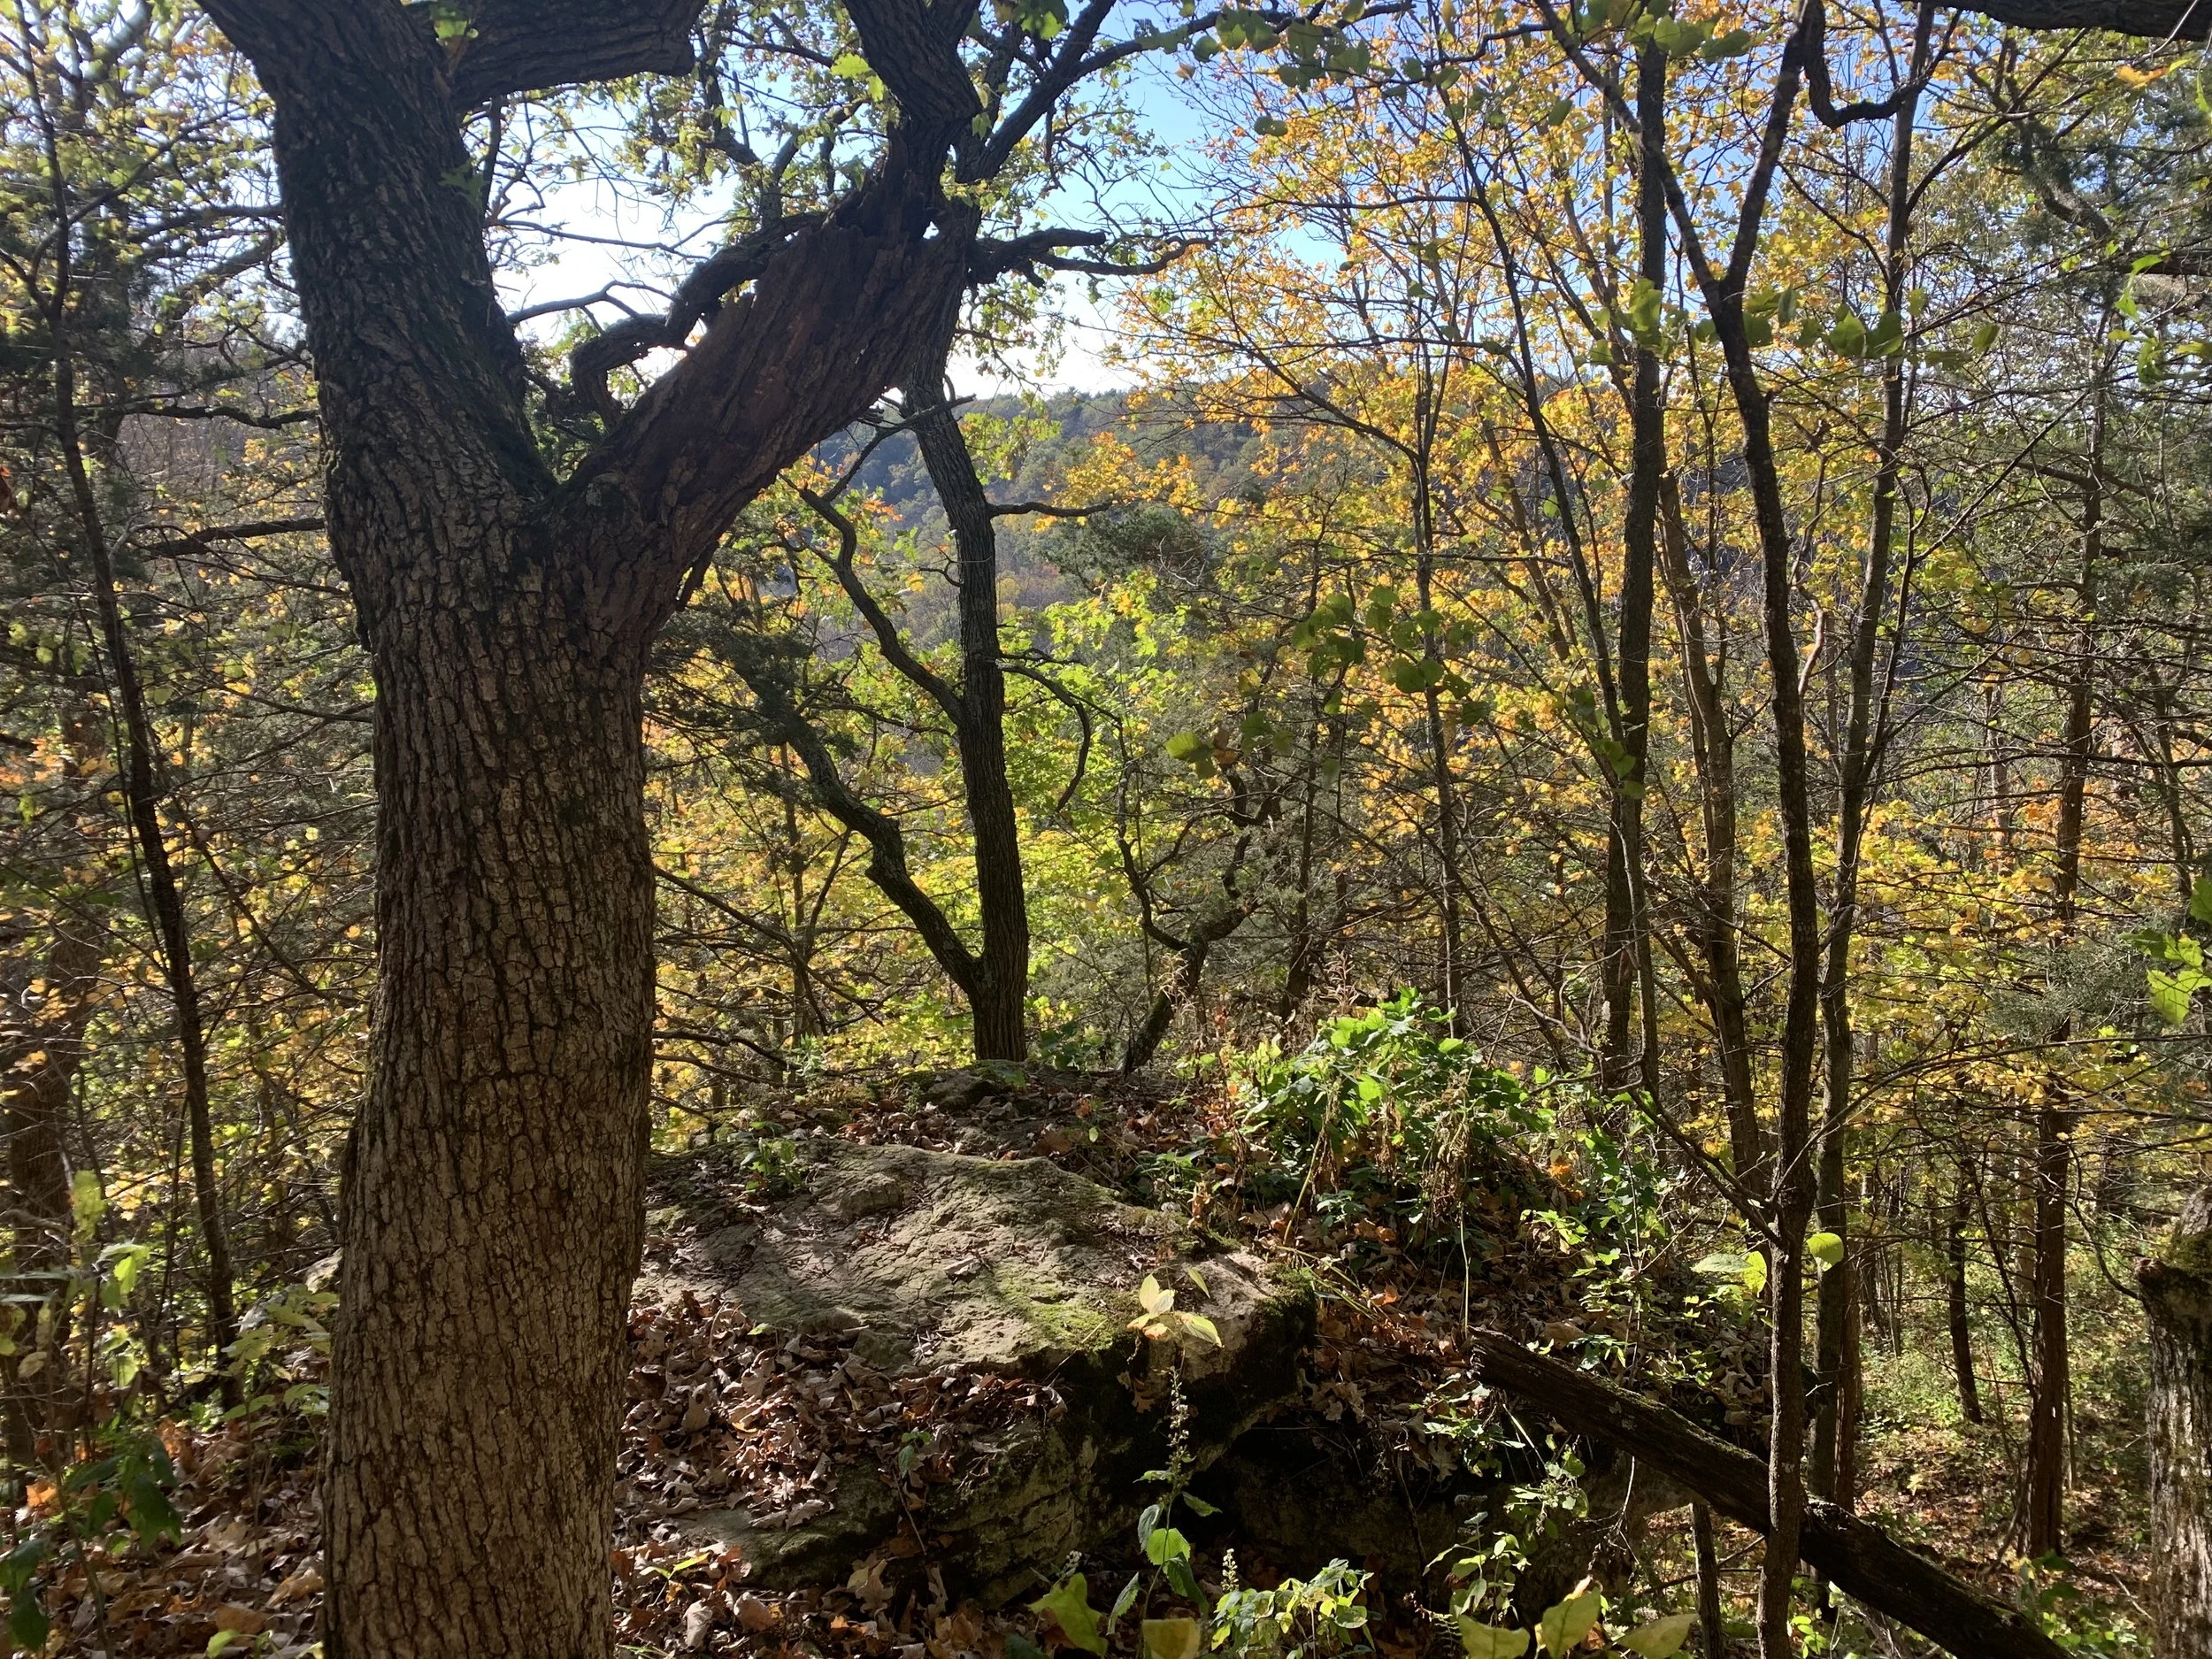
Trail between Chimney Rock and Inspiration Point

Trail out to Inspiration Point

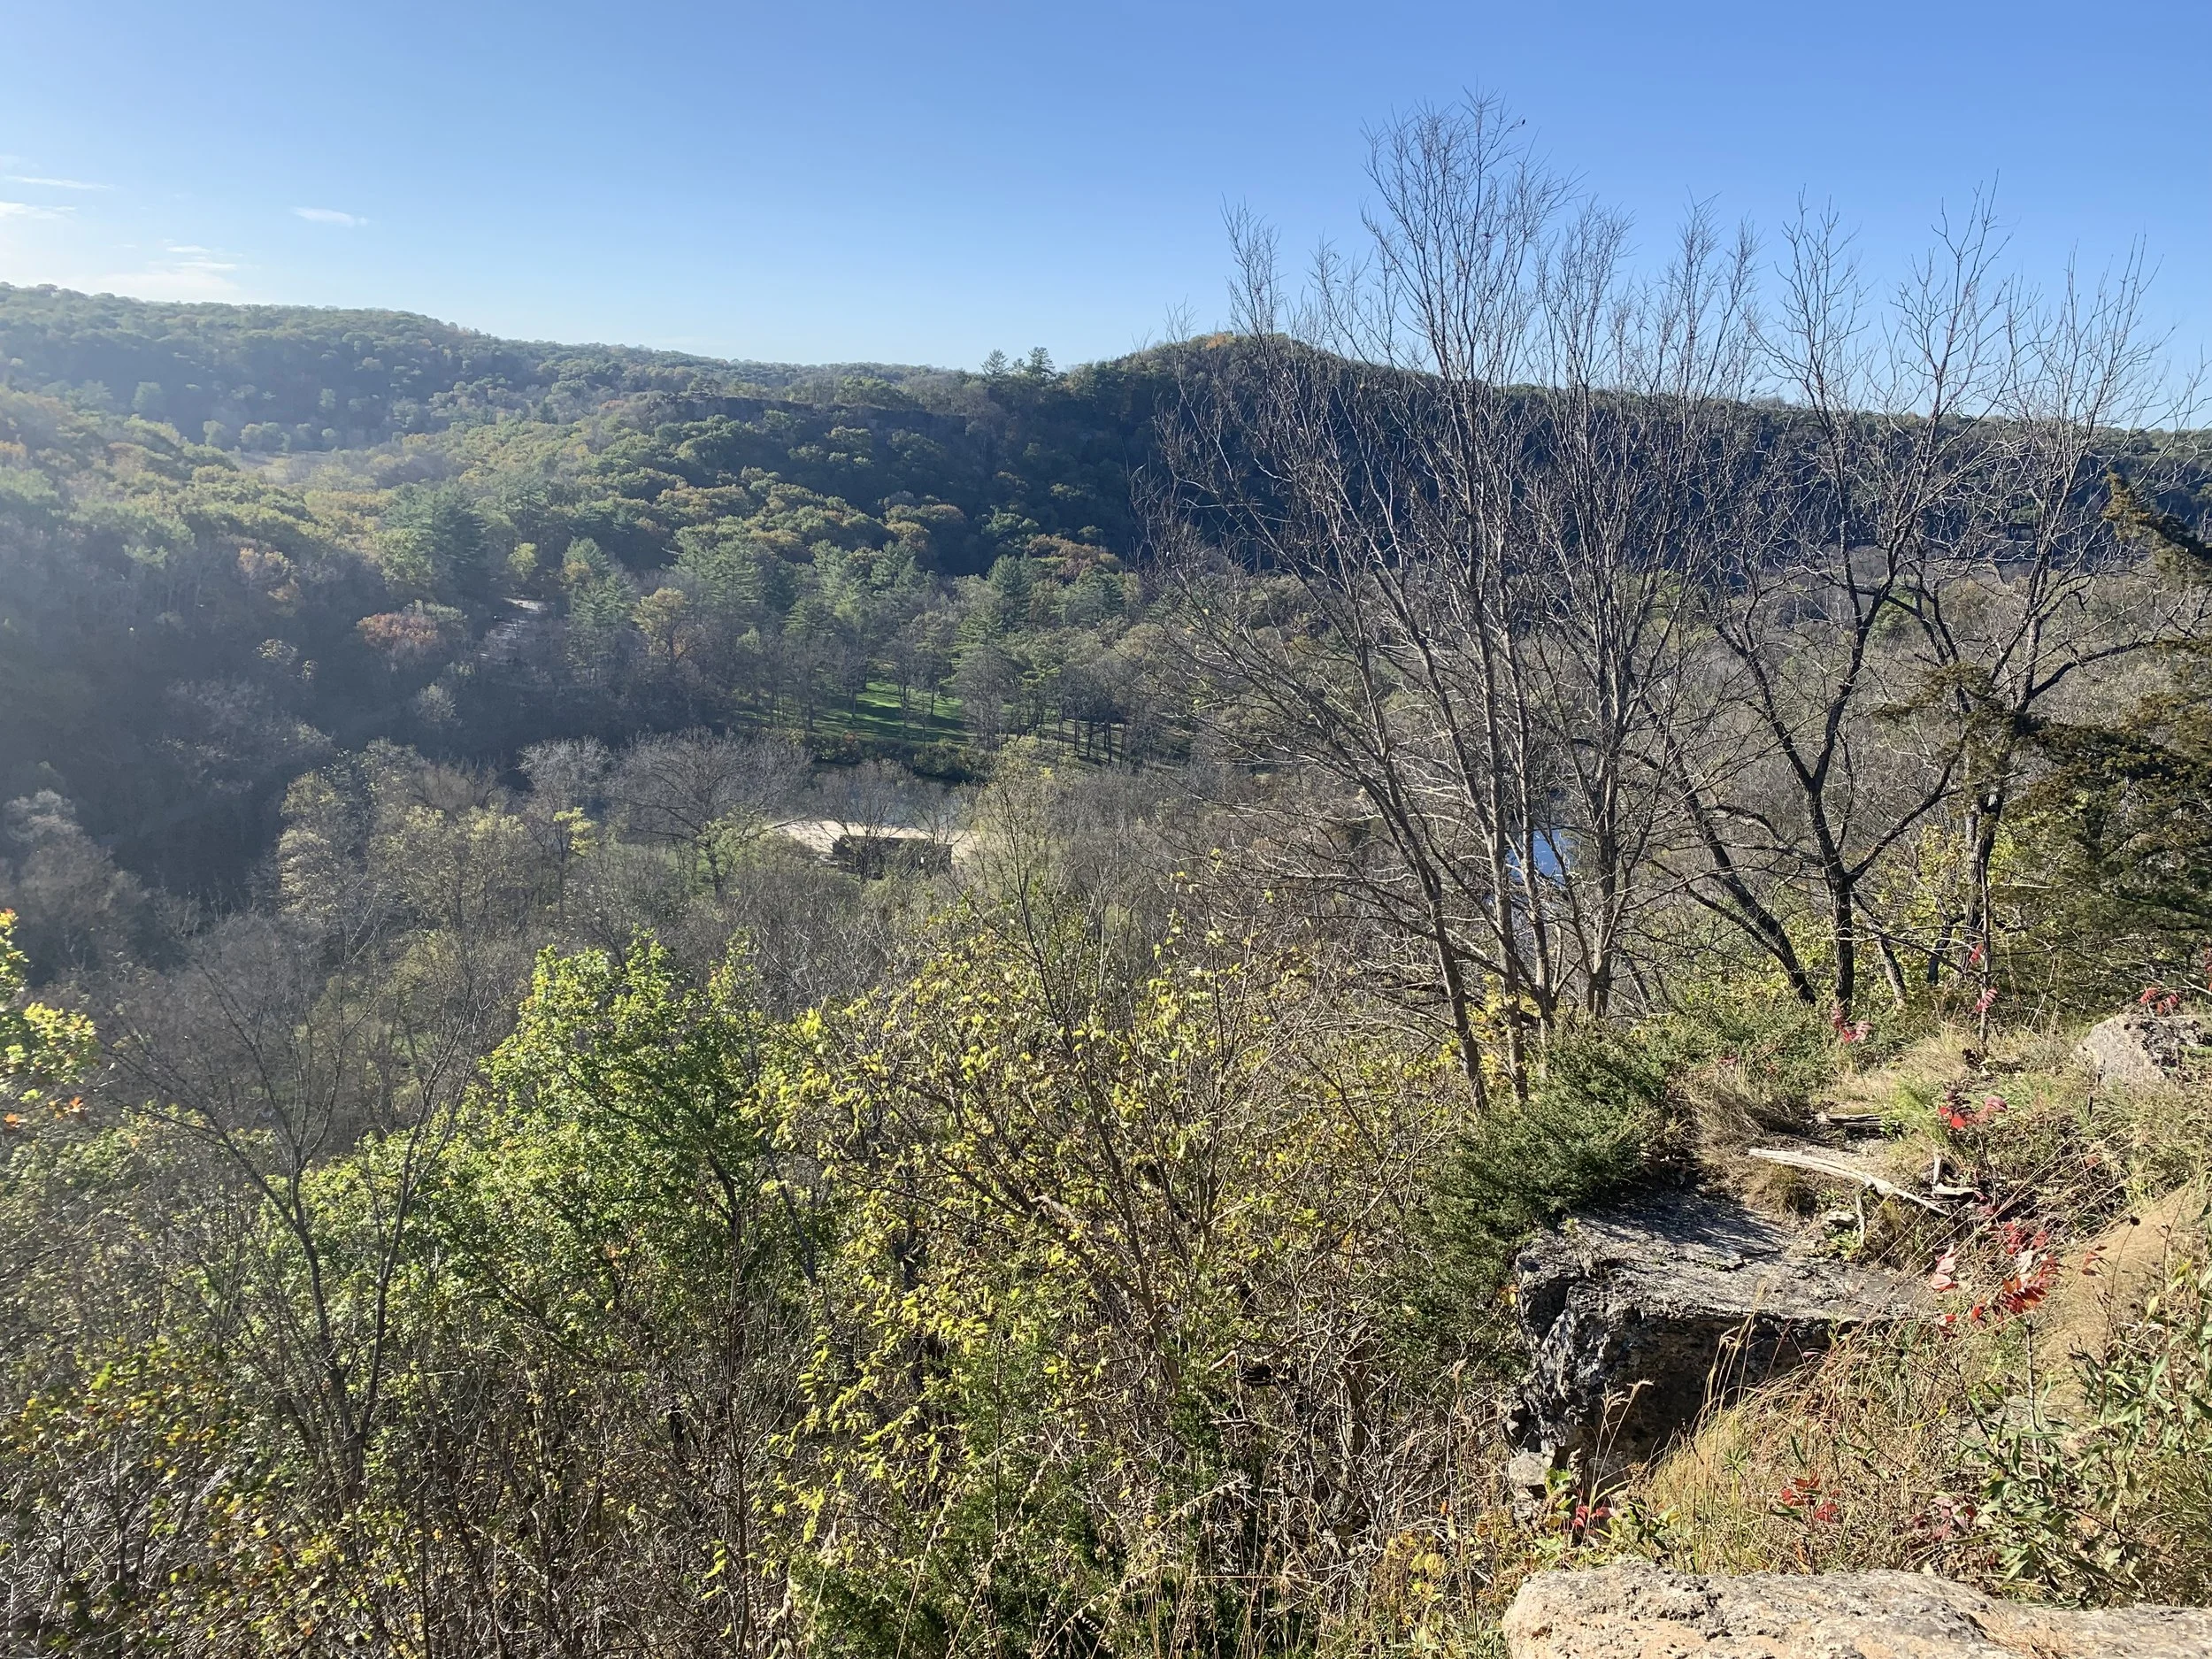
Inspiration Point

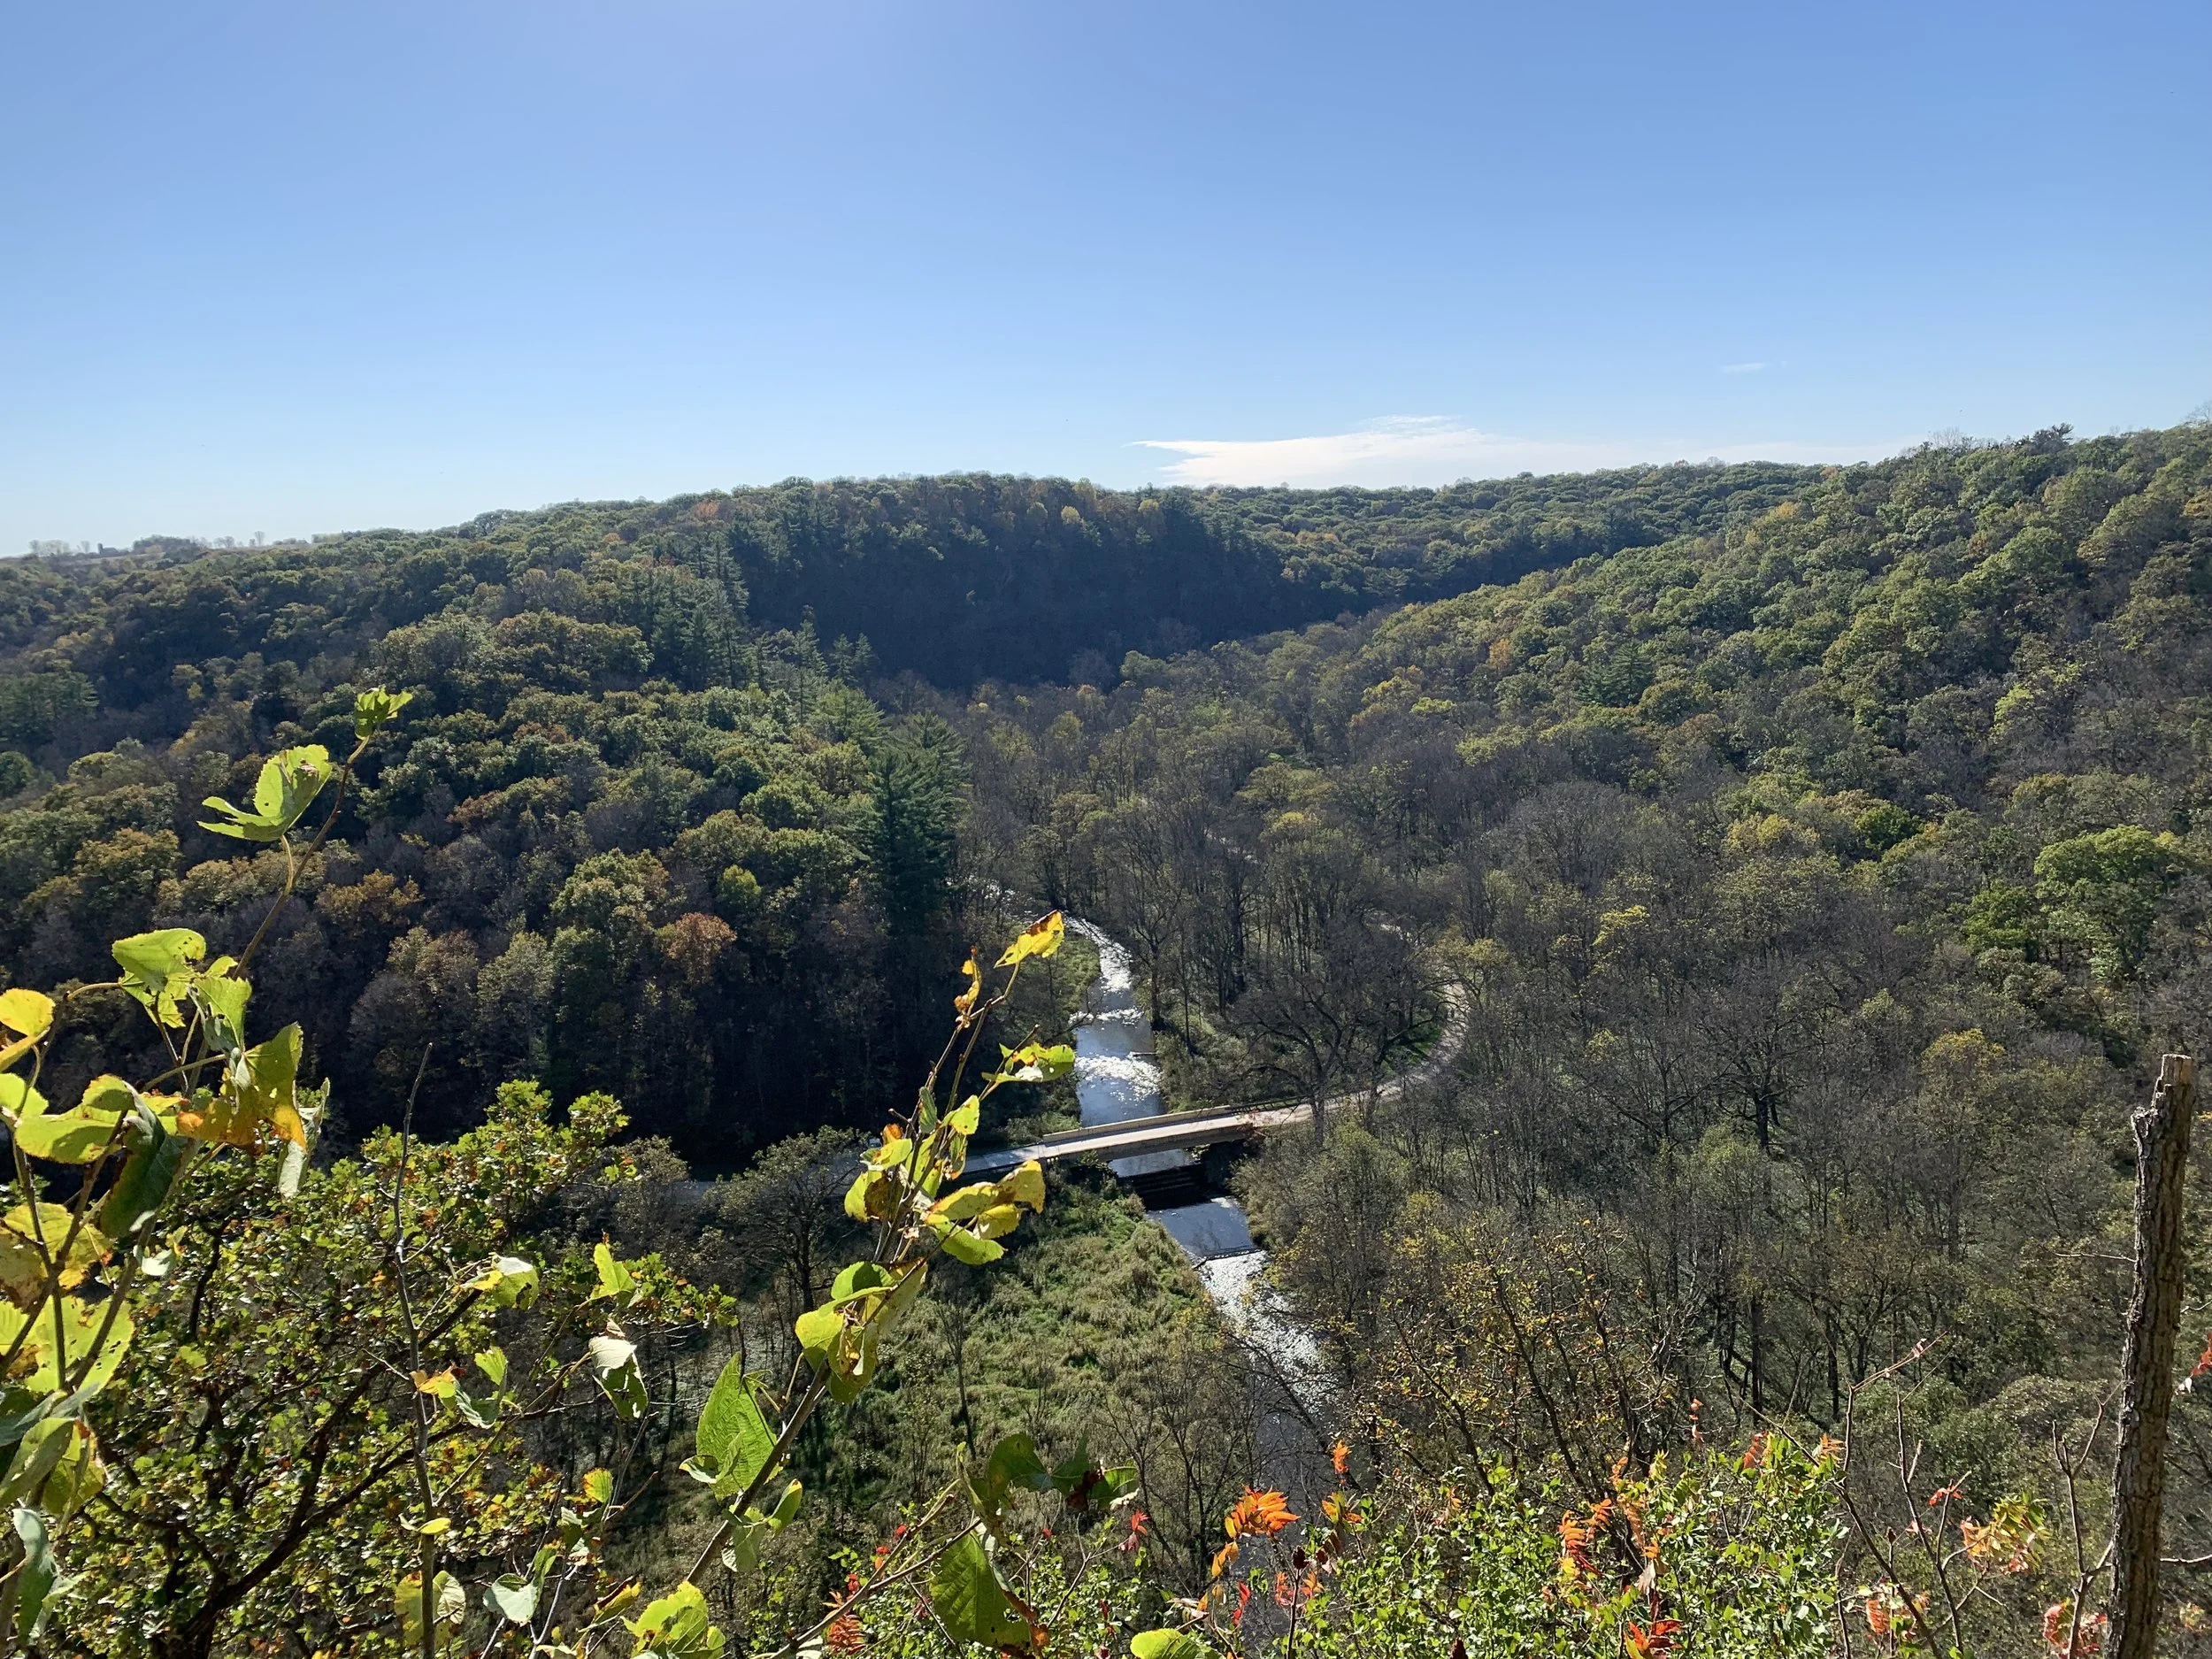
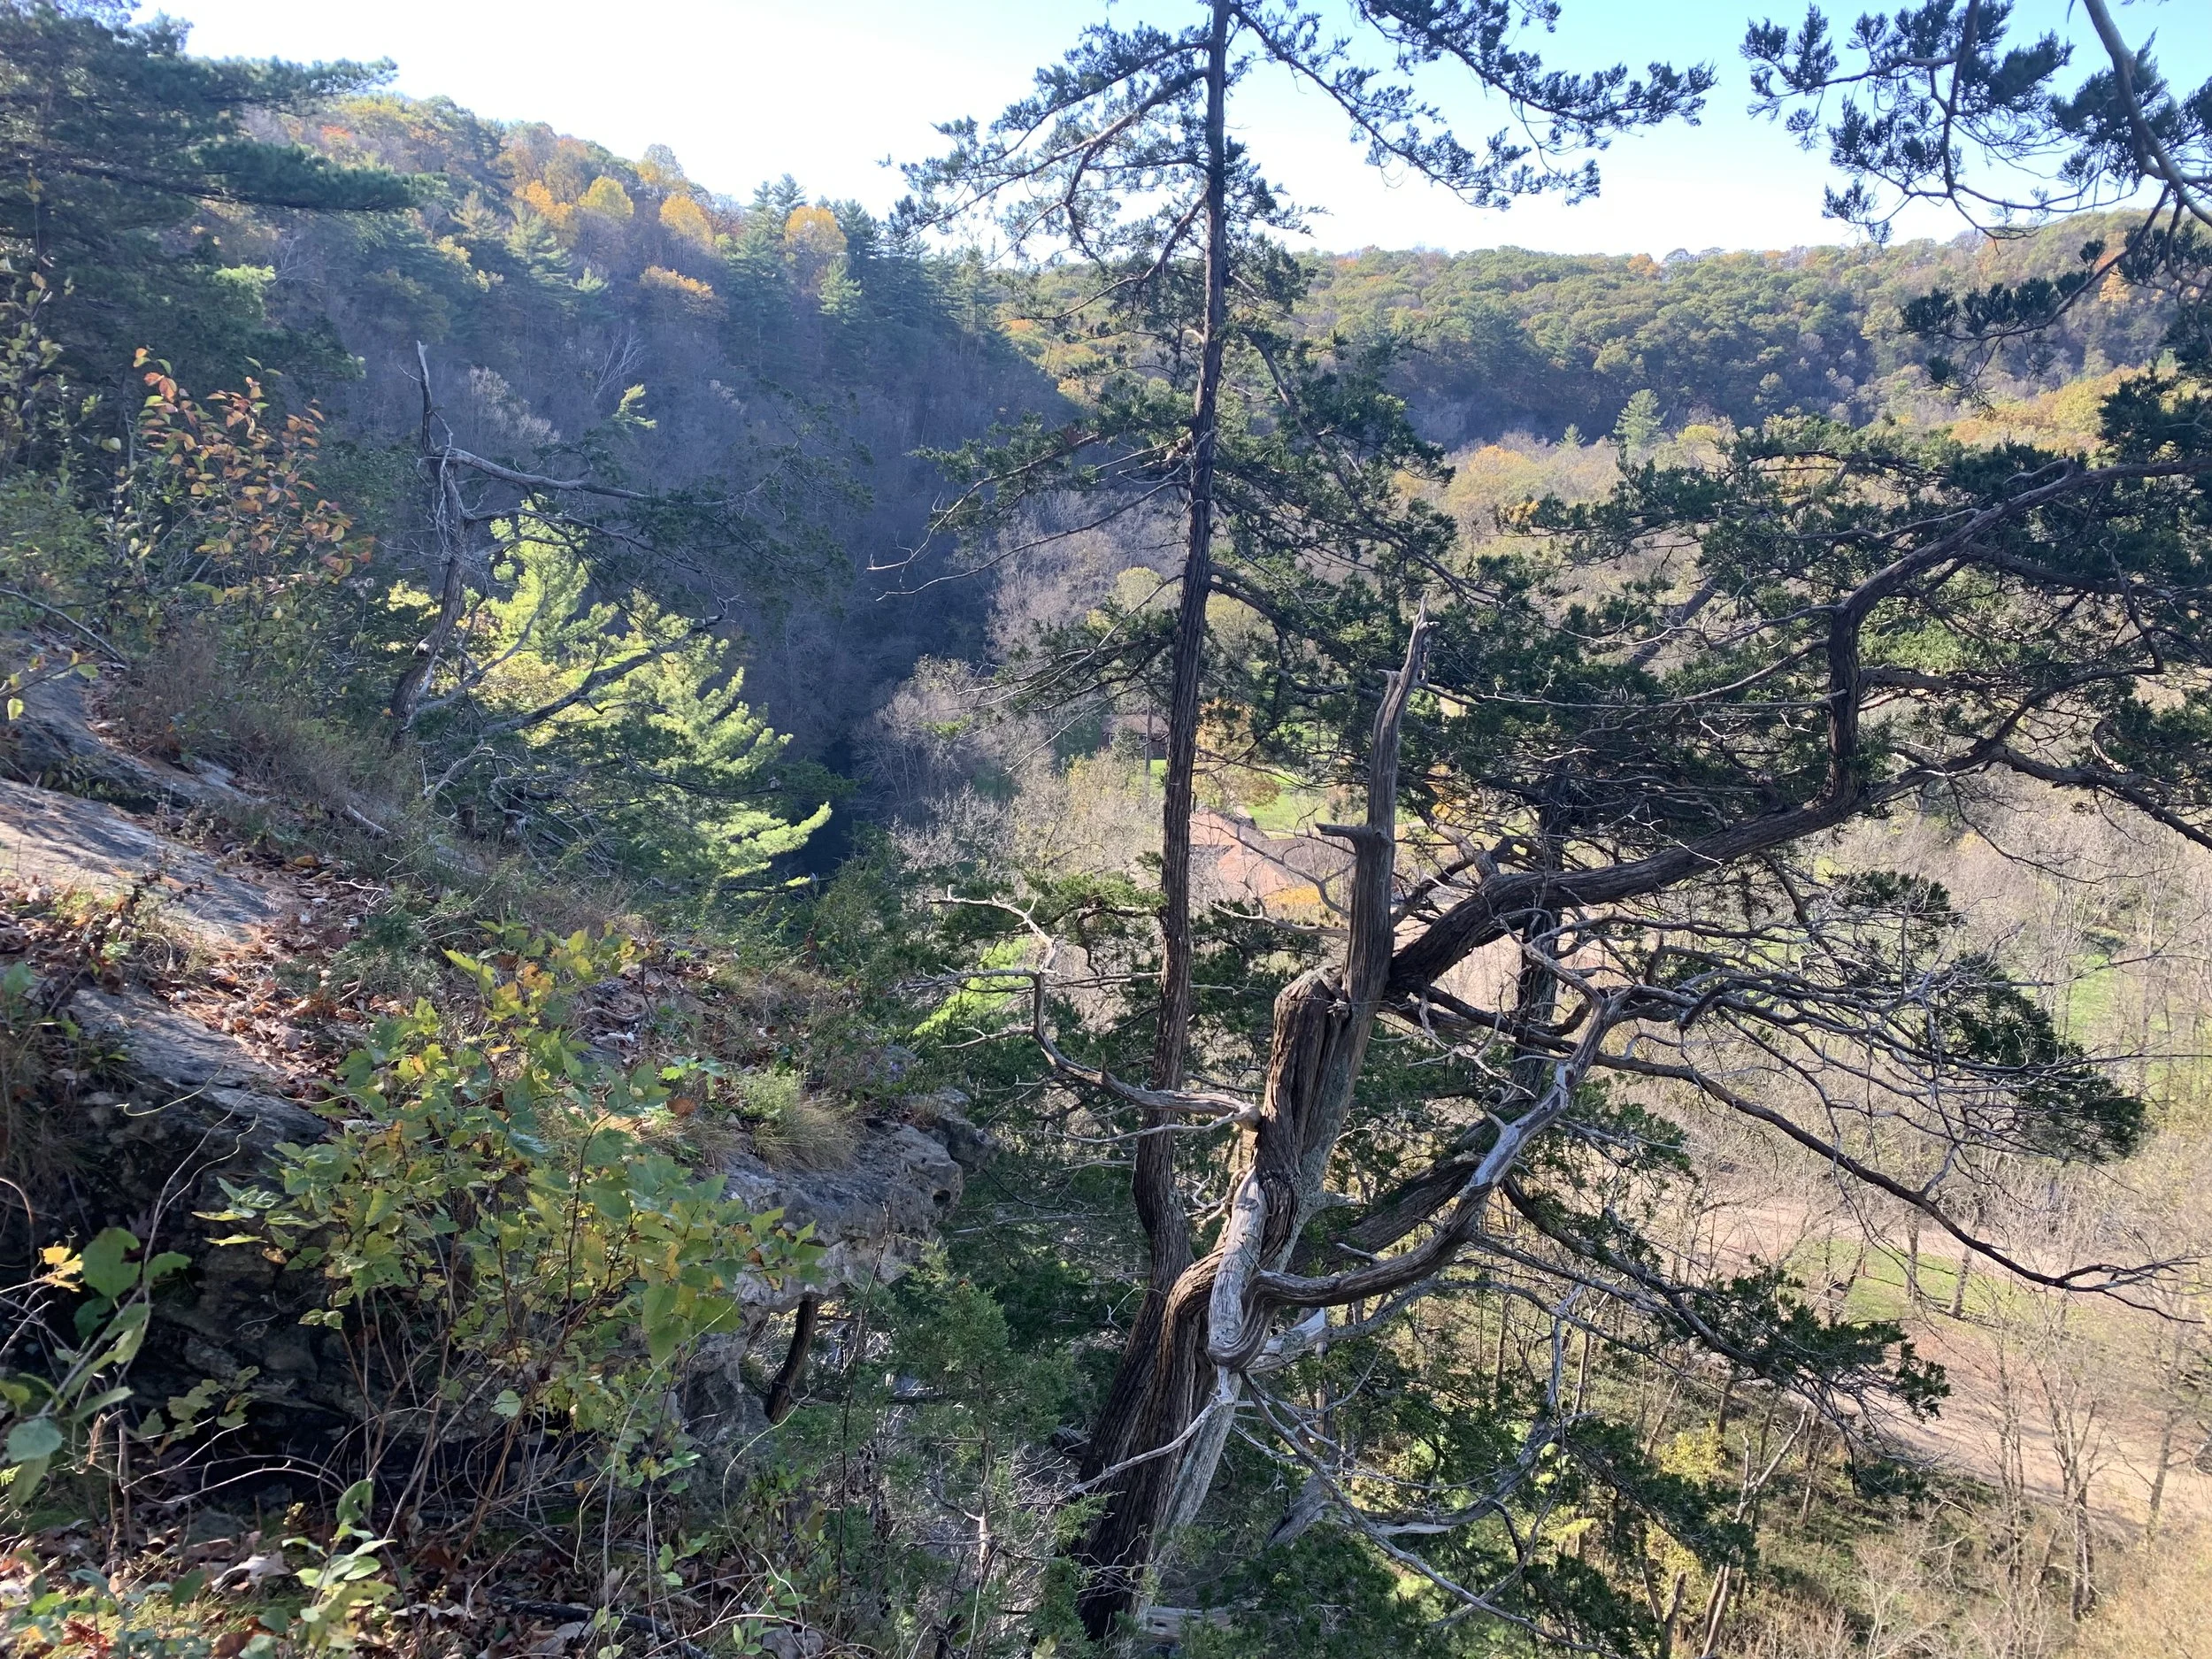
View from Inspiration Point

View from Inspiration Point

View from Inspiration Point
View from Inspiration Point
If you are taking the Dakota Trail after Inspiration Point, there is a false trail near the sign labeled R. Stay on the rocks and walk left towards the edge (not too close obviously) and looking down you will see the steps I show below. Take these. There is also a dirt trail back a ways that heads off in another direction. Don’t take this trail. It leads to the park boundary and will not help you get down the bluff to the road.
Dakota Trail - steps down to the South Parking Lot
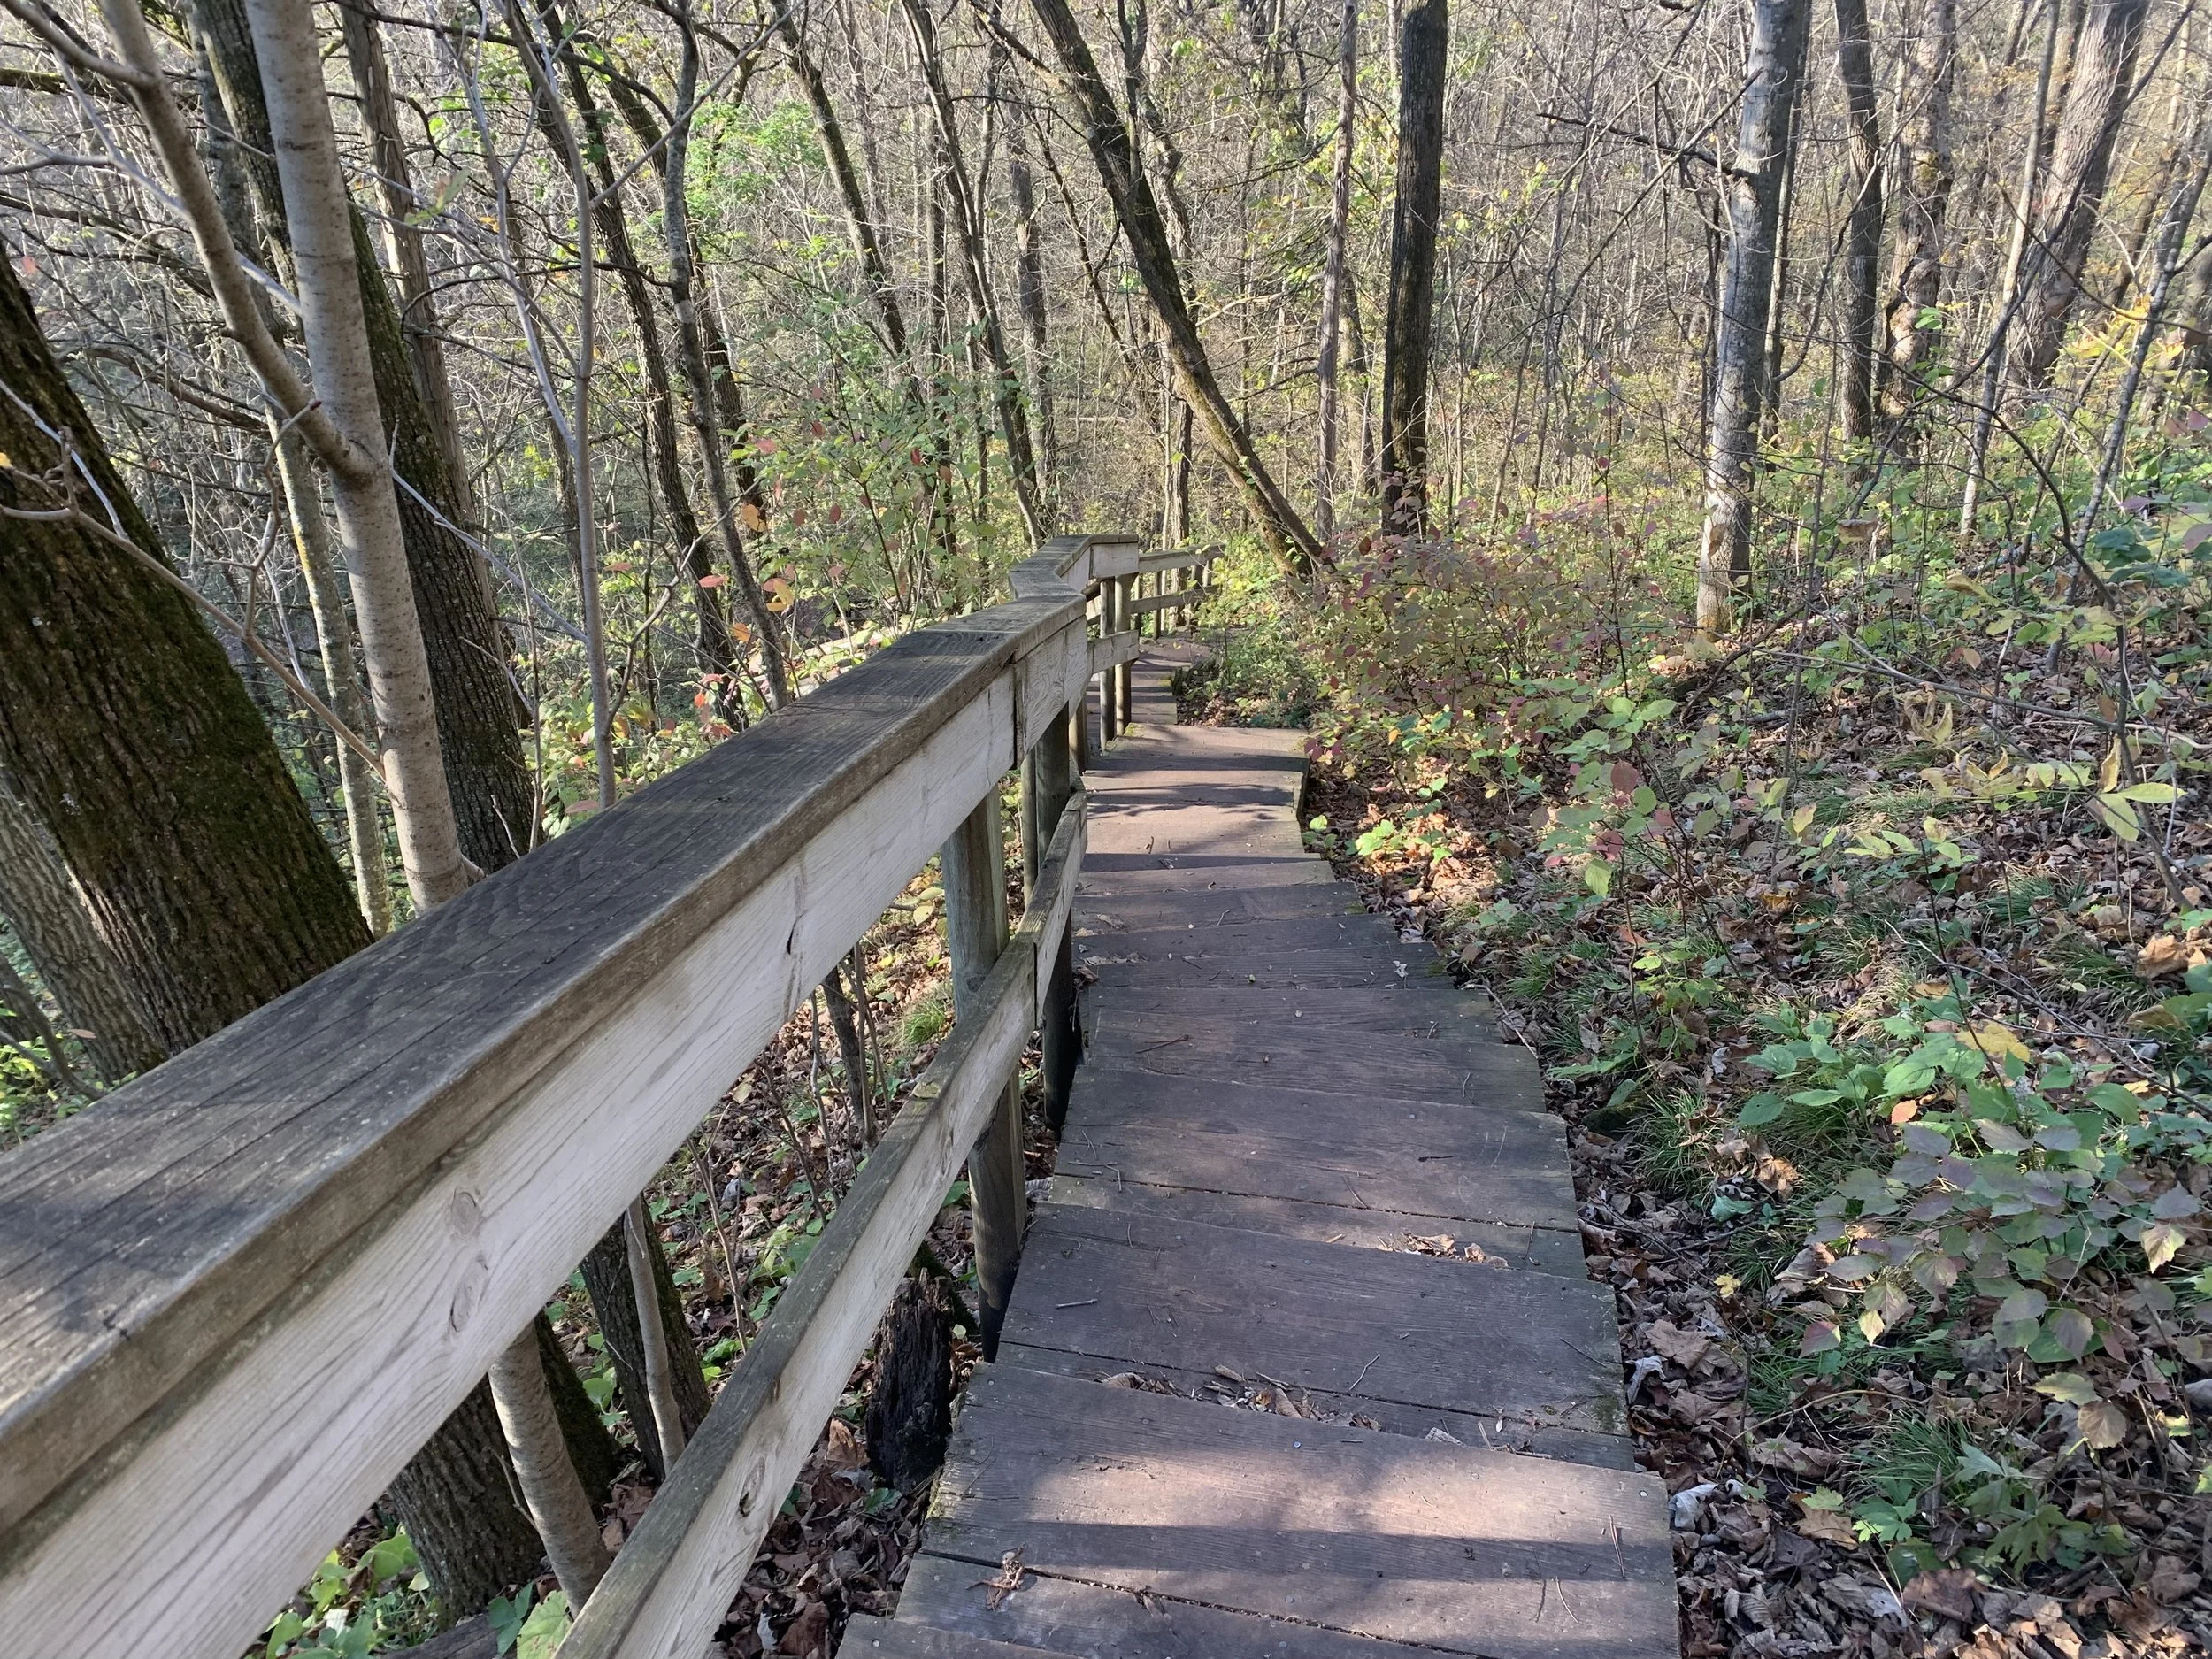
Dakota Trail - More steps
Trout Run Creek

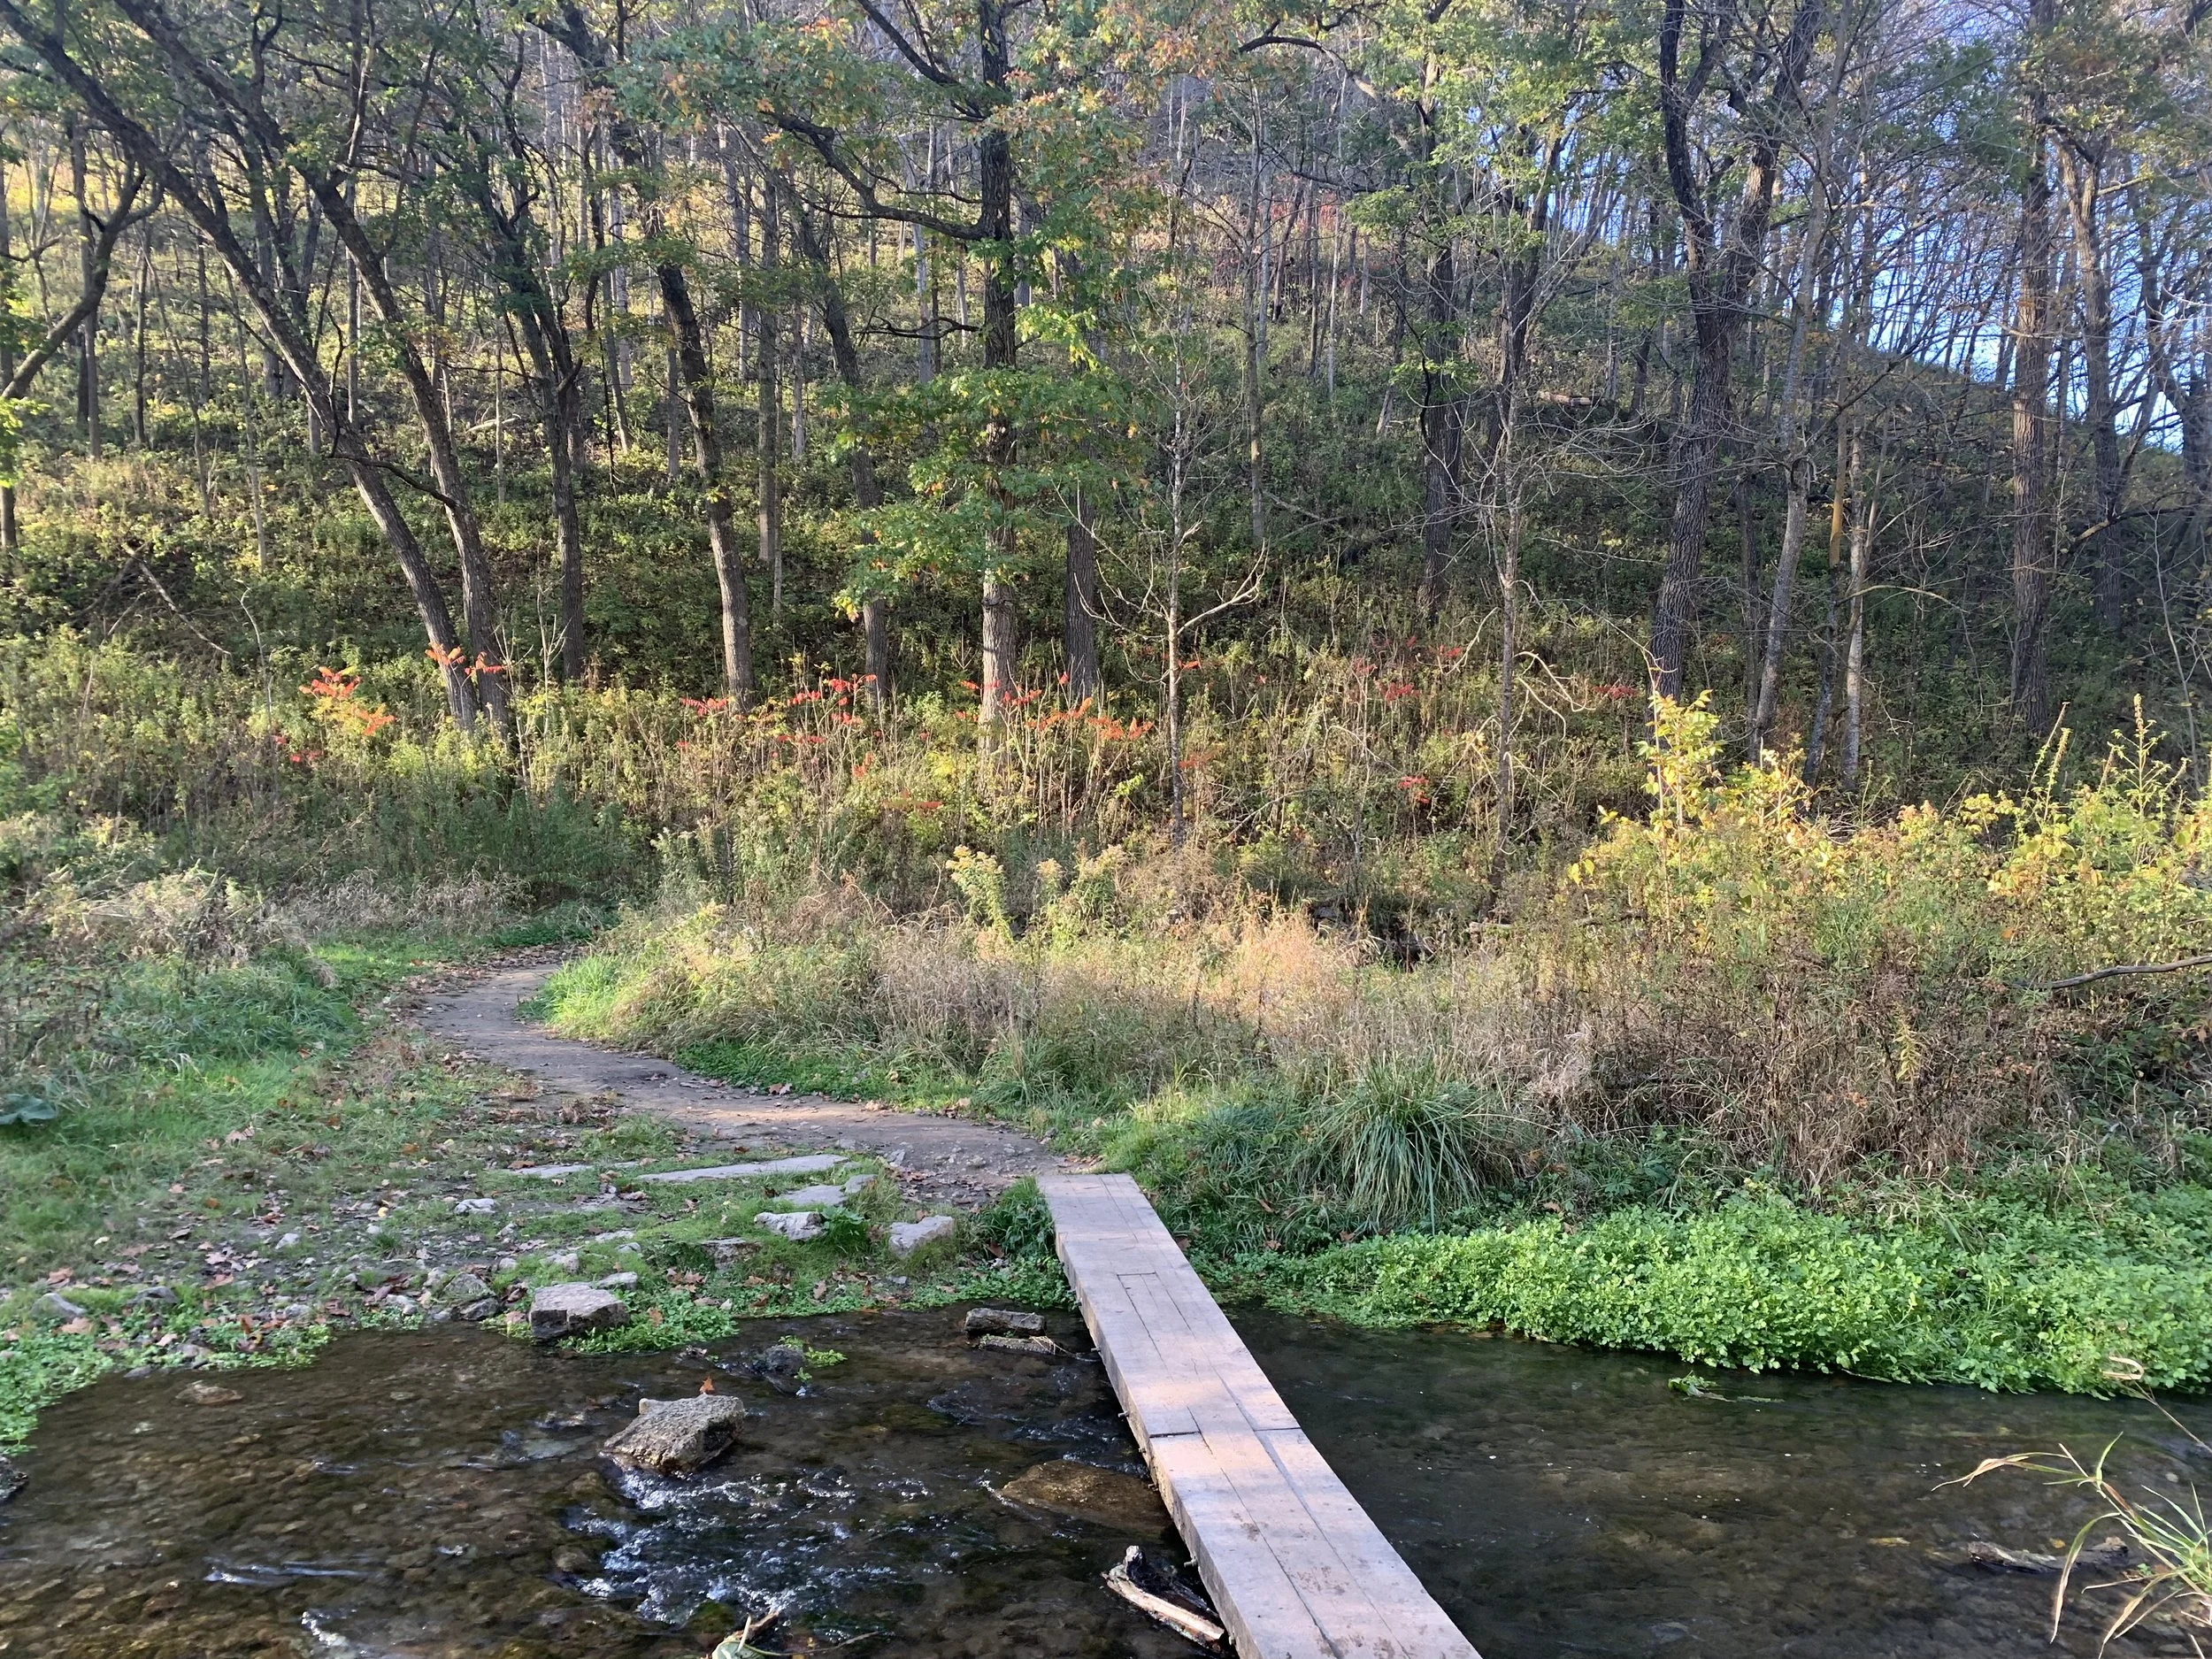
The Trout Run Creek Trail is the green trail I have marked on the map, and this is the one trail I would recommend parking at the South Picnic Area parking lot to get to, unless you are looking for a really long hike after you’ve been to Inspiration Point. Out and back from the parking lot is 2 miles. You will head out first on the Dakota Trail for 0.3 miles until you see this sign (at point Q), then follow Trout Run.

Trail Intersection Q between Dakota and Trout Run
This is a really pretty trail. The trail is easy and flat and closely follows the creek.
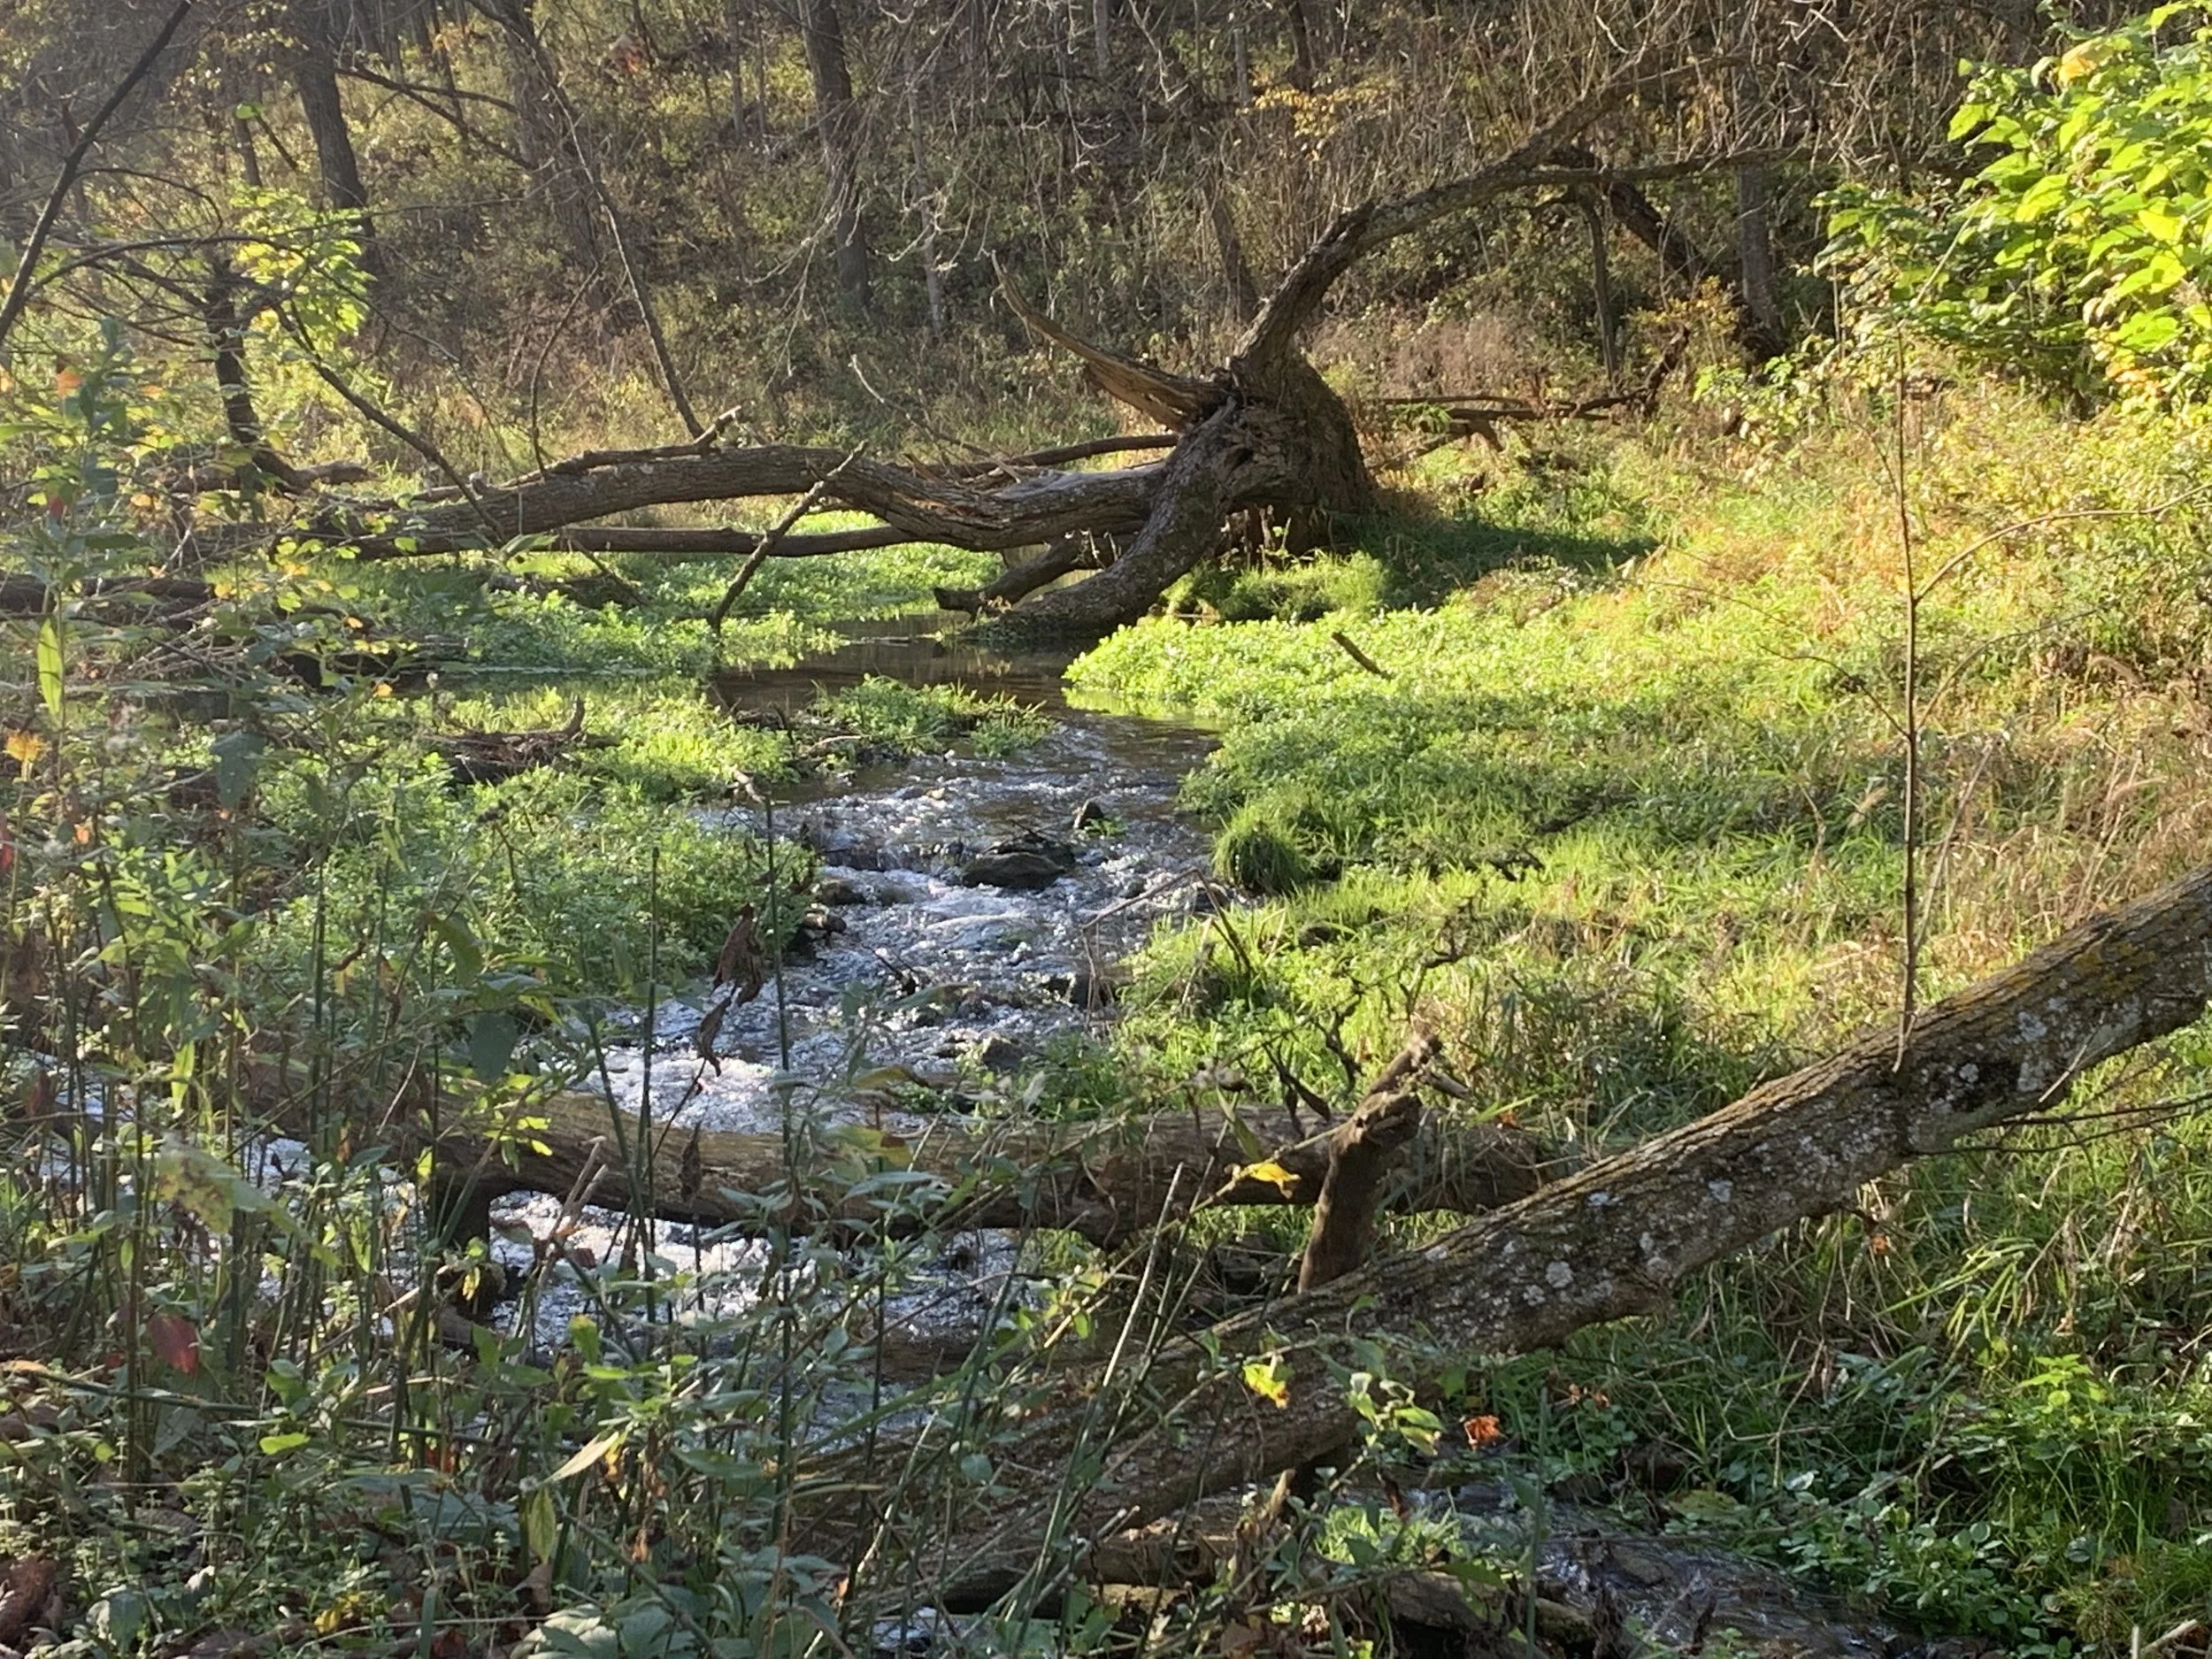
Trout Creek
Bridge Crossing along Trout Creek

Trout Creek

Trout Creek
Fall is my favorite time to hike, but if you are at Whitewater in the fall, expect that you might not be able to complete the entire trail. I laughed when I saw this sign, and appreciated the park let the beavers alter the creek as they need to in order to prepare their homes for winter.
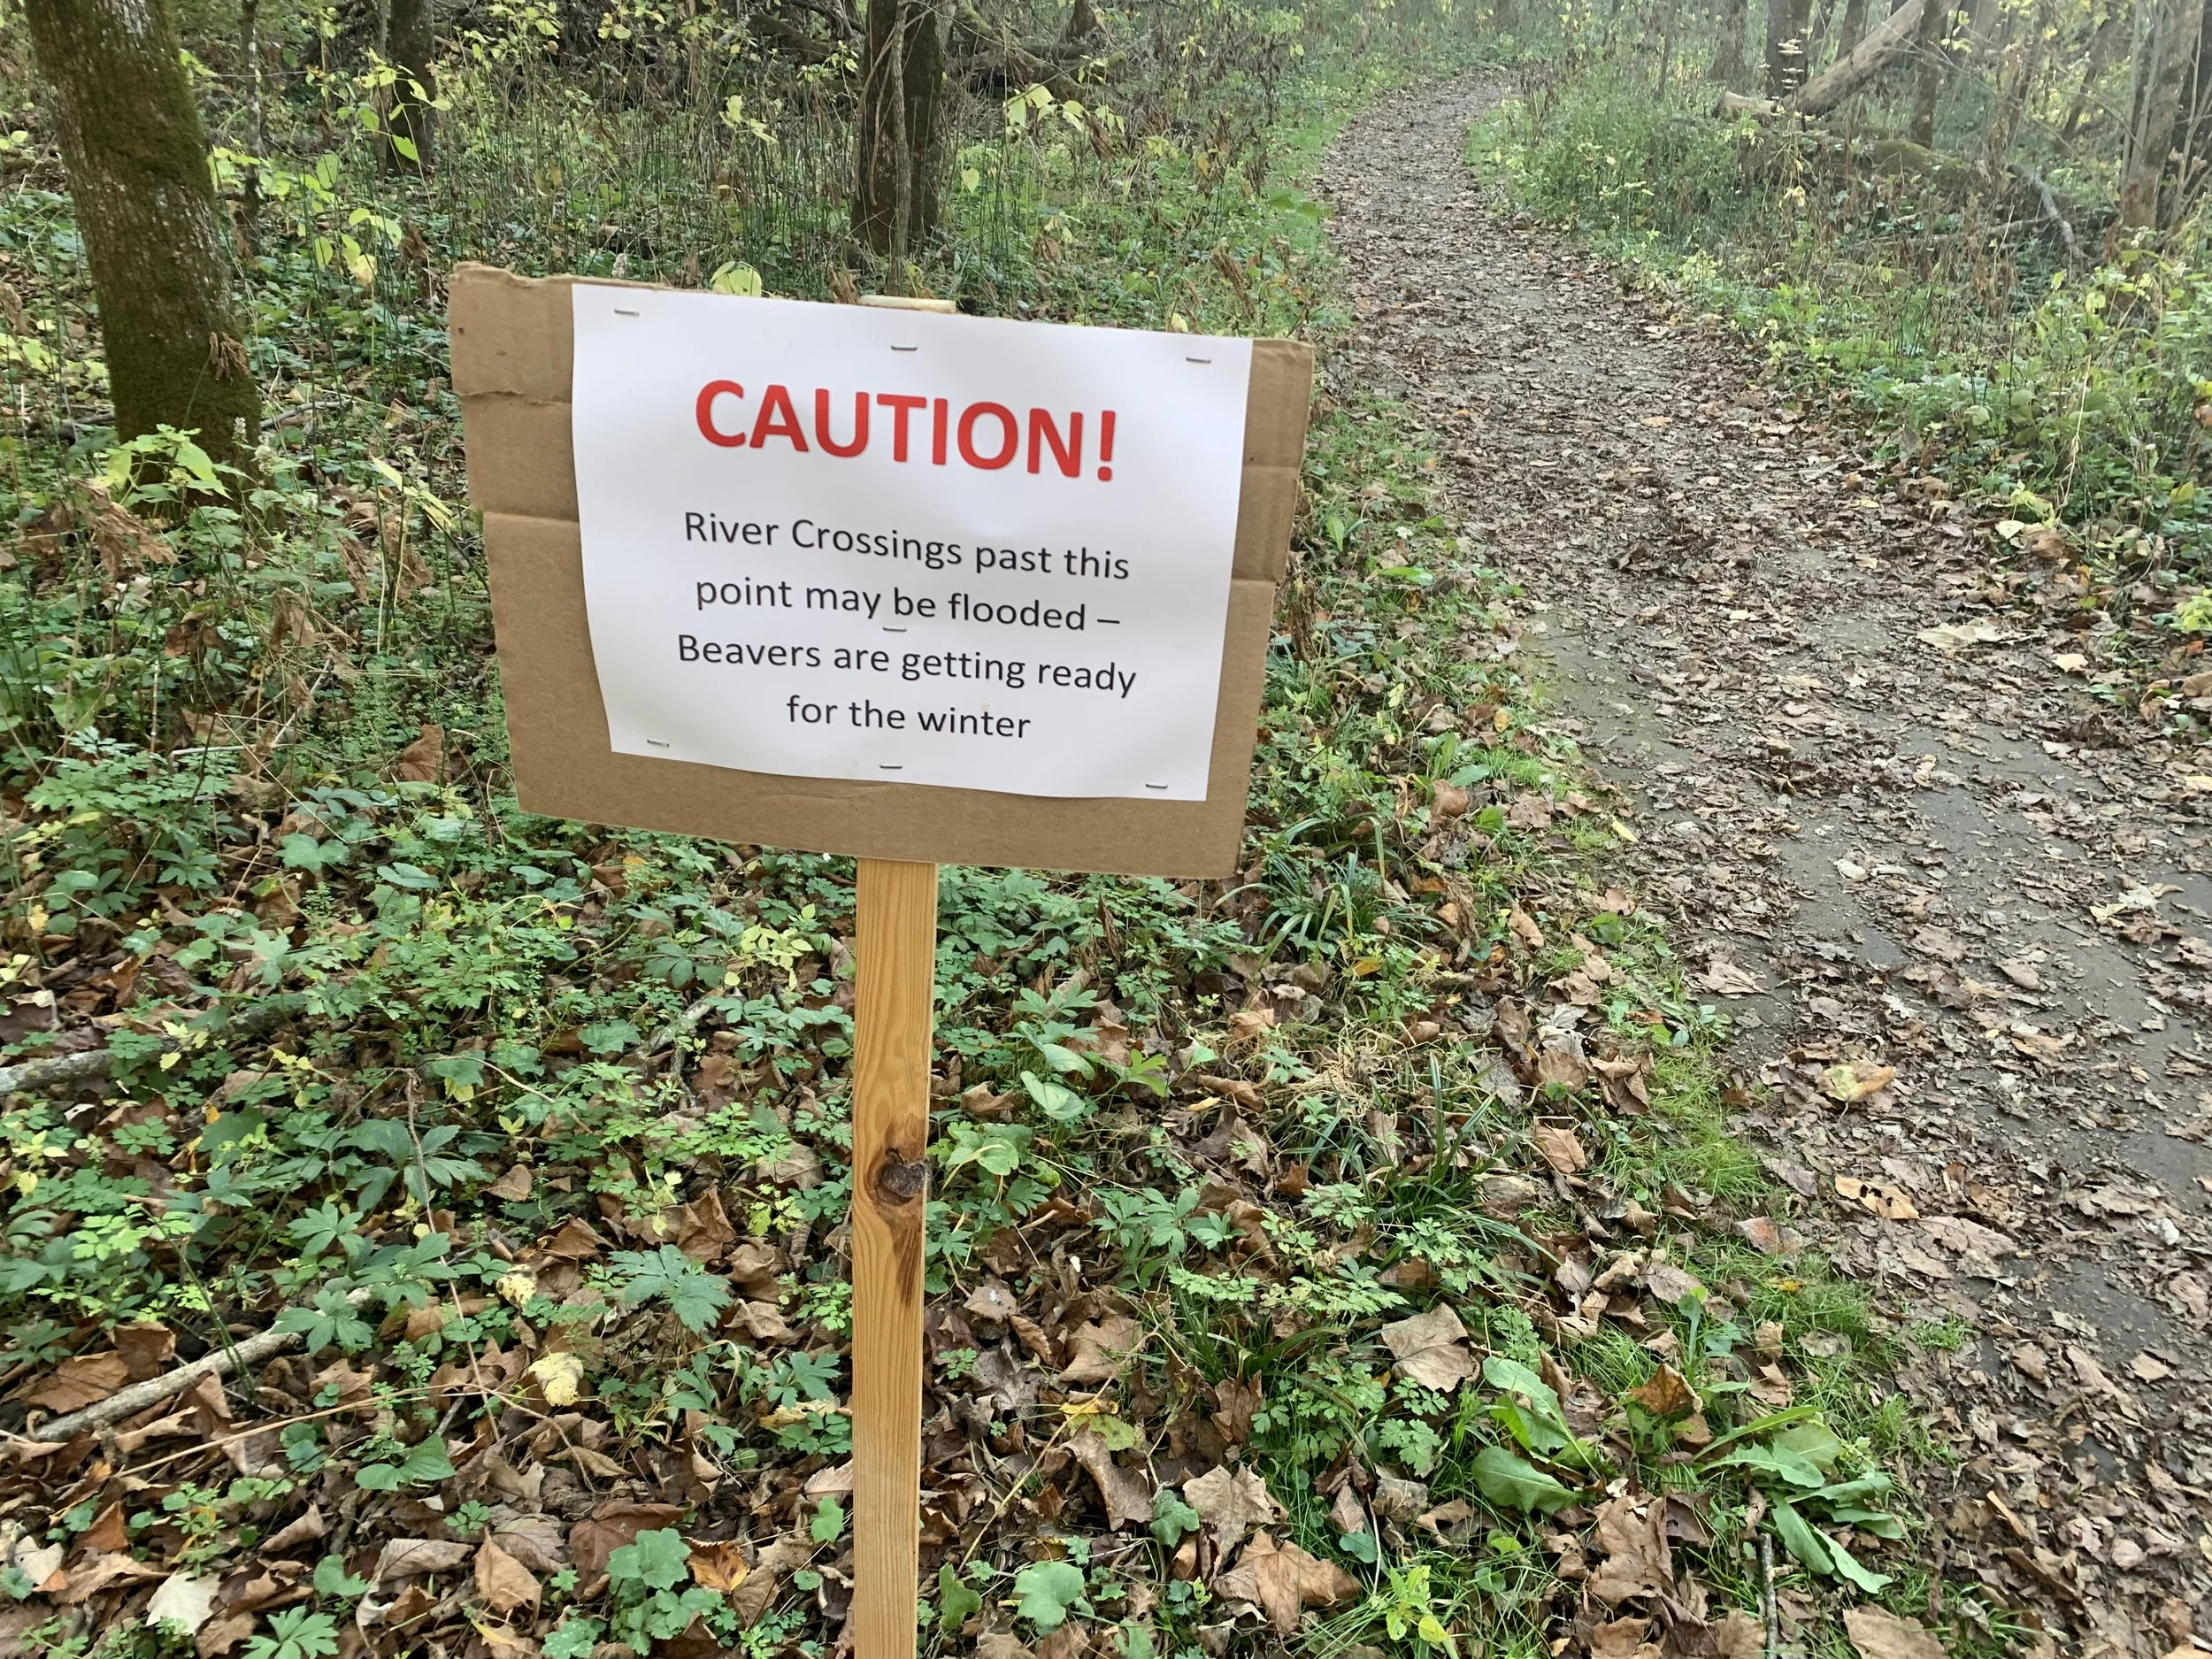
Trout Creek
Dakota Trail / Coyote Point / Signal Point / Eagle Point

On the above map, there is an out an back trail labeled Coyote Point Trail, shown in yellow. Out and back along this route is 2.8 miles. You could also turn it into a loop if you follow the road near the visitor center to the Valley Trails. I would instead recommend parking at the North Picnic Area parking lot, walking a short distance up the road, and starting the Coyote Point / Dakota Trail. This will take you up to Coyote Point. When the trail splits, go left along the Dakota Trail, past Signal Point and Eagle Point, and end at the South Picnic Area parking lot. Take the road back to the North Picnic Area parking lot. This loop is 3.6 miles, and I’ve marked it as the pink trail. Take note though - this is a hard trail with lots of ups and downs, and an overall gain of 830ft in elevation. If you have younger kids, this might be a tough hike.
Steps at the beginning of Coyote Point Trail
From the road, these are the steps you are looking for, and the trail is clearly marked for both Coyote Point Trail and Dakota Trail. There will also be signs for the MN Hiking Club Trail.
Looking backwards, you can see the road at the beginning of the trail
This trail starts with a bunch of steps, some so steep it’s closer to a ladder than stairs, and winds right next to the below sandstone rock.
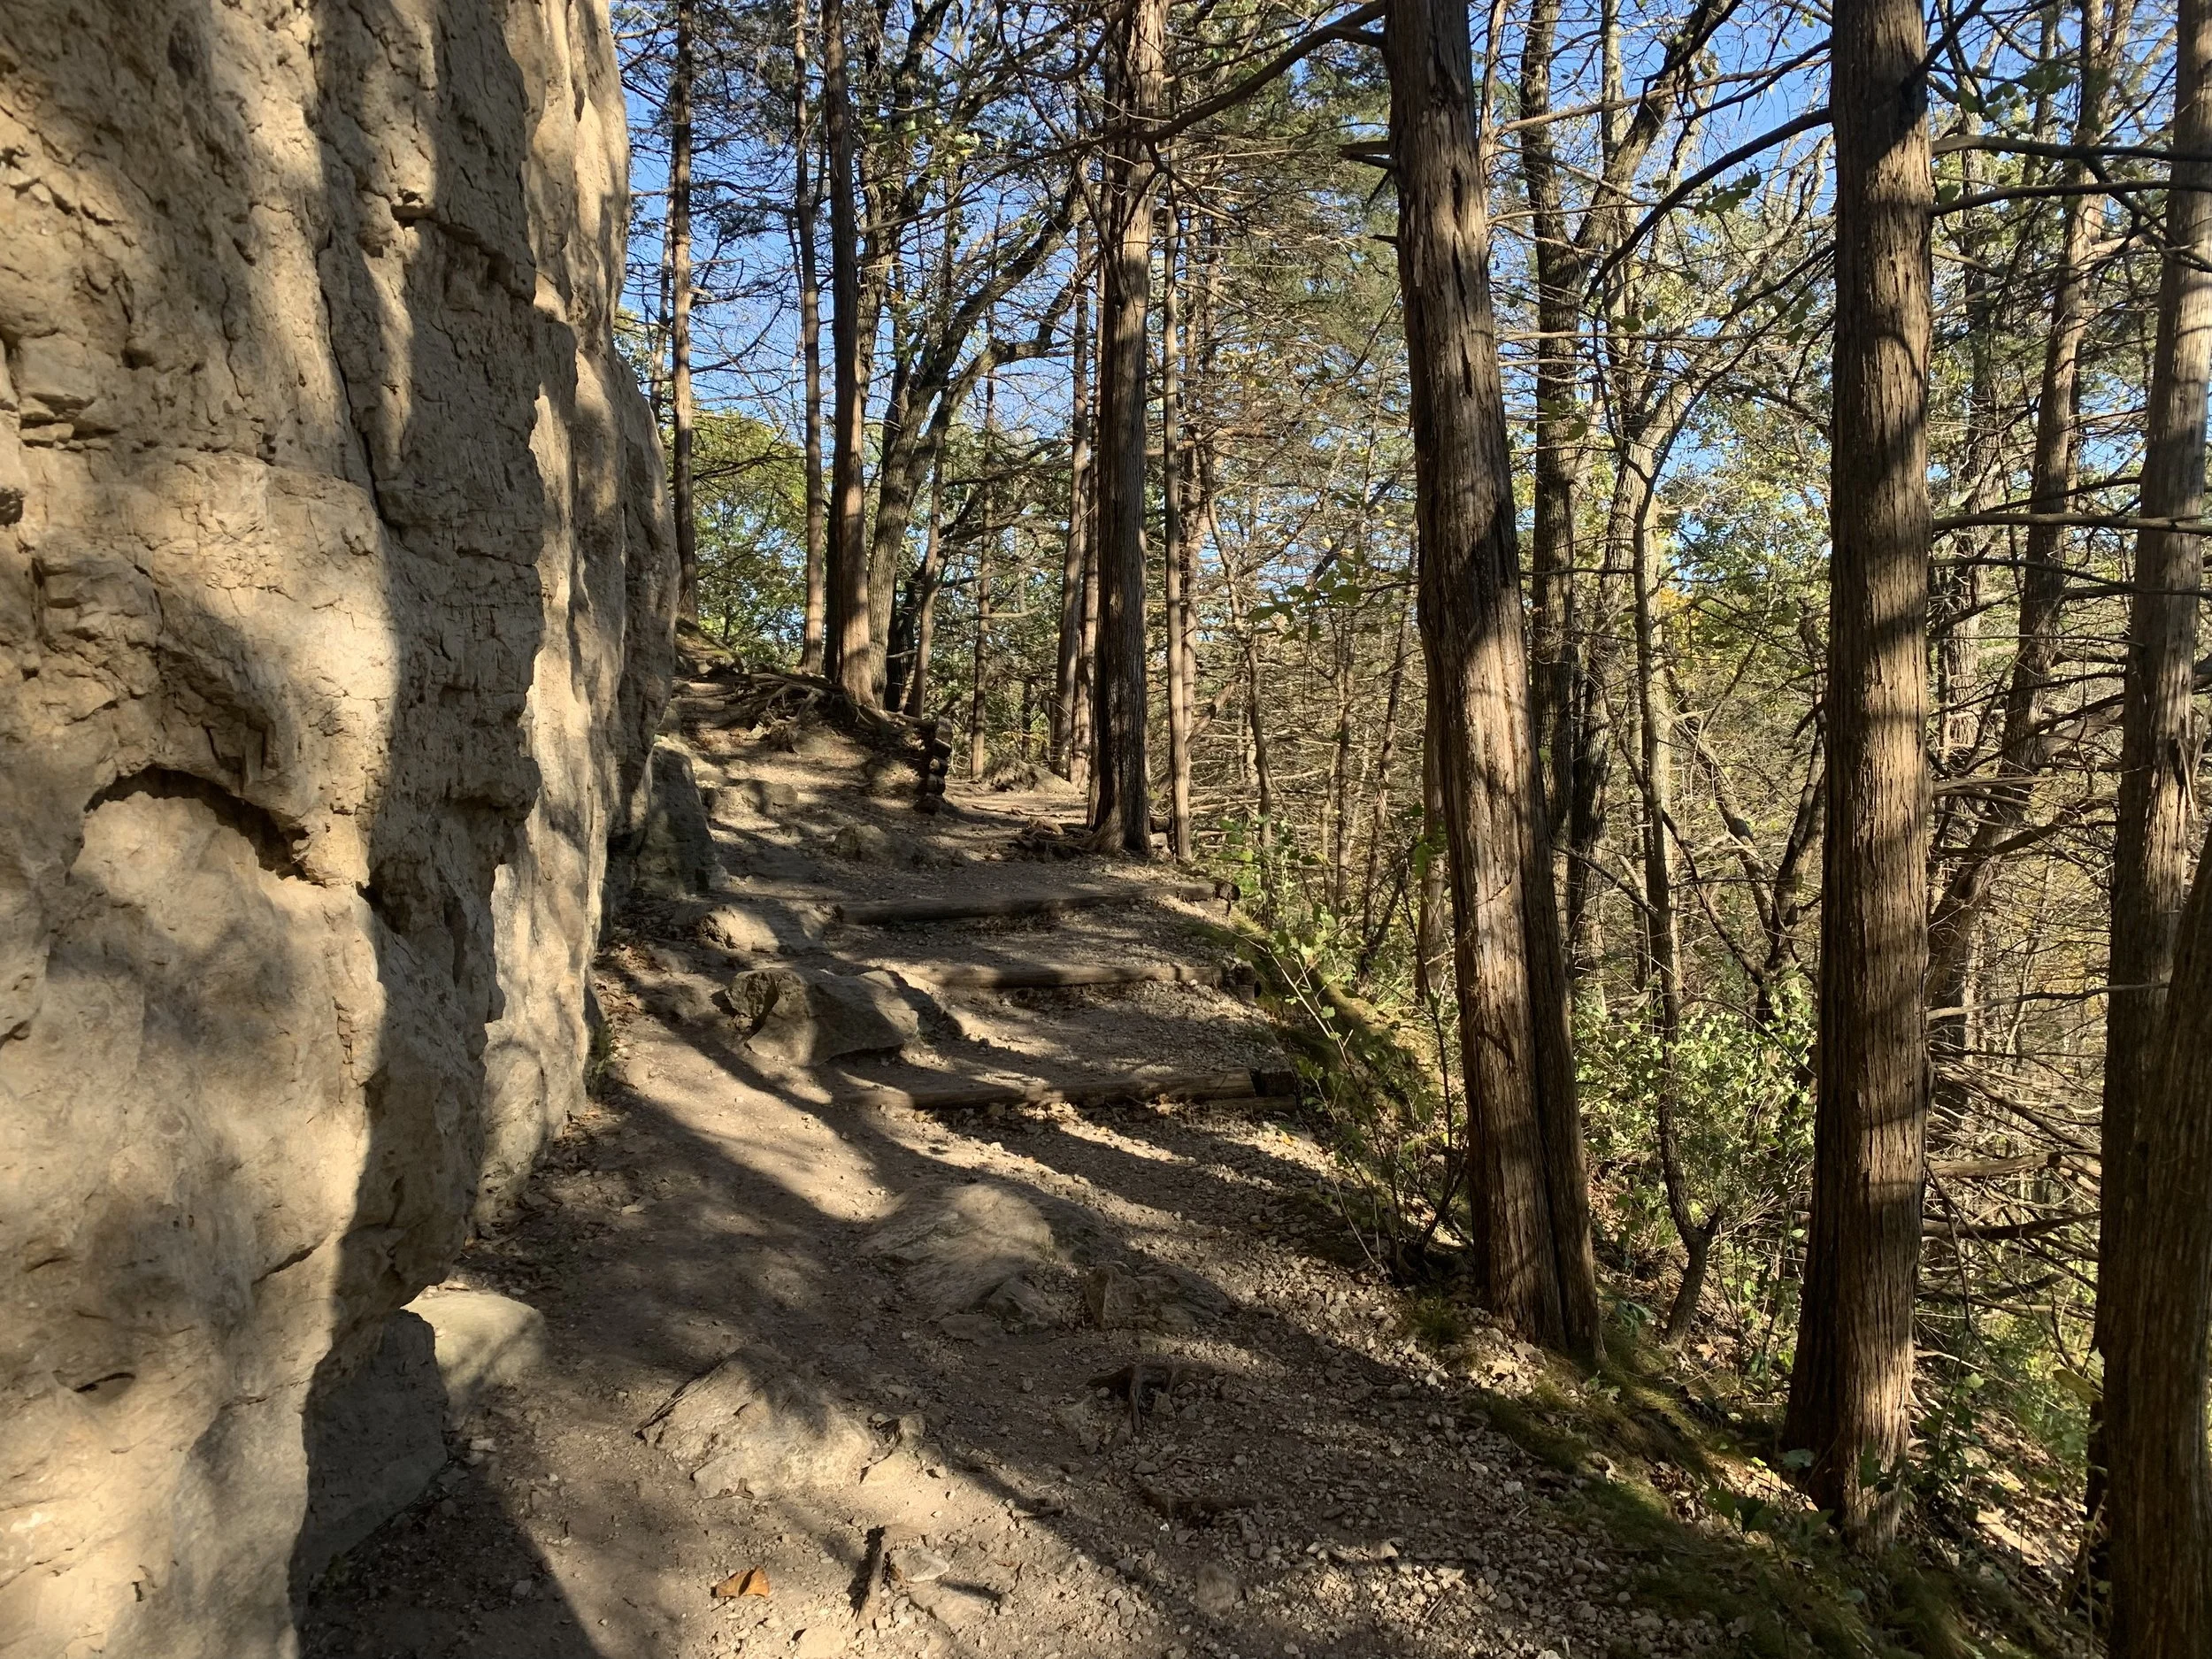
Coyote Point Trail going towards Coyote Point
More steps

Steps up to Coyote Point
Almost there
Near the top of Coyote Point
Ta-dah! Totally worth this epic view!
Coyote Point
Hang a left when the trail splits to stay on the Dakota trail. You will no longer be on the MN Hiking Club trail. This part of the trail stays along the top of the bluffs for a little more than a half a mile.
Dakota Trail between Coyote Point and the Whitewater River
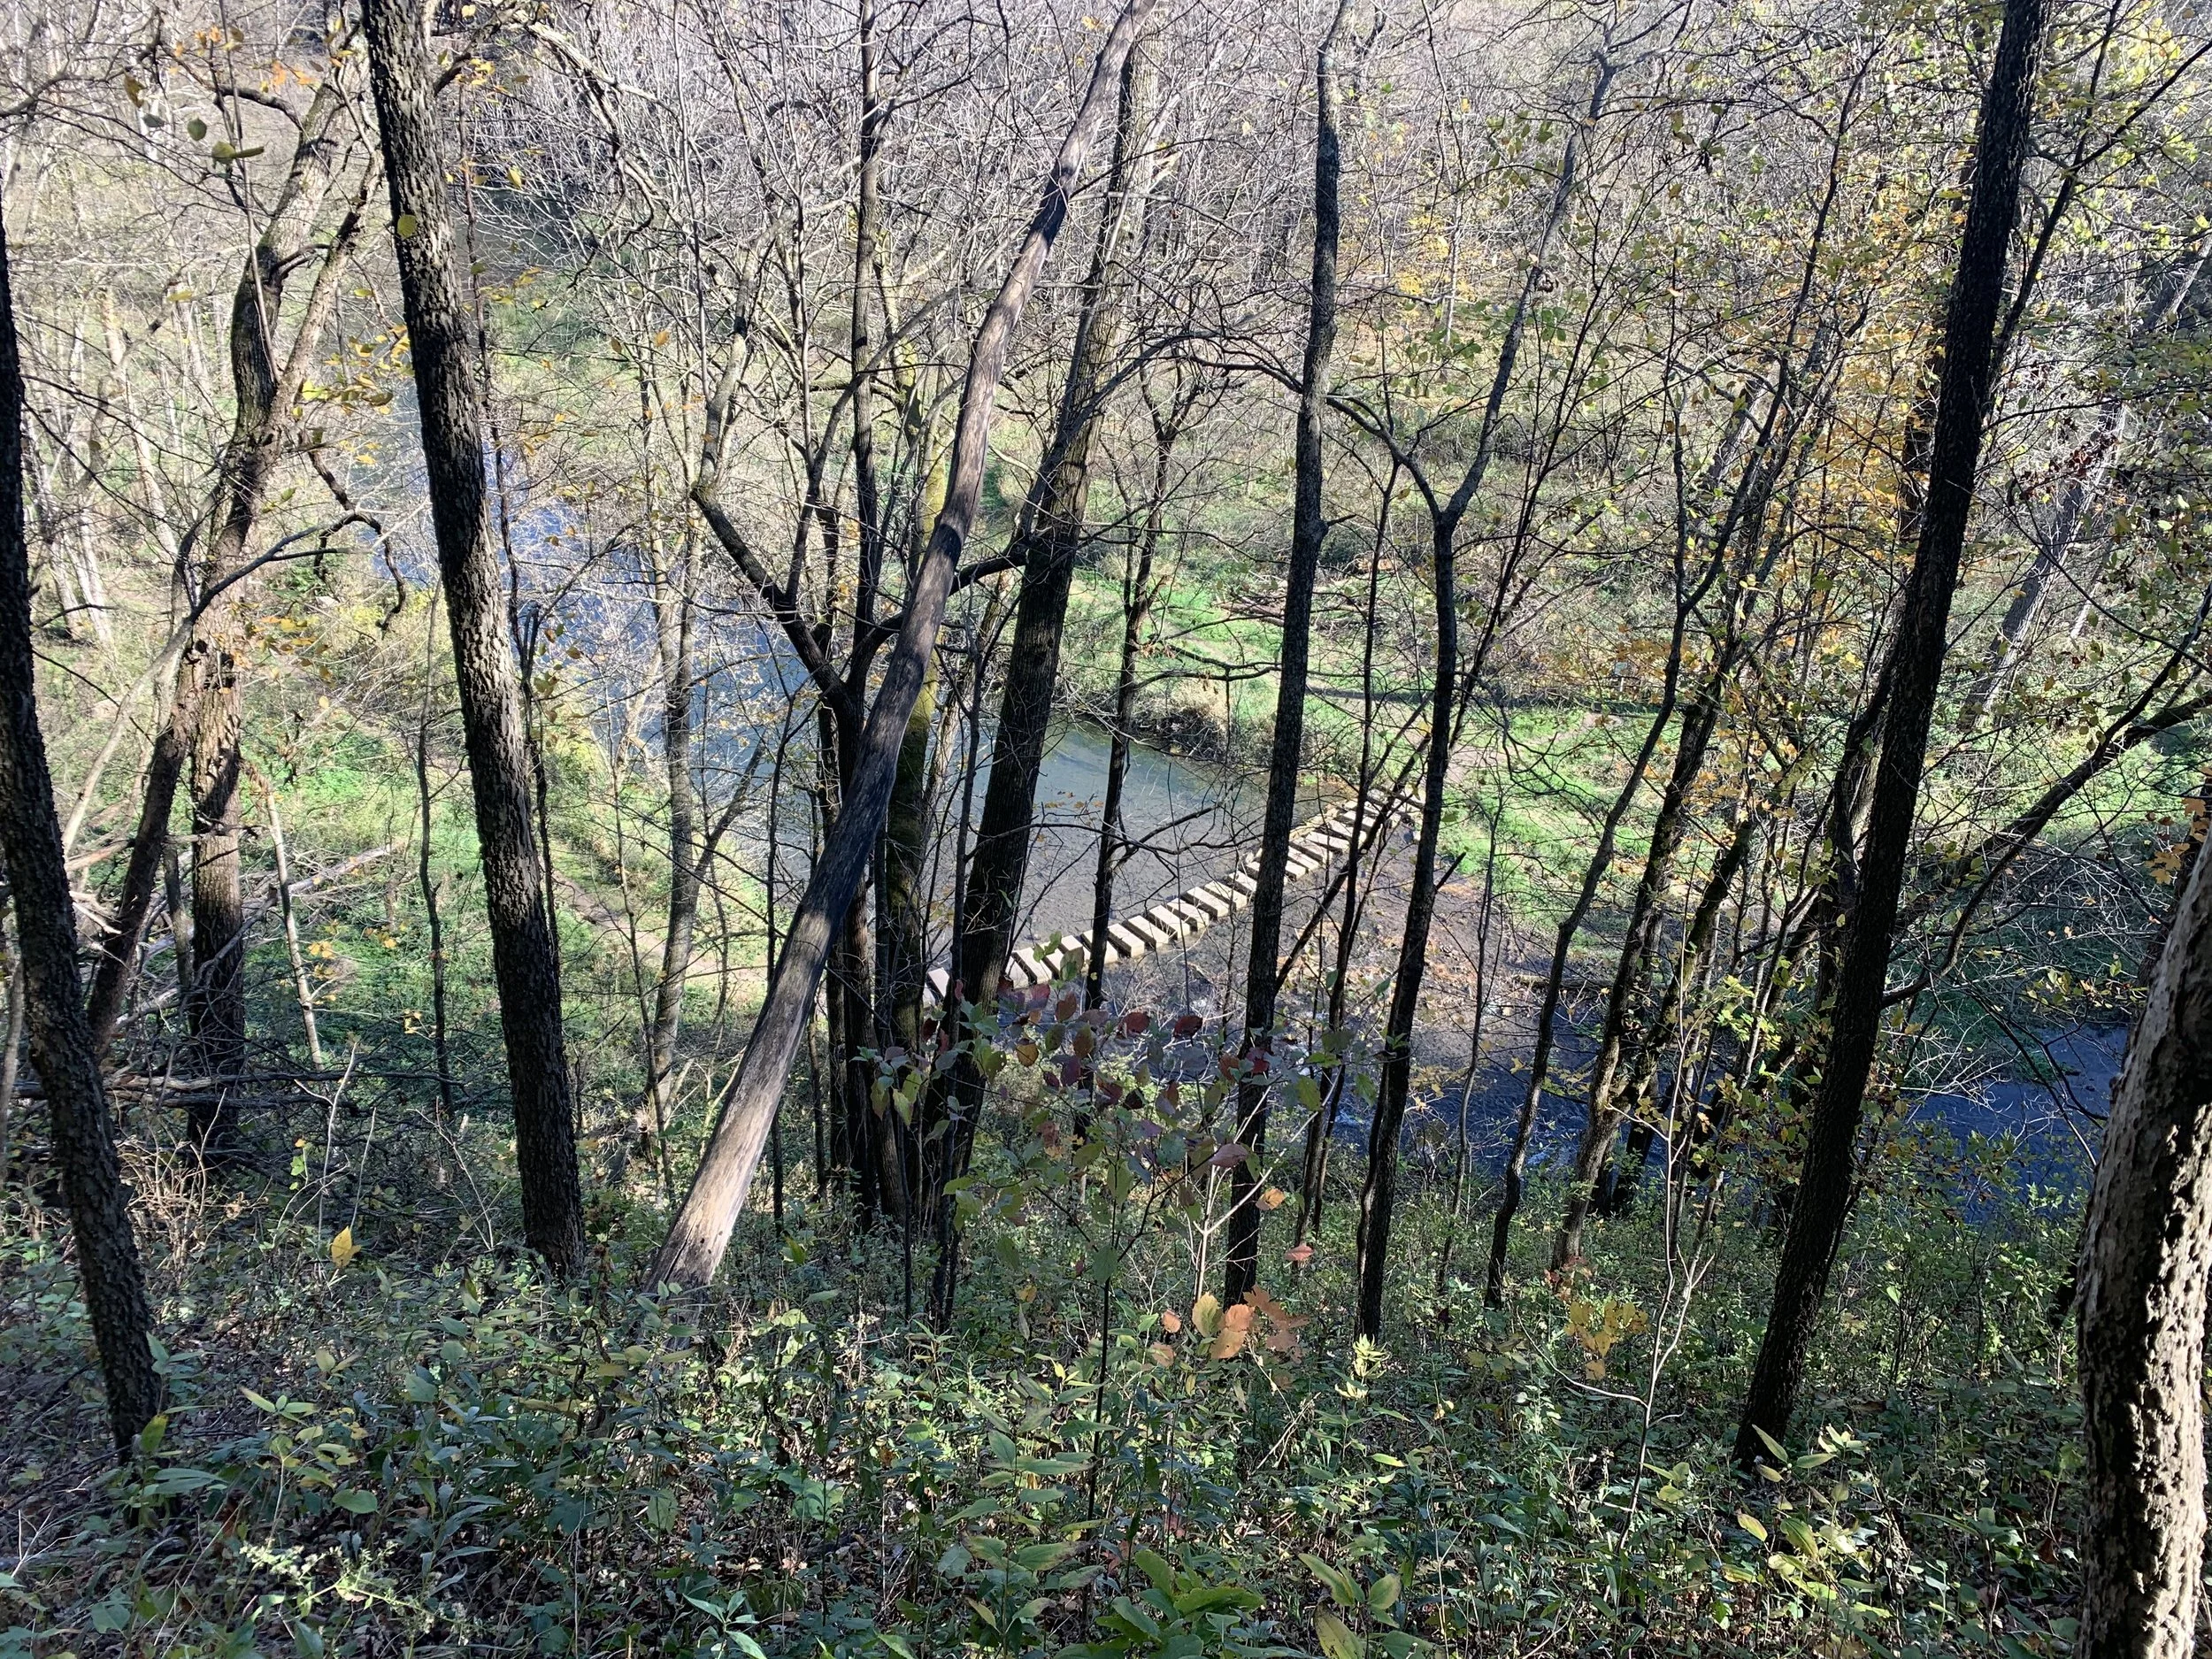
What goes up must come back down. Here you can either cross the river and continue along the Dakota Trail, or head back along the Valley Trail (marked as blue on the above map).
Whitewater River
If you stay on the Dakota Trail, you will cross the Whitewater River along these rocks.
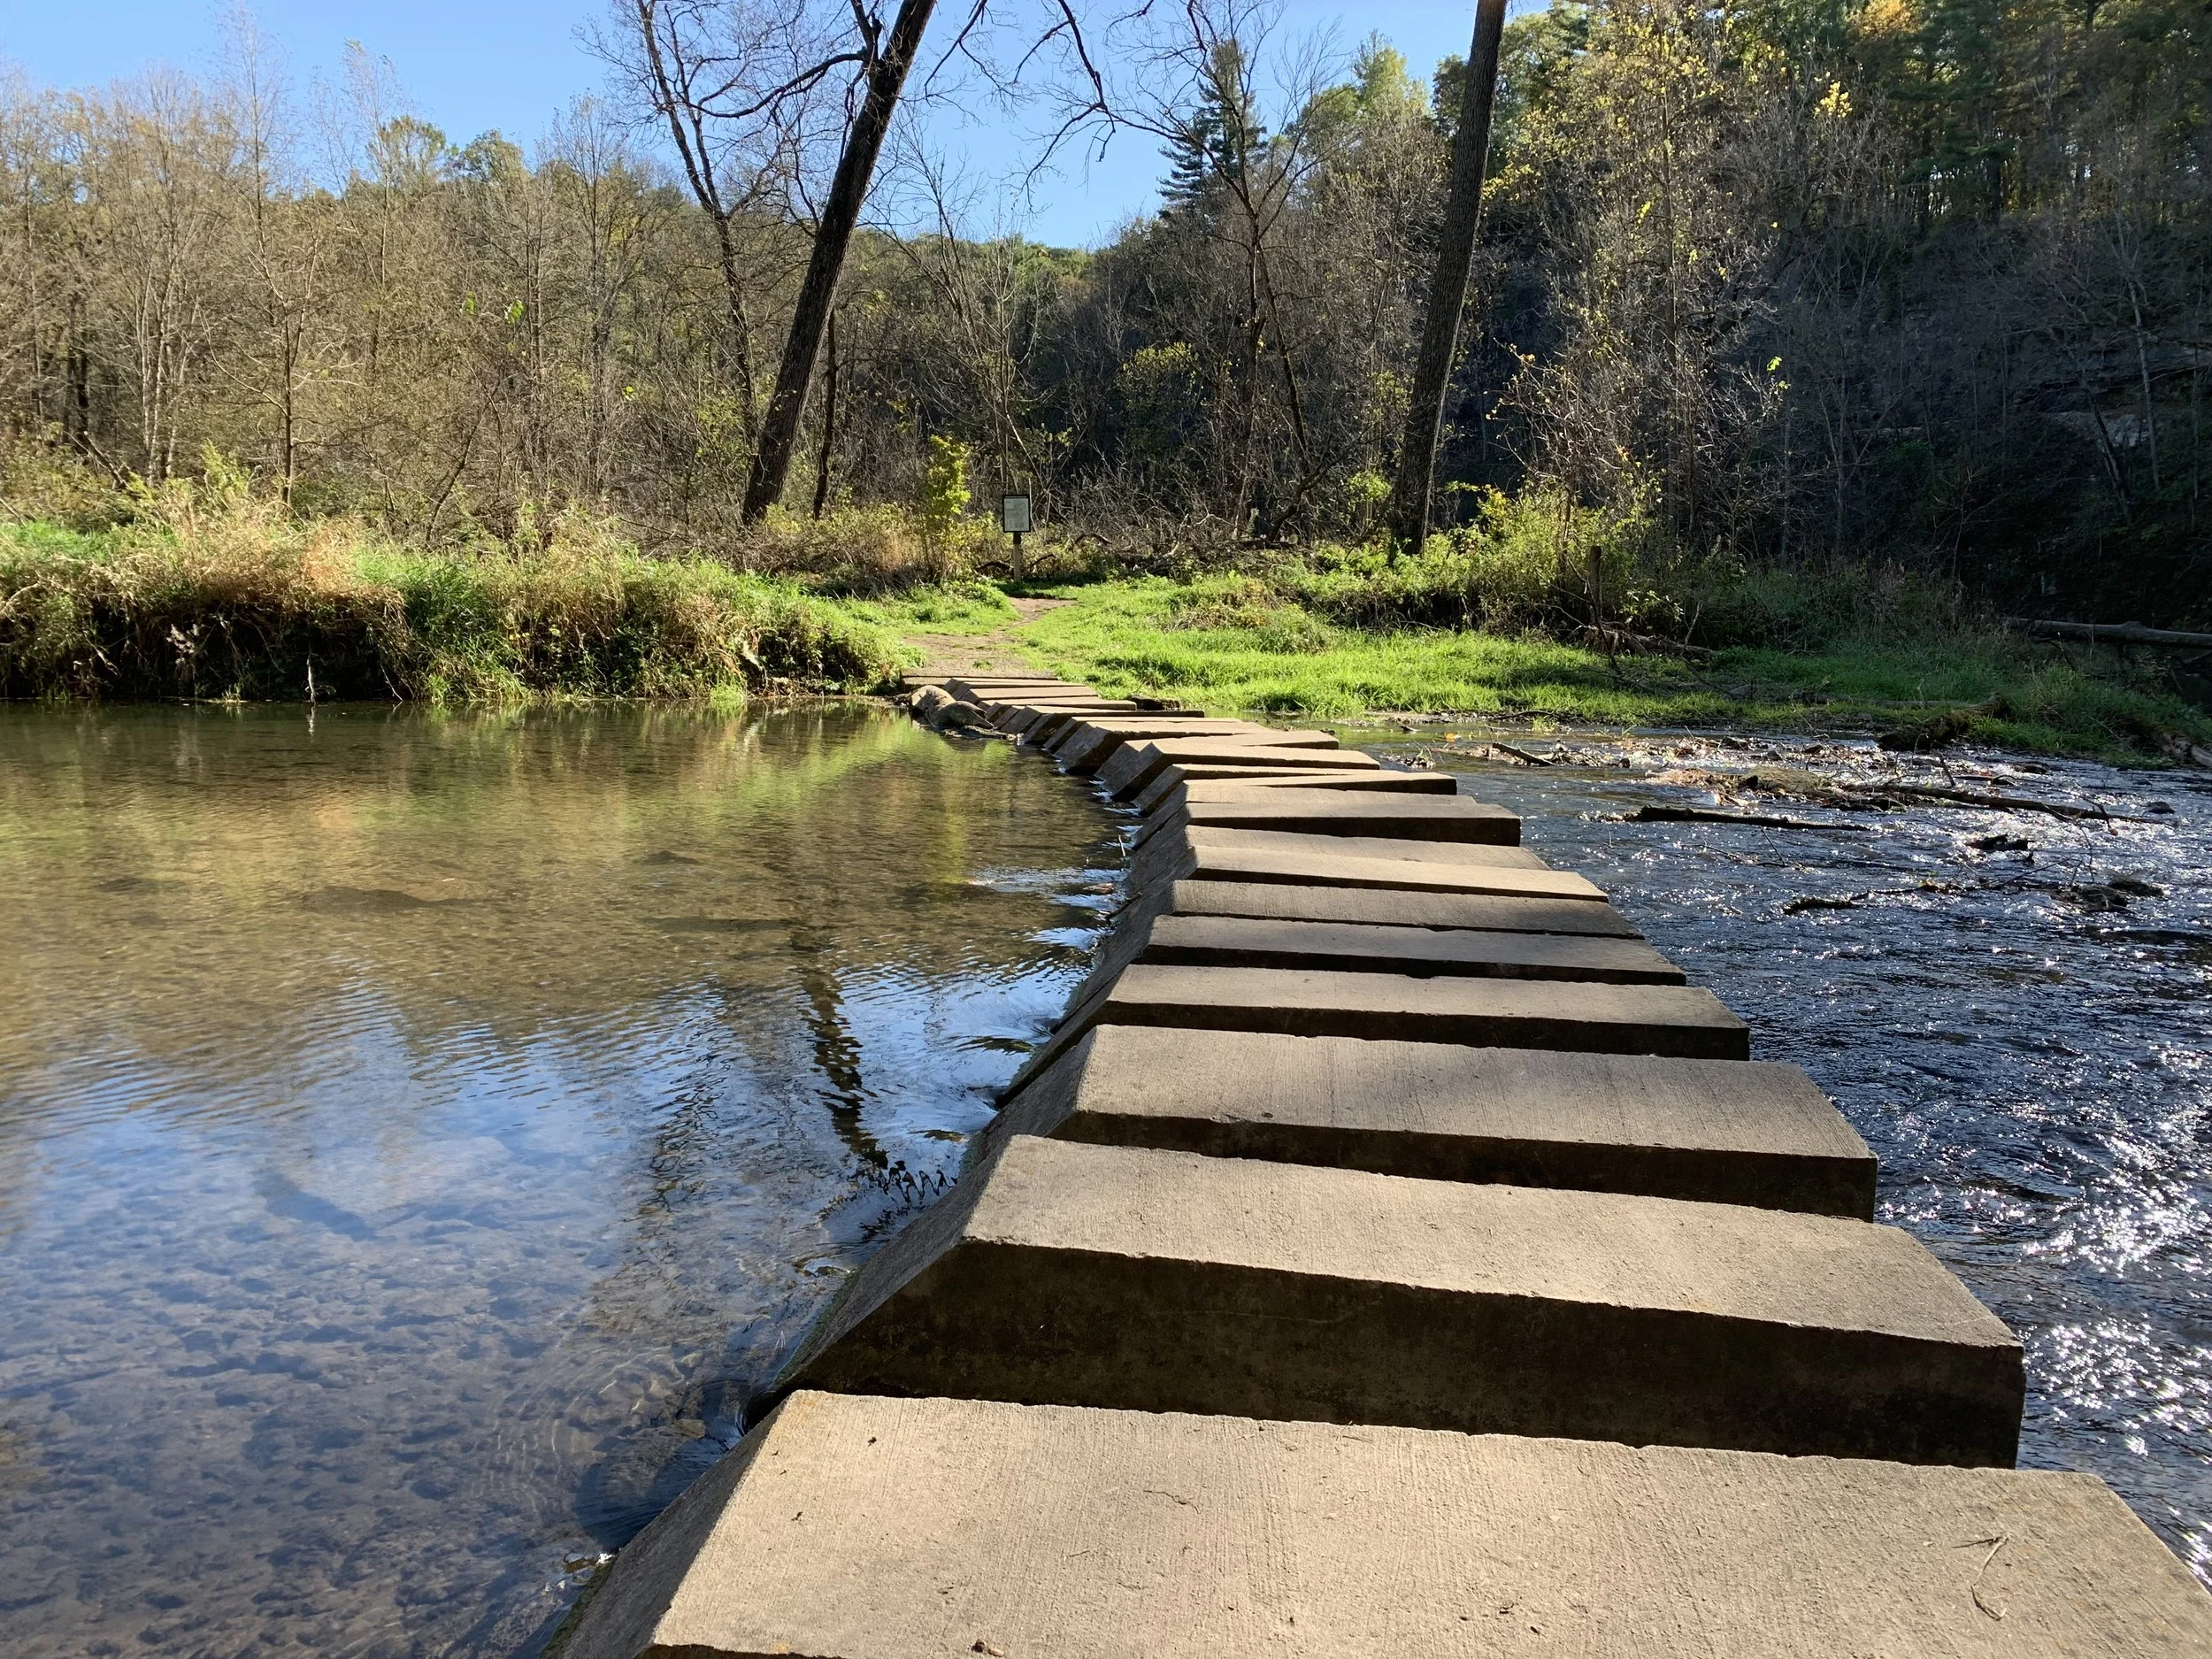
Crossing the Whitewater River
And back up we go. This is the view a short distance along the trail looking at the bridge you just crossed.
Dakota Trail looking towards the river crossing you just went over
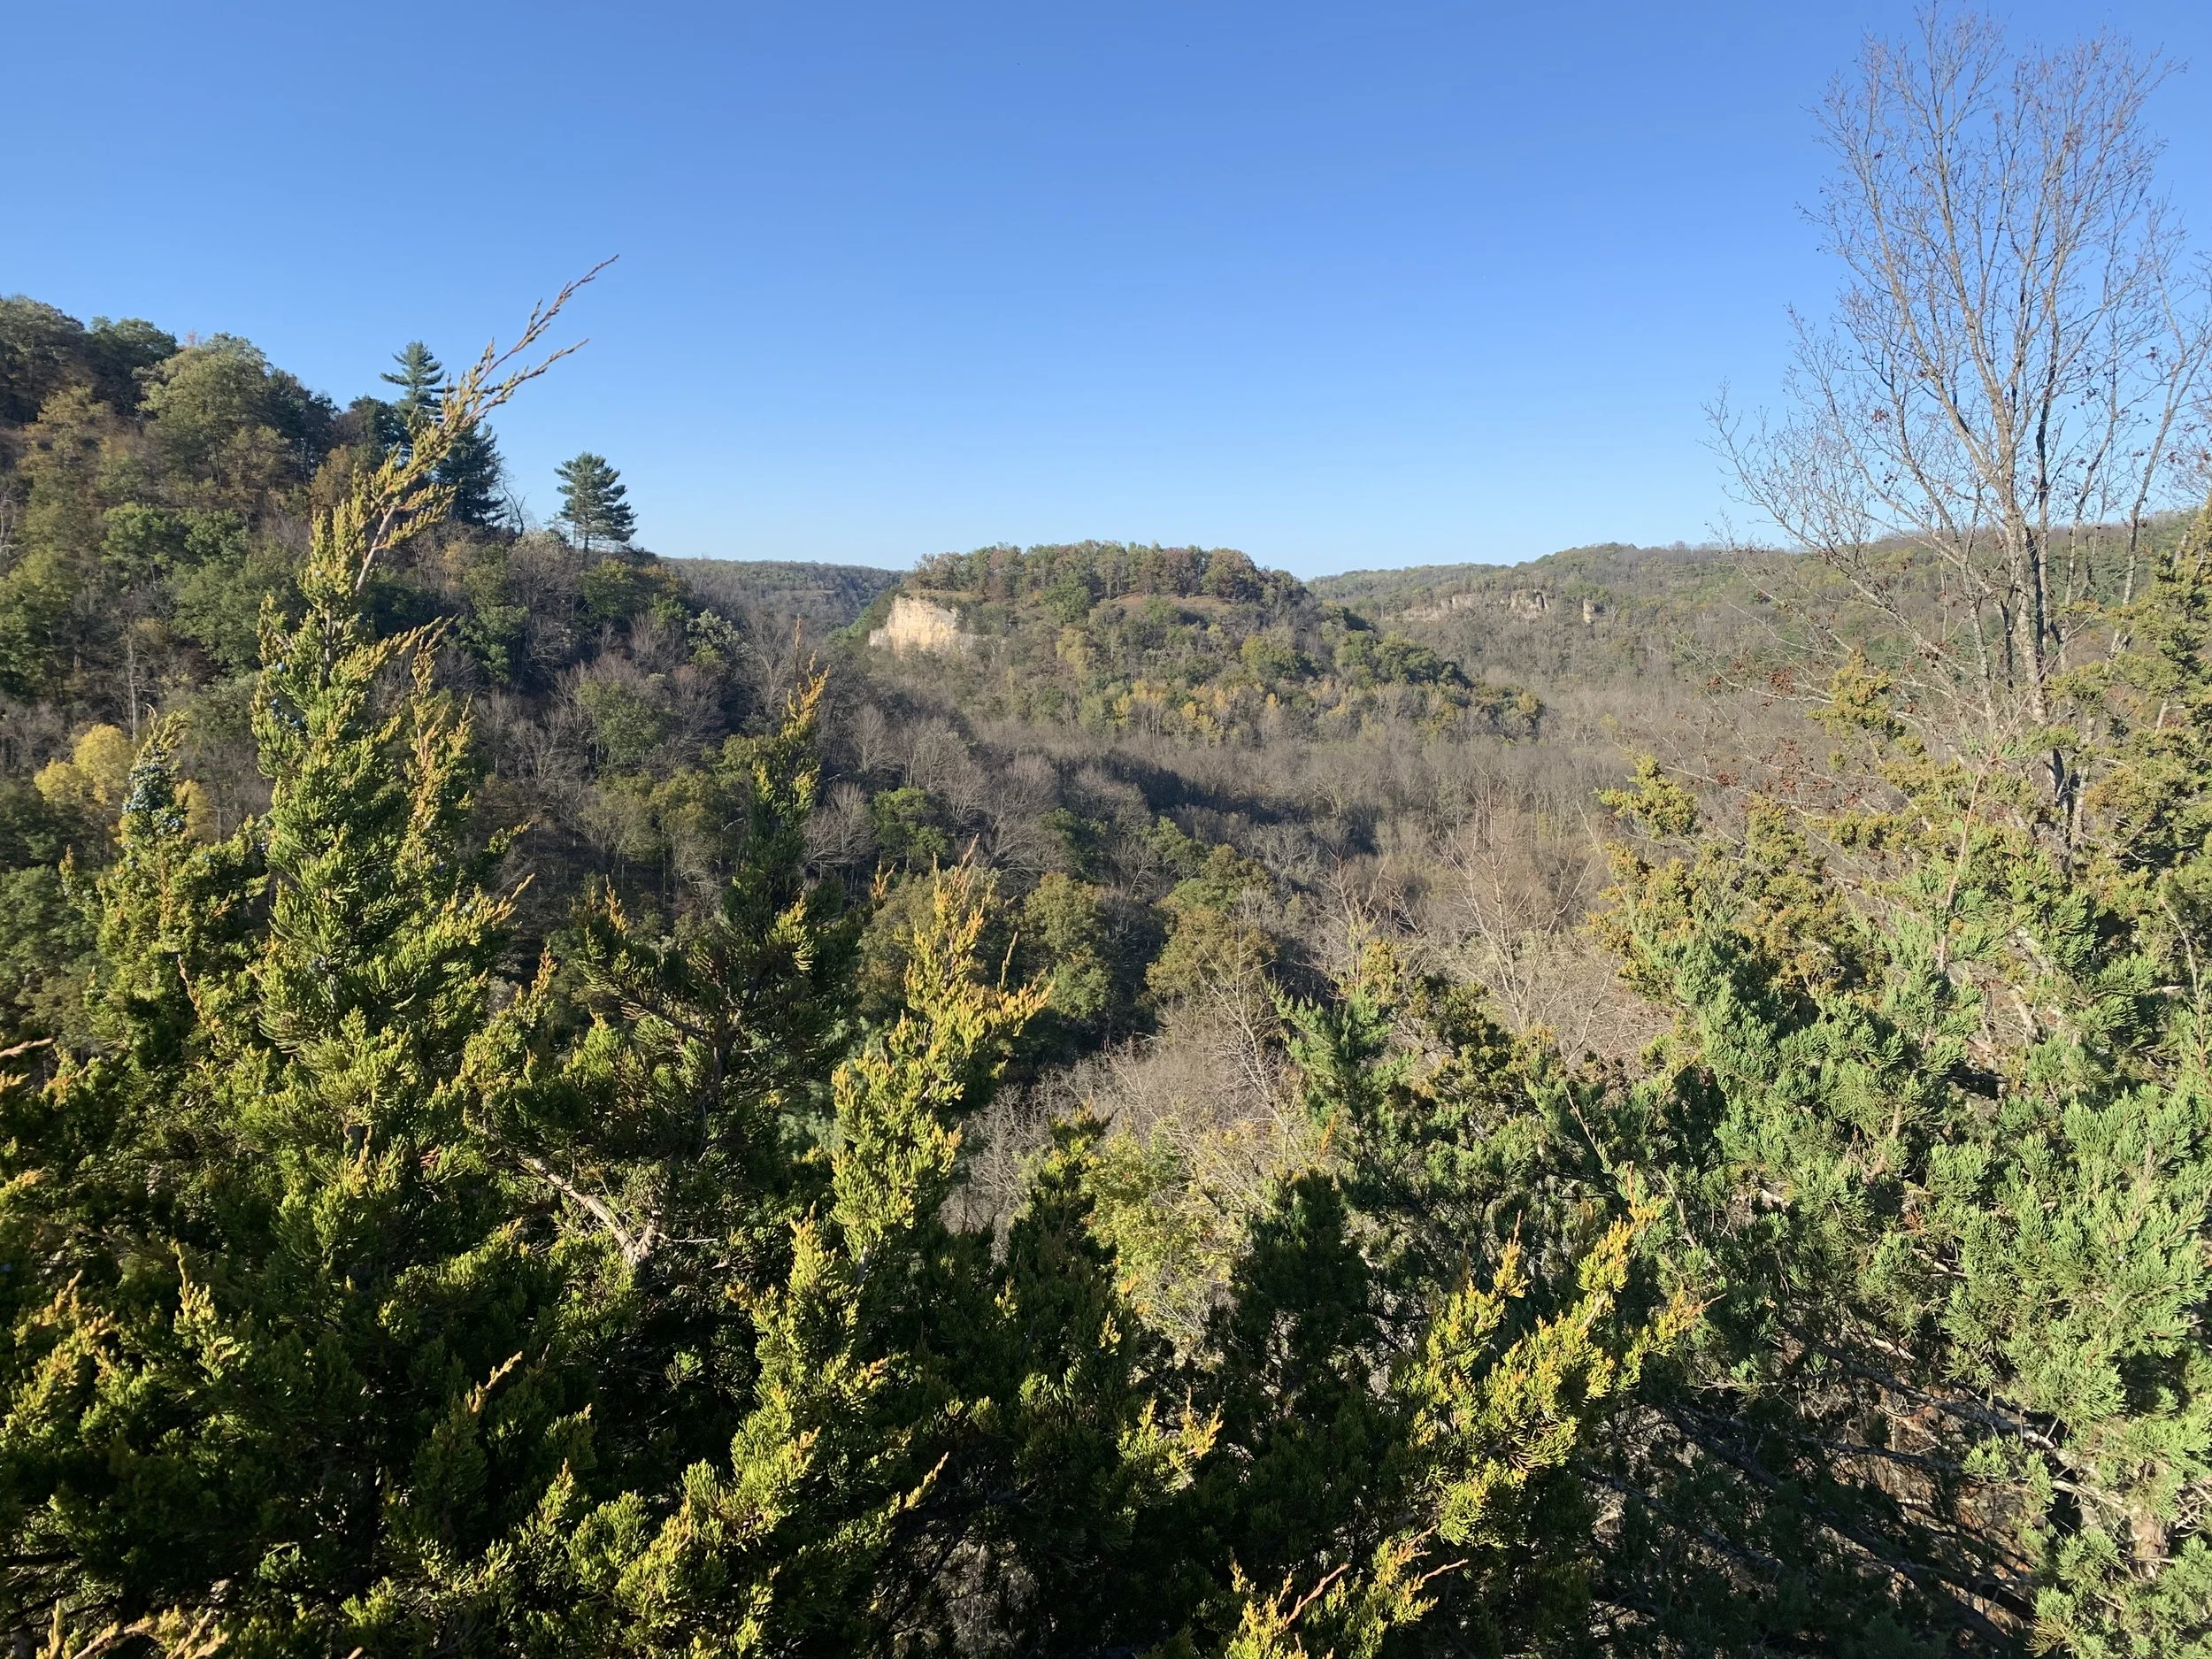
Signal Point overlooks the park and valley.

View from Signal Point
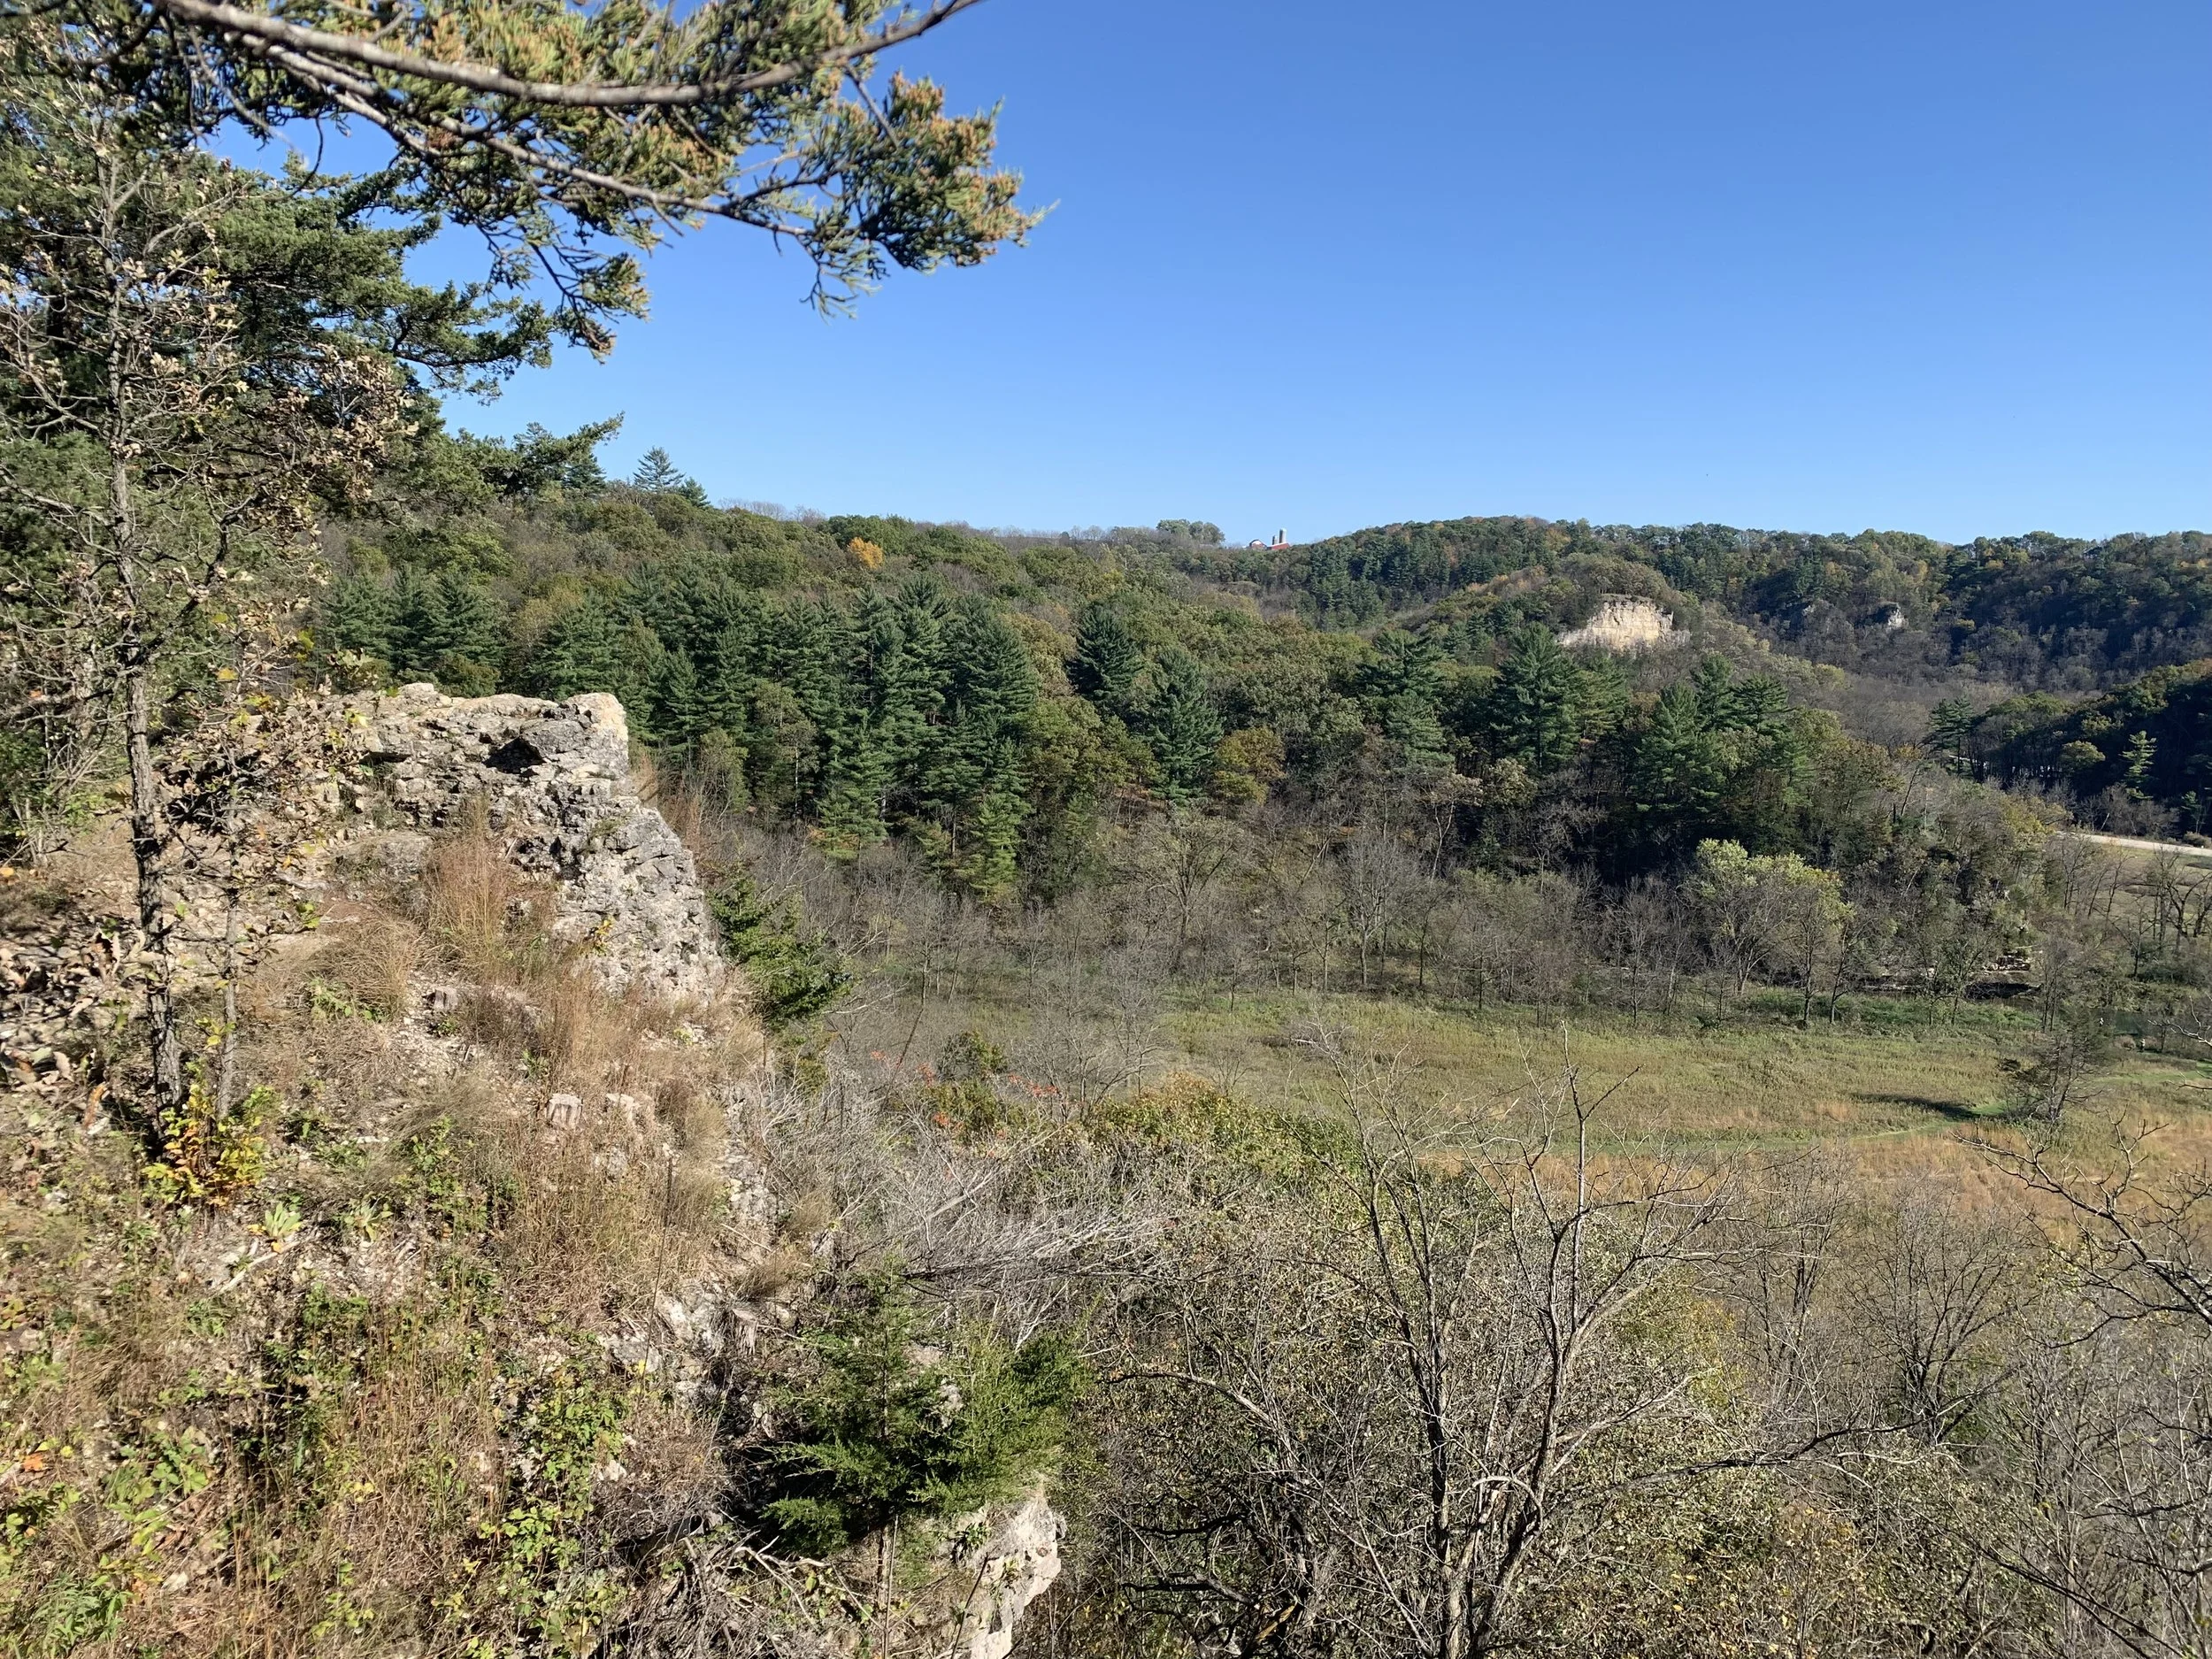
Signal Point
More ups and downs
Dakota Trail between Signal Point and Eagle Point
Eagle Point
View from Eagle Point
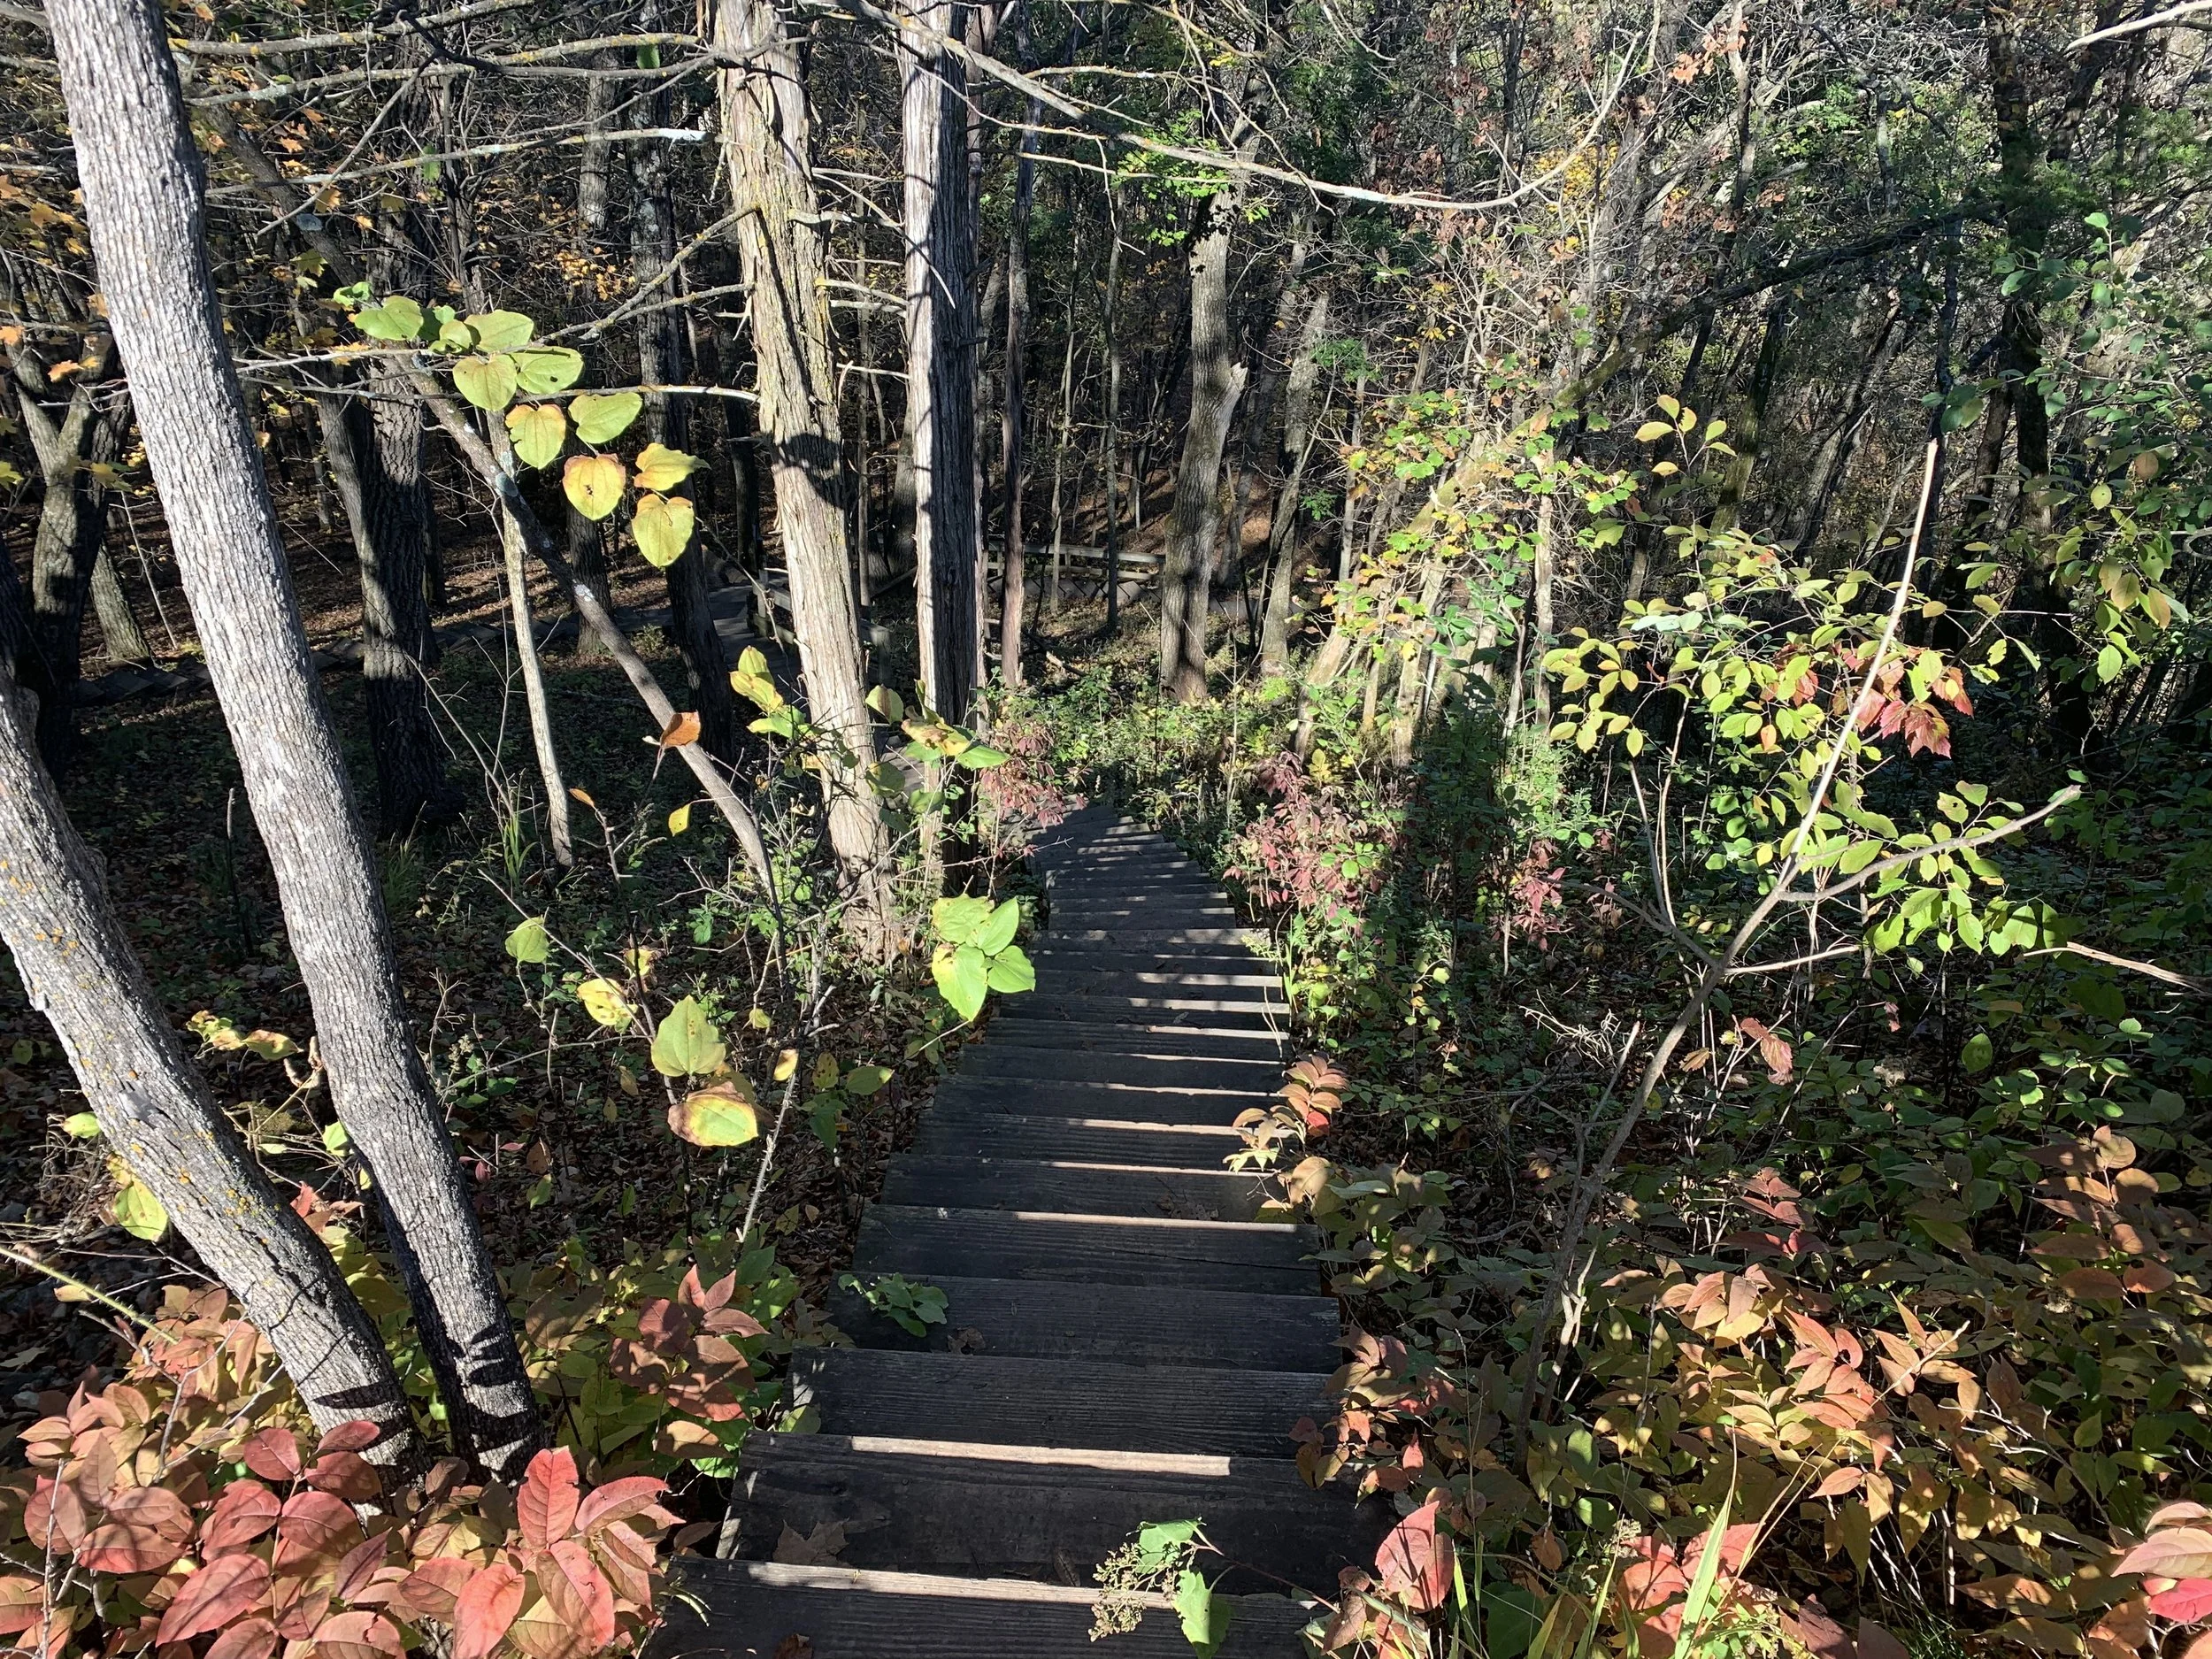
The trail descends again to cross the road, and then heads back up one more time. And it’s a pretty walk through the forest to the South Picnic Parking Lot.
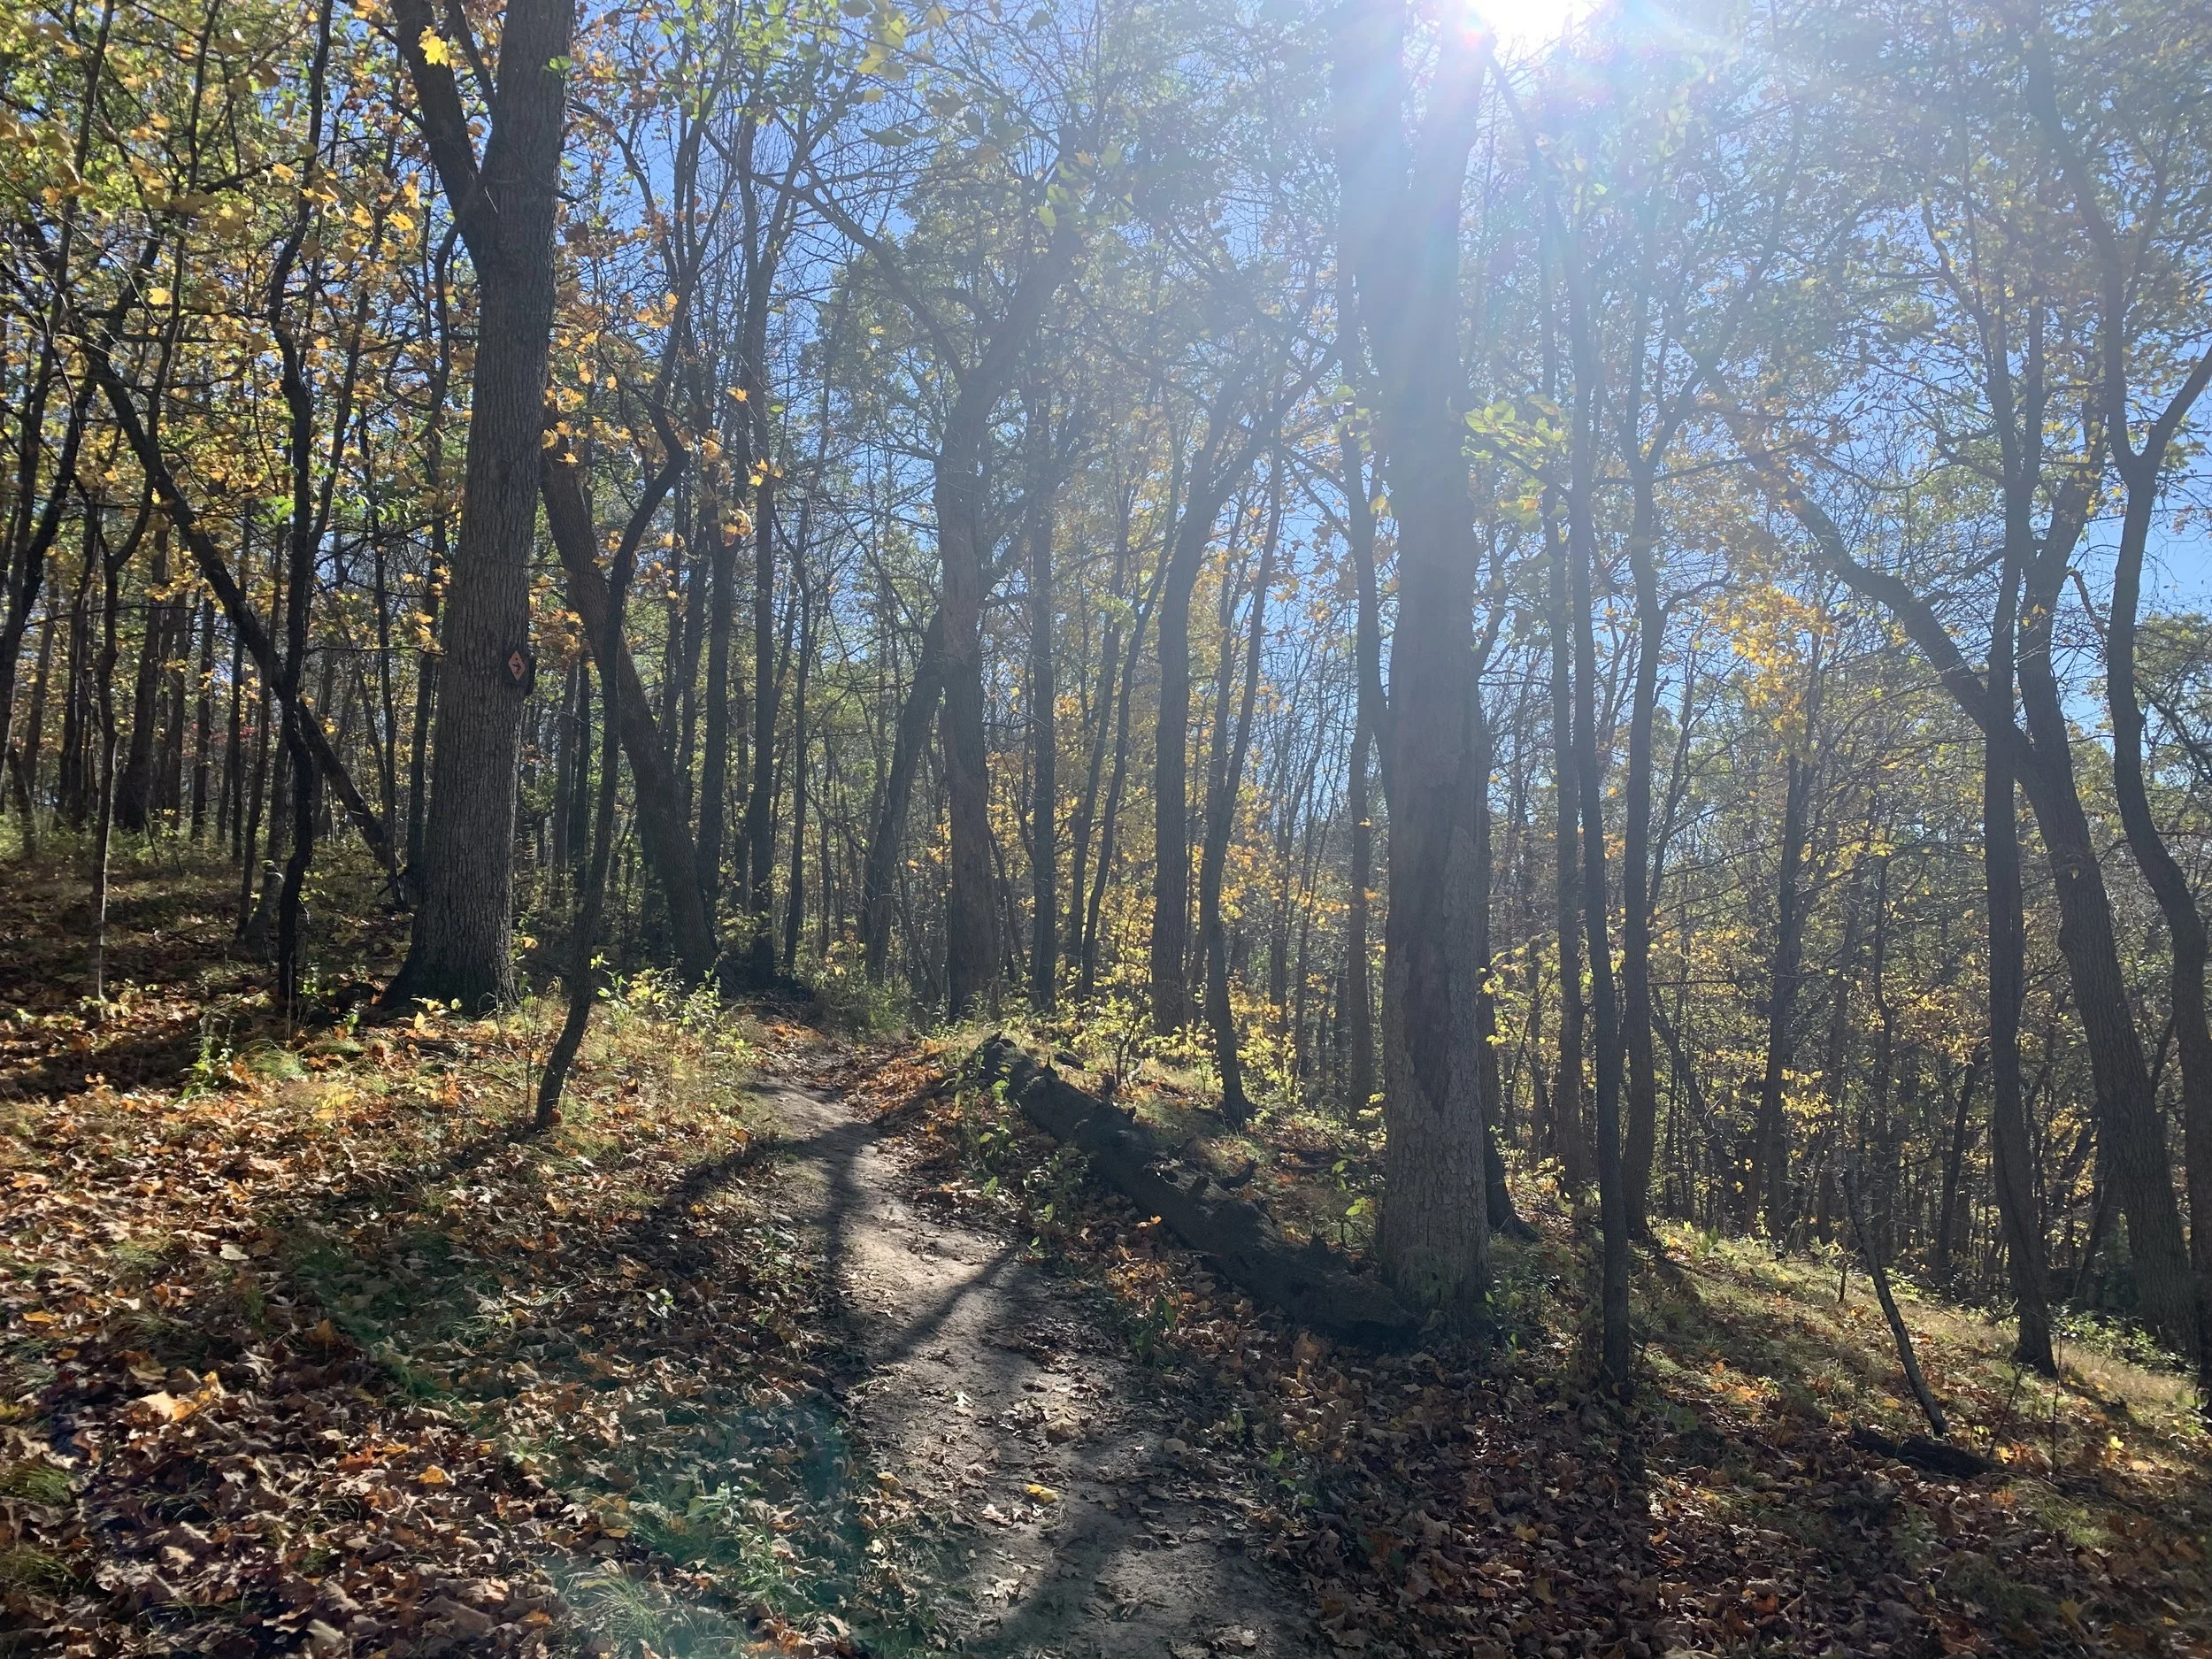
Dakota Trail between the South Picnic Area and the road

Last descent of the Dakota Trail to the South Picnic Area Parking Lot
Valley Trail / Meadow Trail

If you are looking for a less intense trail, Whitewater State Park also offers some flat trails along the meadow and valley. Following the blue trail marked on the above map is about 2.2 miles (out, around the loop, and back).

Meadow Trail

Meadow Trail

Valley Trail
Other Things to Do
If you decide to make a weekend out of a trip to Whitewater State Park and are looking for some other things to do, Carley State Park is only a 15 minute drive. This is a much smaller state park that can be hiked in entirety in just a couple of hours. See the below link for my hiking guide to Carley State Park:
Another cool, non-hiking option is to visit Niagara Cave. This is about an hour drive from Whitewater State Park. Niagara Cave includes a 60 foot waterfall. The viewpoint on the tour is from above the waterfall - and is better to see in person than the picture I have below. Outside of Niagara Cave there is a spot to try out mining. Note - if your kids think this kind of mining is fun, look into Arkansas’s Crater of Diamonds State Park.

Mining outside of Niagara Cave

Mining outside of Niagara Cave

Top of Niagara Cave’s waterfall
Other Posts from www.NatureImpactsUs.com
There are posts linked to each pin below.