Yosemite National Park: Glacier Point - A view of the valley and the mountains which will be my home for the next 3 days
If you enjoy my posts, please consider signing up below to get email notifications of my latest posts. I will not share your email.
I’ve returned from my first backpacking trip – 3 days, 2 nights in Yosemite National Park. I loved it and am excited to start planning my next trip. The purpose of this post is not to give you everything you need to know about backpacking – I’ve only gone once; but I want to encourage you into giving it a try, and help you consider what you need to do in order to have a successful first trip too.
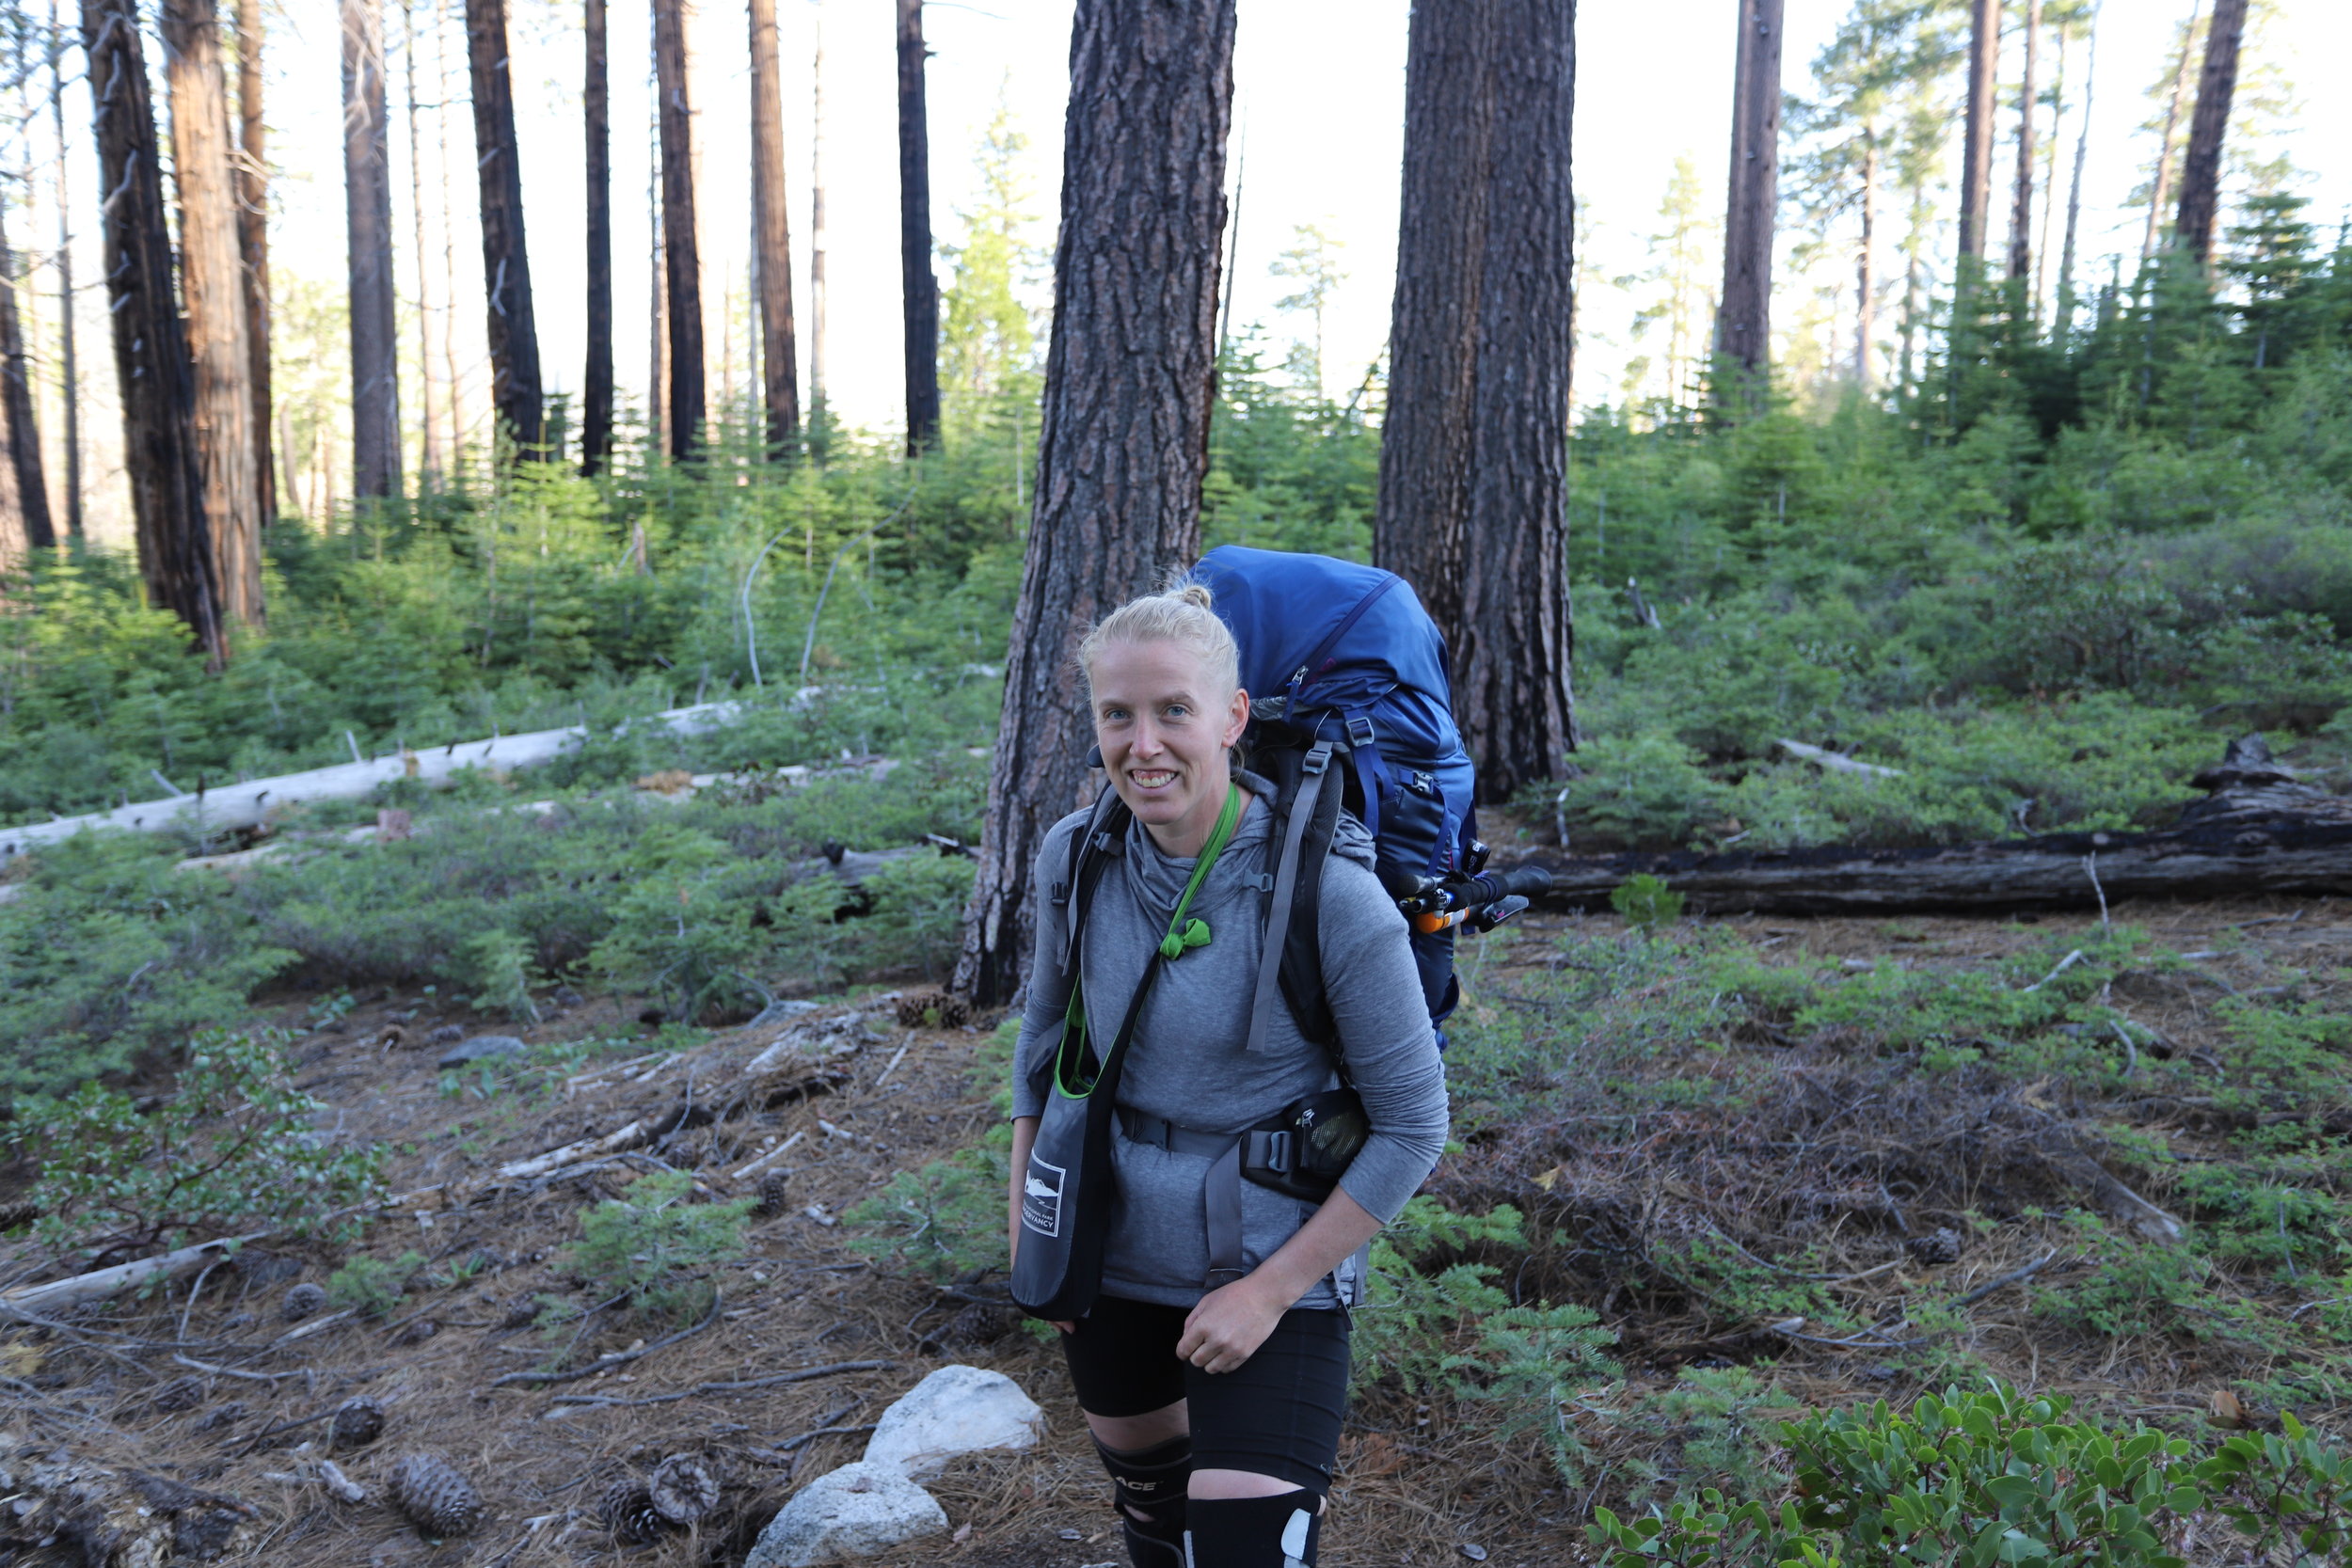
Starting our Backpacking Adventure at Glacier Point heading down the Panorama Trail
What I was Worried About
I’m 37 – I’ve considered backpacking multiple times, but two things kept me from thinking of it as a real possibility. 1) Weight of the backpack – I really enjoy day hiking. My bag can weigh 15-20 lbs when I’m carrying water for my sons, food for the day, first aid supplies, and our camera gear. That wears me out when I’m hiking up hills all day. Needing to carry a tent, sleeping bag, food for several days, and a way to cook the food sounds a lot heavier than 20 lbs. I didn’t think I could do it. 2) Life without a bathroom – It’s hard enough to go without a shower for 3-4 days when we camp as a family, but now to throw in the idea that I don’t get a toilet, and I need to carry my used toilet paper??? No way. And so I lived without ever trying backpacking for the first 36 years of my life…
What Changed my Mind
The inspiration for backpacking began at the bottom of the Grand Canyon in 2016. My husband and I day hiked from the South Rim of the Grand Canyon to the North Rim, and then returned to the South Rim on the second day. I couldn’t imagine carrying camping gear out of the Grand Canyon (literally a mile-deep hole). So, we brought a change of clothes and enough food for two lunches and a lot of snacks; and walked 22.5 miles from a hotel on the South Rim to the Grand Lodge cabins on the North Rim. We had supper at the lodge, enjoyed an amazing shower in our cabin, a night’s sleep in a real bed, and a large buffet breakfast. Then we hiked back 25.5 miles to our car (going up the Bright Angel Trail – the South Kaibab Trail is shorter but does not have access to water). These two days are still the hardest two days of my life – mentally and physically. But they were also two of my best days – being at the mercy of Mother Earth and whatever she wanted to throw at us – while in the middle of scenery that felt like I was in the middle of a painting in someone else’s imagination.
We wanted to find another crazy day hike, as hard and as beautiful as the Grand Canyon, and for 3 years we looked for options, but found nothing. All of the hikes we were interested in (for the views and the difficulty) were realistically multi-day hikes. So, I was posed with a problem. Either I’d already had the best hike of my life, or I was going to have to figure out how to backpack. Looking at pictures one morning, I stumbled across a photo of Cloud’s Rest… It was immediately obvious to me – I had to get there. Crap… backpacking it is….
Yosemite National Park - Clouds Rest
I want to go Backpacking – Where do I Start?
So now what? Backpacking means I need to carry everything I need to survive on my back for the duration of wherever I intend to go. So I need to know where I want to go, I need to be able to actually do the hike, I’ll need to know what gear to bring and I’ll have to buy it, I will have to figure out how to eat enough calories to power me through this while still be able to carry it on my back, I’ll need to know how to cook it, and if I’m cooking I’ll need water to cook and clean dishes in addition to drinking, and as I can’t carry all of that on my back I’m going to need to learn how to drink water out of a stream. Ok, that’s a big list. I could get so overwhelmed that I never start because I can’t see a way of getting through it all.
But I’ve already hiked the Grand Canyon. I learned at the bottom of this hole that you cannot focus on hiking more than 10 miles up an incline of more than 6,000 ft when every part of you already hurts. You won’t get there – it’s too big. But you can hike to the next trail marker in 1.5 miles. It doesn’t matter how long it takes you to get there, your only job is to get there. And you do it one step at a time. Each step is as important as the next. And when you get to that trail marker, you create a plan for how you’ll make it to next the trail marker. (Not actually a lot of planning here – just convincing yourself to keep walking, but you get the point).
This is me doing it! And you can too! One step at a time!
With that in mind, let’s break up Backpacking into 5 non-scary steps.
1. Where Do You Want to Go?
Deciding to backpack is big – I’m guessing there’s inspiration that has encouraged you, and you probably already know where you intend to go. I read several blogs that suggested you should first go backpacking with a friend or go on a practice hike. If you’re 23 without kids – this is great advice. If you’re 37 and have children that you already need to ask your parents to watch once – realistically this isn’t going to happen. Skip the training hike and just go straight to where you are inspired to go. For me, the destination was Clouds Rest in Yosemite National Park.
My husband at the summit of Clouds Rest
Once you know the destination, you can figure out the basic logistics without too much fear. How far are you going to go and how many days are you going to hike? When are you going to do this hike? This determines the weather, which determines some of the things you need to pack.
I have asthma that is triggered by smoke. Wildfire smoke is just as hard for me as cigarette smoke. Looking at past summers, California wildfires have been common in the later months. I physically would not be able to breathe in a wildfire – I have a tough time when Montana’s on fire and the smoke has drifted in the air to Minnesota. So, this takes August for sure out of the picture for me as I probably need to breathe while I’m hiking up a mountain with a giant pack on my back. And just to add a safety factor in there, my husband and I tossed out the month of July. Due to tournament schedules in late June of my children’s sporting events, we picked a week in the middle of June to go backpacking in Yosemite for 4 days and 3 nights.
Glacier Point - looking at Nevada and Vernal Falls
You know where and when, now you need to figure out how to get permits. Pretty much if you’re backpacking in a National Park, assume you’ll need a permit. Some are more competitive to get than others. Go to the Park’s website at least 6 months prior to hike to figure out what you need to do.
I was looking for backpacking permits in Yosemite, which are extremely competitive. In December 2018, during the middle of the government shutdown, I applied for my first backpacking permit.
Clouds Rest looking towards Tenaya Lake
I thought the shutdown would prevent me from getting a permit quickly, but a non-paid and extremely nice and knowledgeable Ranger called me back the next day. We talked for about 30 minutes. Part of my initial route would likely be under water in June due to melting snow, so the Ranger suggested a different trail. We talked through how the bus system worked so we could do a thru-hike instead of a loop. Our plan was to start June 13 from Tioga Road on the Cathedral Lake Trailhead. We would spend our first night near Sunrise Lakes, climb over Clouds Rest on the second day, climb Half Dome on the third day, and then head out through Panorama Trail and 4 mile trail.
He also told me to expect snow. Being from MN, in the winter of 2018 that would never end, I laughed. I can handle snow. <Remember this when we get to June 2019>
2. Planning your Hike
Upstream of Illilouette Falls
Your second step is going to involve some time with a map. National Parks have great maps for day hikes, but if you are backpacking you are going to need a National Geographic map, as the parks won’t typically include backcountry trails on their maps (makes sense as they don’t want people hiking further than they can in a day). You can order the National Geographic map of the park on Amazon and there is a similar map on the App – Gaia GPS. They have the same content. The nice thing about having a physical map is that you aren’t dependent on battery life. The great thing about Gaia GPS is that it includes GPS, meaning when you turn the app on, it shows you exactly where you are. If you’ve lost the trail for a moment, no sweat. Turn on the app, walk a little bit to get your orientation and watch the triangle move, then walk towards the trail. This is nice too when you are tired and wondering how far left you have to walk – you can see right where you are on the trail.
Gaia GPS Map
You will want to decide how far you plan on hiking in a day, how much you lose or gain in elevation in a day, what obstacles you might encounter (ex. a creek / river without a footbridge) and what water sources are available. I’ve backpacked only once, so my expertise on mileage isn’t great – but I thought 10 miles with a pack was a lot. I wouldn’t go further than 15 miles in a day, and if you are walking up – cut that back to 10. Camp near water sources. You will need the water for cooking and cleaning in addition to drinking, and it’s nice to be able to wash up a little before bed.
Vernal Falls - Plan A went out the window when Tioga Road did not open prior to our trip. So we switched our trails and got to hike down Mist Trail past Vernal Falls, which was incredible with all of the snow melt.
One other thought – have a plan B and a plan C just in case. You might hit a river that’s too high to cross. There might be snow cover too deep to pass over. A water source might be dry. You will have your map with you, so you can figure this out on the fly, but if there’s a second itinerary of things you would like to see and your first option didn’t work out, your actual hike might be just as great as your original plan if you have a couple of options figured out ahead of time.
3. Training
Tunnel View - Clouds Rest is the mountain to the left of Half Dome. The peak is 9,926ft. Most of us won’t get here just by accident - it’s going to take some pre-work.
Next is the hard part – training. This is where you decide to commit to this hike or change your mind. Permits are not expensive. Cancel your trip if you can’t put in the time up front. The packs weigh 35-50 lbs depending on what you decide to bring. Your life depends on your shoulders and back, legs, and core carrying you through the wilderness. The good thing is that you don’t need a complicated strength training routine – push-ups, sit-ups, squats and lounges will do the trick, but you will need to practice them regularly for 6 months. The other three things to consider are cardio, endurance, and how quickly your body recovers from overuse. Running 2-3 miles a few times a week will meet all three of these elements. Additionally, if you have access to a stair master, put on a heavy backpack and see how fast you can climb 100 flights of steps. Repeat this at least once every week. If you don’t have access to a stair master, just do your running outside and include a few hills. You don’t want to get hurt training, but that endurance piece matters a lot, both physically and mentally. It’s good to practice telling yourself to keep going when you want to stop – when you are backpacking, you’re going to be having this internal conversation about stopping several times throughout the hike. As you have to be able to get back to civilization by walking, you need to be able to tell that part of your head to shut up – practice helps ensure this conversation with yourself goes well.
4. What to Pack
Camping at Illilouette
What do I need to bring? If this is your first trip, this is the expensive part of this idea. I’d wait until you are a few months into training before you start buying gear, just to make sure you are actually committed to going on this trip. Also, this gives you some time to start stashing away money. Use the time to ask for gift cards to REI and Amazon as birthday and Christmas presents. We have a health incentive program at work that translates into gift cards if you go to your wellness visit, take online classes, and participate in health courses. I took advantage of this as REI was included in the gift card program. See what options you have available to you at work that you might not realize. And then once you pick out your gear, wait for it to go on sale.
A few quick thoughts on gear basics:
Choosing a Backpack
First, head to REI without the intention of buying a backpack yet. You’ll be back, so don’t feel bad about taking the salesperson’s time. This store is packed with helpful people that are amazing hikers. Ask for their experience. What packs have they used, what did they like and not like about their pack. Ask them what features they think are must-haves. Ask for their brand recommendations. Then talk with your friends. Several people out their have tried this before. They might also have gear that meets your needs and you can just borrow it.
Ready for Day 2
This was my list of backpack needs:
Space – I was going to be hiking in a location where I could be both crazy hot as well as dealing with snow as I climbed in elevation. This requires space for layers and tools to deal with snow. And I was freaked out about bears and wanted everything that ever could possibly touch food to be in a bear box. I needed space for these things. The pack I picked up was 60L, my husband’s was 65L. They were full, but part of that was due to the amount of camera supplies we packed.
Front Access – I wanted a pack I could get into from the front with a U-shaped access zipper and not just the top. This didn’t end up being a need. Everything I needed during the day ended up being packed in a different pocket than the main storage location so I could find things quickly
Rain Protector – In the event of rain, this goes over your pack. We used this on the Mist Trail in Yosemite. We got drenched, but our packs stayed dry.
Separate Compartment for a Sleeping Bag – I don’t know why this mattered so much to me when I was picking out a bag. You can keep it next to your tent or strap it outside your bag. This wasn’t a must-have.
Side Straps for Hiking Poles and a Shovel – This was really helpful and convenient. It was quick to take out or put away poles, and nice not to have to put the shovel in with all of the other gear to keep things a little more dirt-free.
Comfort – You need to be able to adjust the pack on your back comfortably. Having pads in the right location and the right adjustment straps is important. Size your bag to fit you. REI will help you with this.
Camping Gear
You’ll need a tent or hammocks. We picked out a Kelty Grand Mesa Tent for 2. It was light weight and just big enough for our stuff to fit inside. Note that your backpack doesn’t actually need to fit inside the tent. We put ours in garbage bags and then fit them under the extended part of the rainfly on this tent (designed for your bags). We also purchased the tent floor cover (that goes under the tent). This was much more compact than a tarp. I’ve heard plastic sheets work as well, we just didn’t have access to that.
If you are tenting, you’ll want an air mattress too. We picked out Sleepingo Camping Pads (from Amazon). They were super small and light weight, and it took me about 20 breaths to inflate. One night I slept on a rock and didn’t feel anything. Great product design, and reasonably priced as well.
What you need to sleep in depends on where and when you are going. We were up over 6,000ft in elevation in the middle of June. It got down just about to freezing temperatures at night. We slept in mummy bags to stay warm. We picked out our mummy bags from Outdoorsman (also from Amazon). These were great bags. They come with straps on the bottom that fit around the air mattress so we didn’t slide off. They came with extra packaging straps to help the bags fit into smaller places. If you buy an orange and blue bag, the openings face each other so you can snuggle a little, although it was cold enough that by the end of the night we were zipped up each in our own bag and this didn’t matter so much.
Camping gear
Remember to bring a flashlight or headlamp as well. That should be everything you need in your tent.
Just one other piece of advice here, since I’m talking about sleeping. If it’s cold, take your phone and rechargeable batteries and throw them into your sleeping bag. This keeps the batteries from draining unexpectedly.
How to Filter Water
Lots of options here. As I’ve only done this once, I’ll share what we did and why, but this is not your only option. We brought several plastic water bottles. They are light weight, easy to decide if you want to refill or leave empty. We took one and labeled it “dirty” to be our filtering bottle. We also use electrolyte Gatorade packets throughout the day. It was easy to throw these used bottles into the bear box.
What we packed for filtering water. Luckily, we didn’t need to use the iodine or lifestraw, but we had them in case the SteriPen failed.
We also each had a 1L non-disposable water bottle that was marked with the 1L line. We filled up the dirty water bottle in the stream. Then we used coffee filters to filter out any junk from the water as we poured the water from the dirty bottle into our non-disposable water bottle. Once we filled the bottle up to the 1L line, we used a SteriPen to sterilize the water. From there, we poured it into other water bottles as needed. This was quick, light weight, took up minimal space, and was relatively inexpensive (as we already had a SteriPen). We filtered water throughout the day so we could carry less when we were climbing in elevation – use your GPS map and make sure you pay attention to those streams that you sill pass each day if you’re going light on how much water you are carrying.
What to Eat and How to Cook It
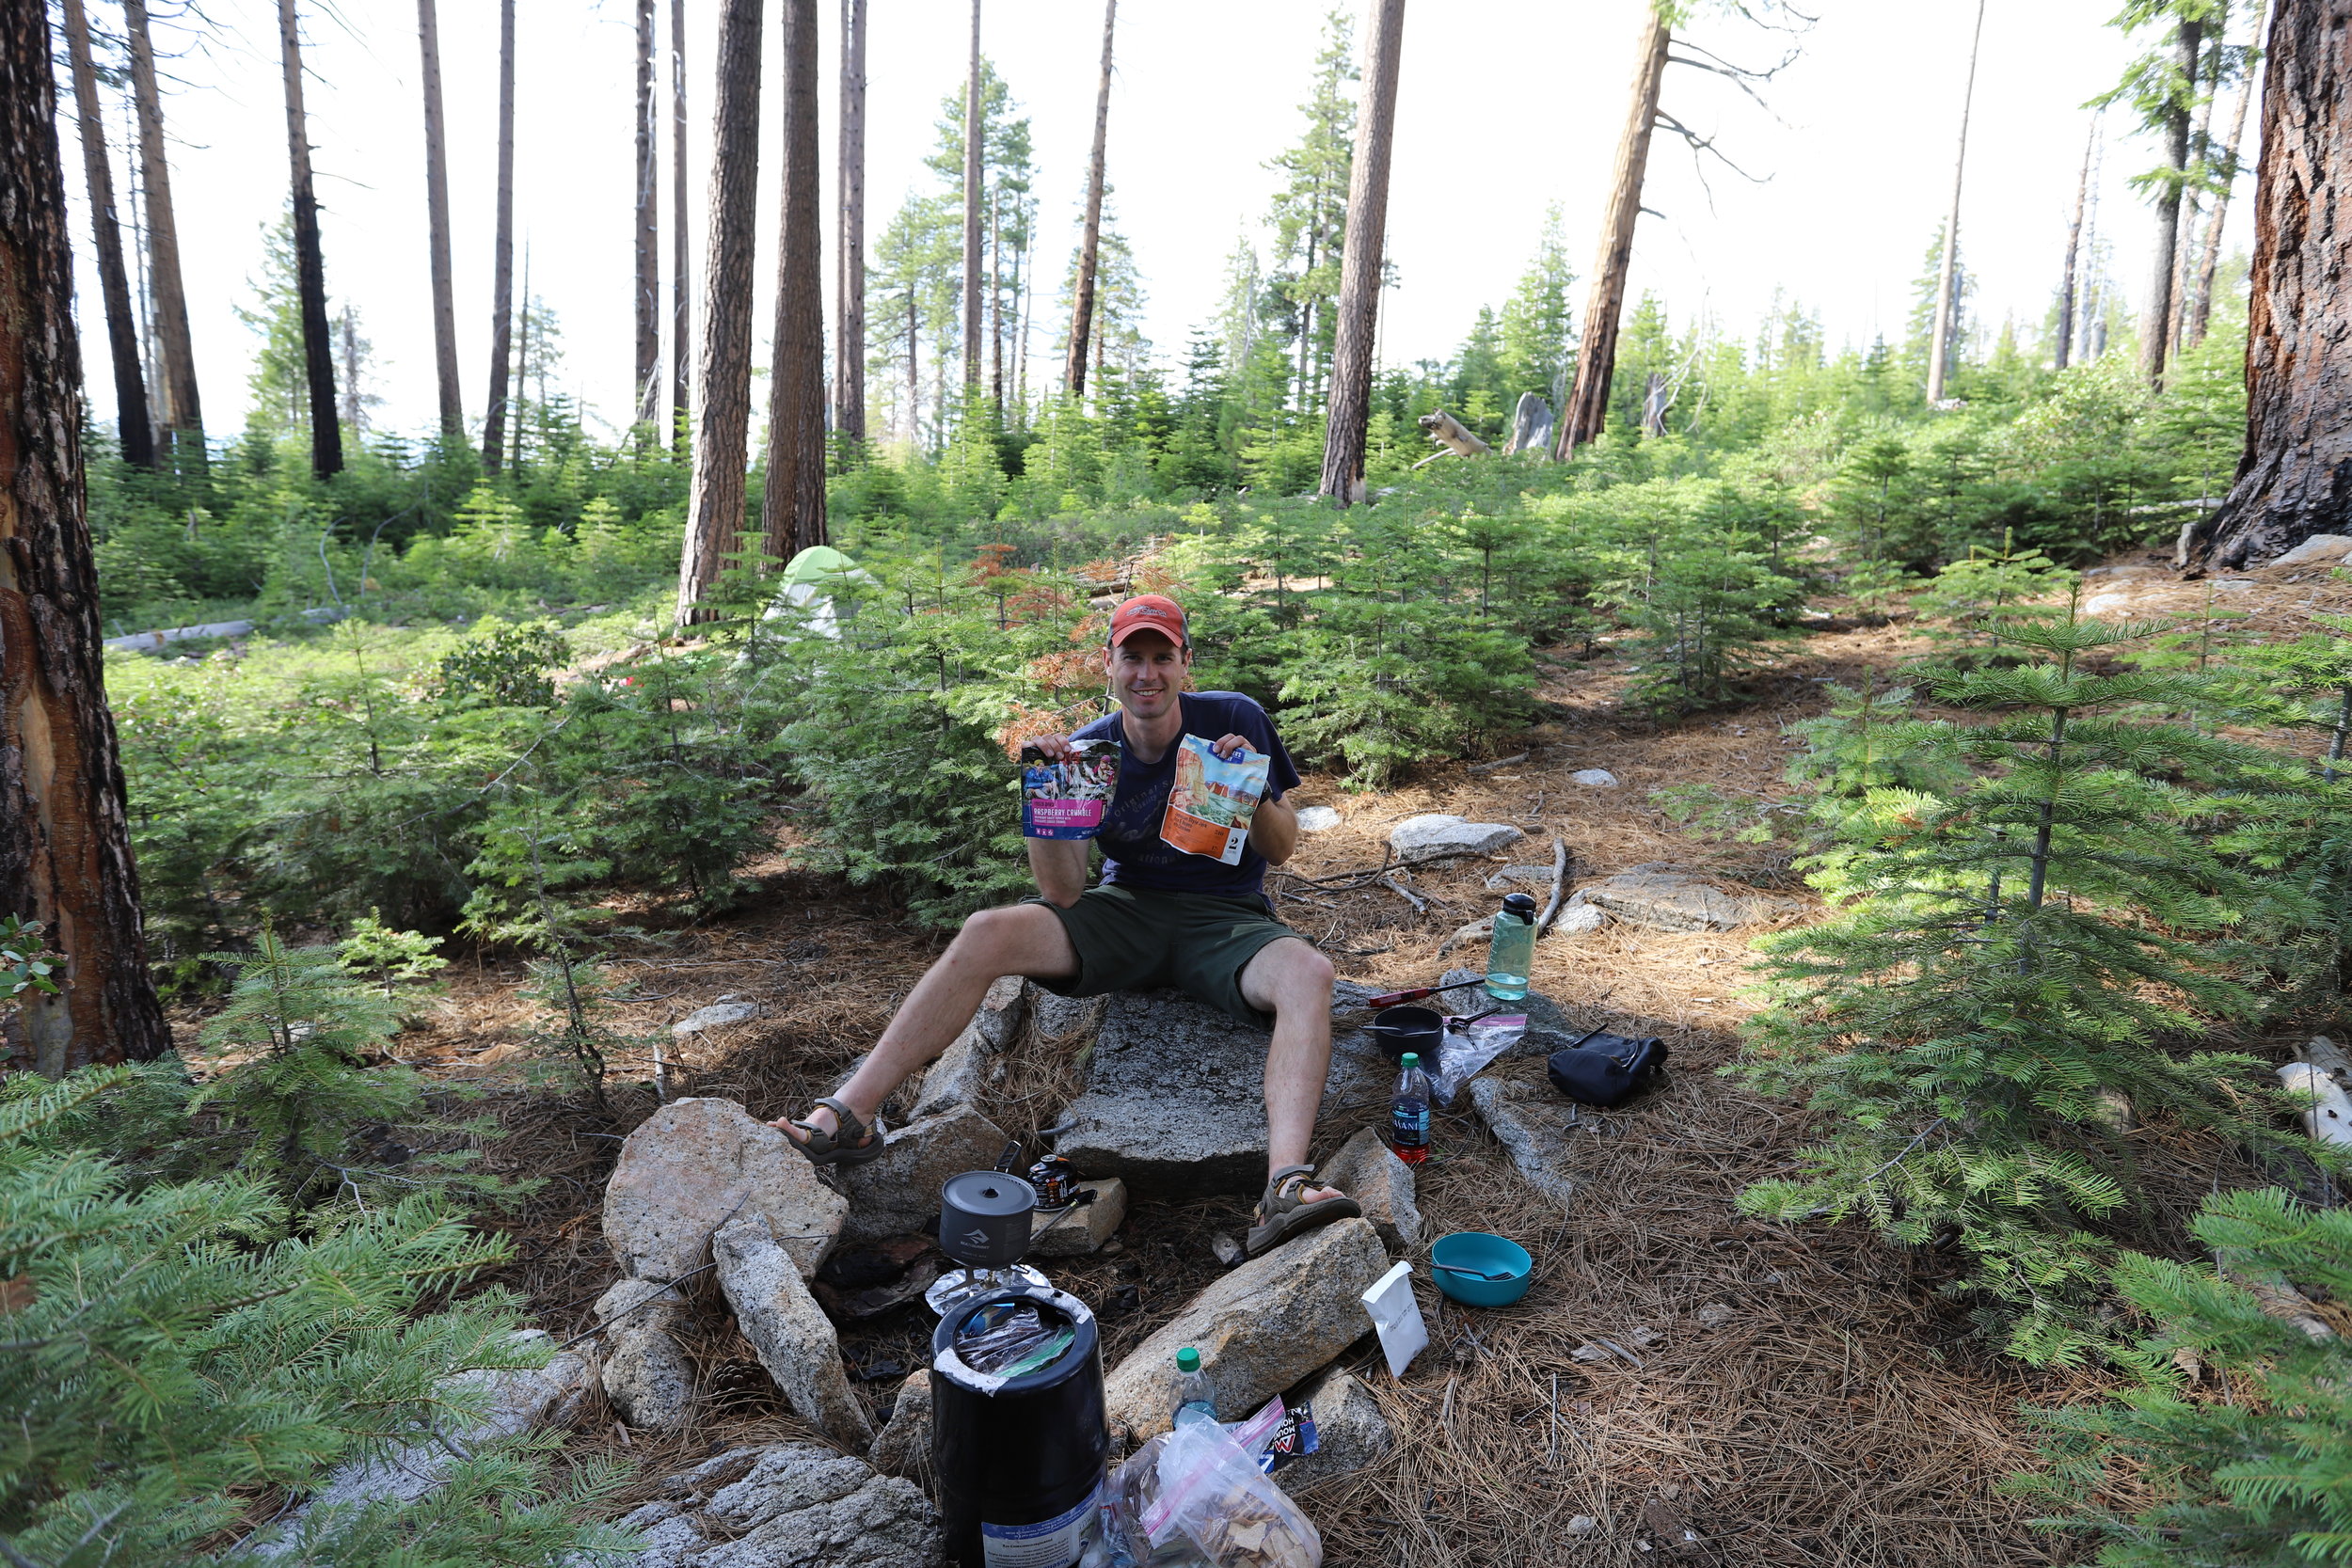
Supper for our first night - Freeze-dried Jamaican Style Jerk Chicken with Rice and Raspberry Chocolate Crumble - or something like that…
The food was the worst part of our trip. We bought freeze dried packets of food from REI. Nothing was very good but we ate all of it because we were hungry and needed the calories. I’ve since found several recipes. I’ll try making my own food next time.
We had a small stove with a small propane tank. And we bought a pot to cook water over that came with two bowels and two coffee mugs. We also bought silverware and a salt shaker. We had warm breakfasts (oatmeal and hot chocolate) and warm suppers, but for lunch we ate snacks – nuts, berries, and beef jerky. Things that don’t take up a lot of space, don’t require cooking, and are high in calories.
Hiking Gear
I don’t carry much for hiking gear. I wear knee braces and use hiking poles that fold up. We also had snow spikes to put over our hiking boots. The other must have is Foot Glide. This goes on your feet at the beginning of the day and we reapply at least twice throughout the day. I haven’t gotten a blister since we started using this stuff. We also have a compass, whistle, and basics of first aid.
Other Stuff We Brought
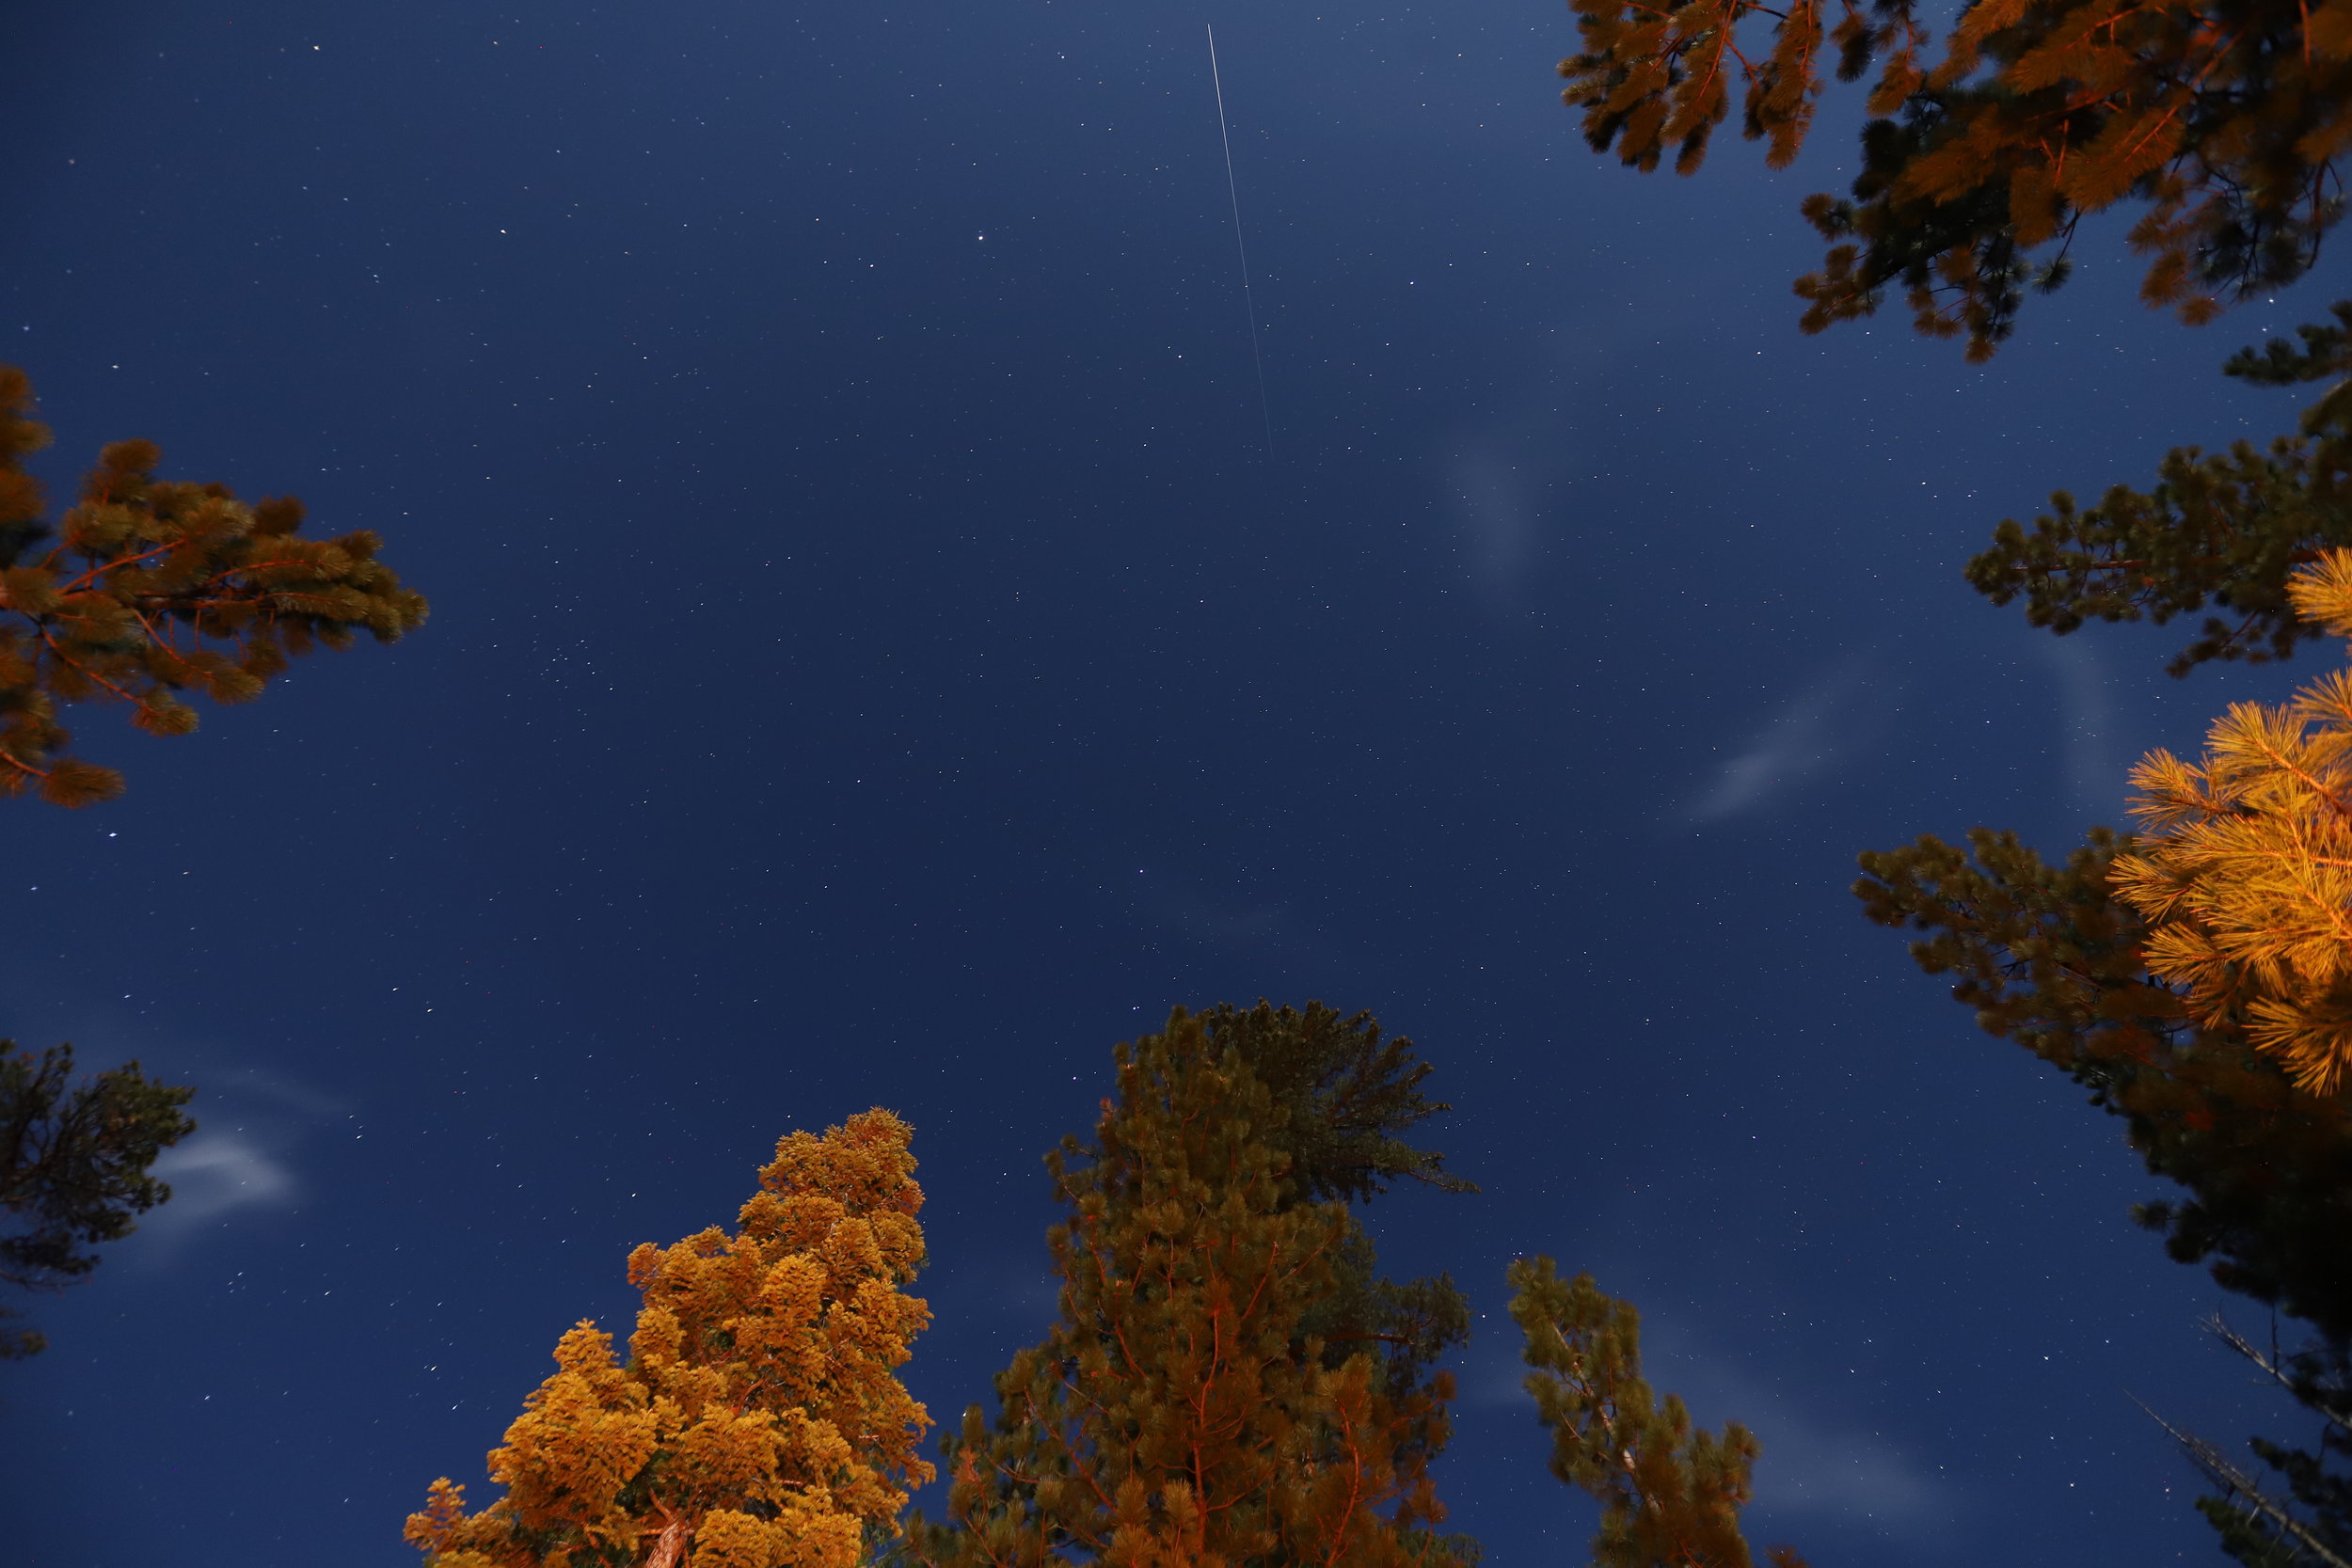
Night View while backpacking
The rest of our weight came from clothing (just one set of each layer of clothing, extra socks, and we each had a rain jacket), camera gear (lenses and tripod), notebook for writing, and a deck of cards for the evening.
5. The Hike
Now you’ve just got the hike itself – no small feat, but at least the fun part. It won’t go as you planned. You walk into backcountry and you give up control of everything. That’s partly why you are this hike in the first place. Nature will literally transform you on this hike, and you value that. Let Nature do what it will, and you will adjust and change as needed, walking out of backcountry a different person than when you walked in.
This point doesn’t have a name. It’s on the Panorama Trail past Illilouette Falls and up the mountain about halfway. The waterfall is Yosemite Falls.
The first thing I realized when we got within a few weeks of our hiking trip, is that backpacking is a lot like childbirth. They tell you to have a birth plan, but by the end of it, everything in your plan doesn’t turn out as you intended, but you have a healthy baby and that’s all it takes to have a perfect pregnancy.
Tioga Road didn’t open in 2019 until June 21. We were supposed to start our hike from the Cathedral Lakes trailhead off of Tioga Road on June 13. Two weeks before our hike, I realized defeat in plan A, and I had to call the park office and set up a new permit. I lost our Half Dome permits and a day of hiking. The only trailhead that would get us to Clouds Rest was Illilouette Falls on June 14. Plan B was then to drive to the main entrance, and book another hotel night since we wouldn’t be backpacking the first night and the rest of our trip was already planned. Plan B set, we headed out to California.
Because of where we camped the first night, we had Nevada Falls to ourselves when we crossed the bridge. If you’re looking for a less popular trailhead, pick Illilouette Falls as your entry point.
Our next realization – when they said “trailhead” they don’t mean where you start, they mean where you spend your first night. We thought we could get up into the Little Yosemite Campground on night 1. Nope, we needed to camp north east of Illilouette Falls. Ok, plan C – this added about 4 extra miles that we weren’t planning on, but we were no longer hiking Half Dome, so we figured this would still probably work out fine.
Illilouette Falls
For the record, Illilouette Falls was an amazing trailhead! We headed down Panorama Trail from Glacier Point and wow! And it was nice to start our trip walking down rather than up. After crossing Illilouette Falls, we did need to go up, but because of our trailhead, we had a short day of hiking, enjoyed a long supper, and went to bed early so we could start our day to Clouds Rest when the sun came up.
If you have the Illilouette Falls Trailhead, there is a fire pit in the very first possible location to camp, just past the spring. Look to your left and you will see a small clearing in the forest.
Luckily Plan D unfolded in a fortunate event. We were intending to summit Clouds Rest and then wrap around the northeast side of it and head down to Merced Lake. We had stopped to filter water just north of the Half Dome trail split. A backpacker going the other way stopped to talk. He had just been up to Clouds Rest and said the trails were covered in snow. You could get to the top but that was it. He said the snow was as deep as his waist. Essentially the only way to get down from Clouds Rest was the way up. We immediately dropped our packs and just brought lightweight day packs. Are we up to plan E?
Clouds Rest
I’m going to call this trip successful even though we changed our plans so many times – we made it to Clouds Rest. It was very worth the effort to get up there, and we were really glad we didn’t have to carry our packs up to the top. We spent our second night near the split to Half Dome. We found the perfect campsite with a fire pit, a view of Half Dome and we had the place to ourselves except for a deer that wandered through our site a few times.
Our way back was uneventful, and we were glad we got to see Vernal Falls on the Mist Trail, which we would have missed had we gone with plan A.
Vernal Falls
If you are inspired, pick the place you want to go and start training. You can do it! And you’ll be forever changed by your time out in Nature.






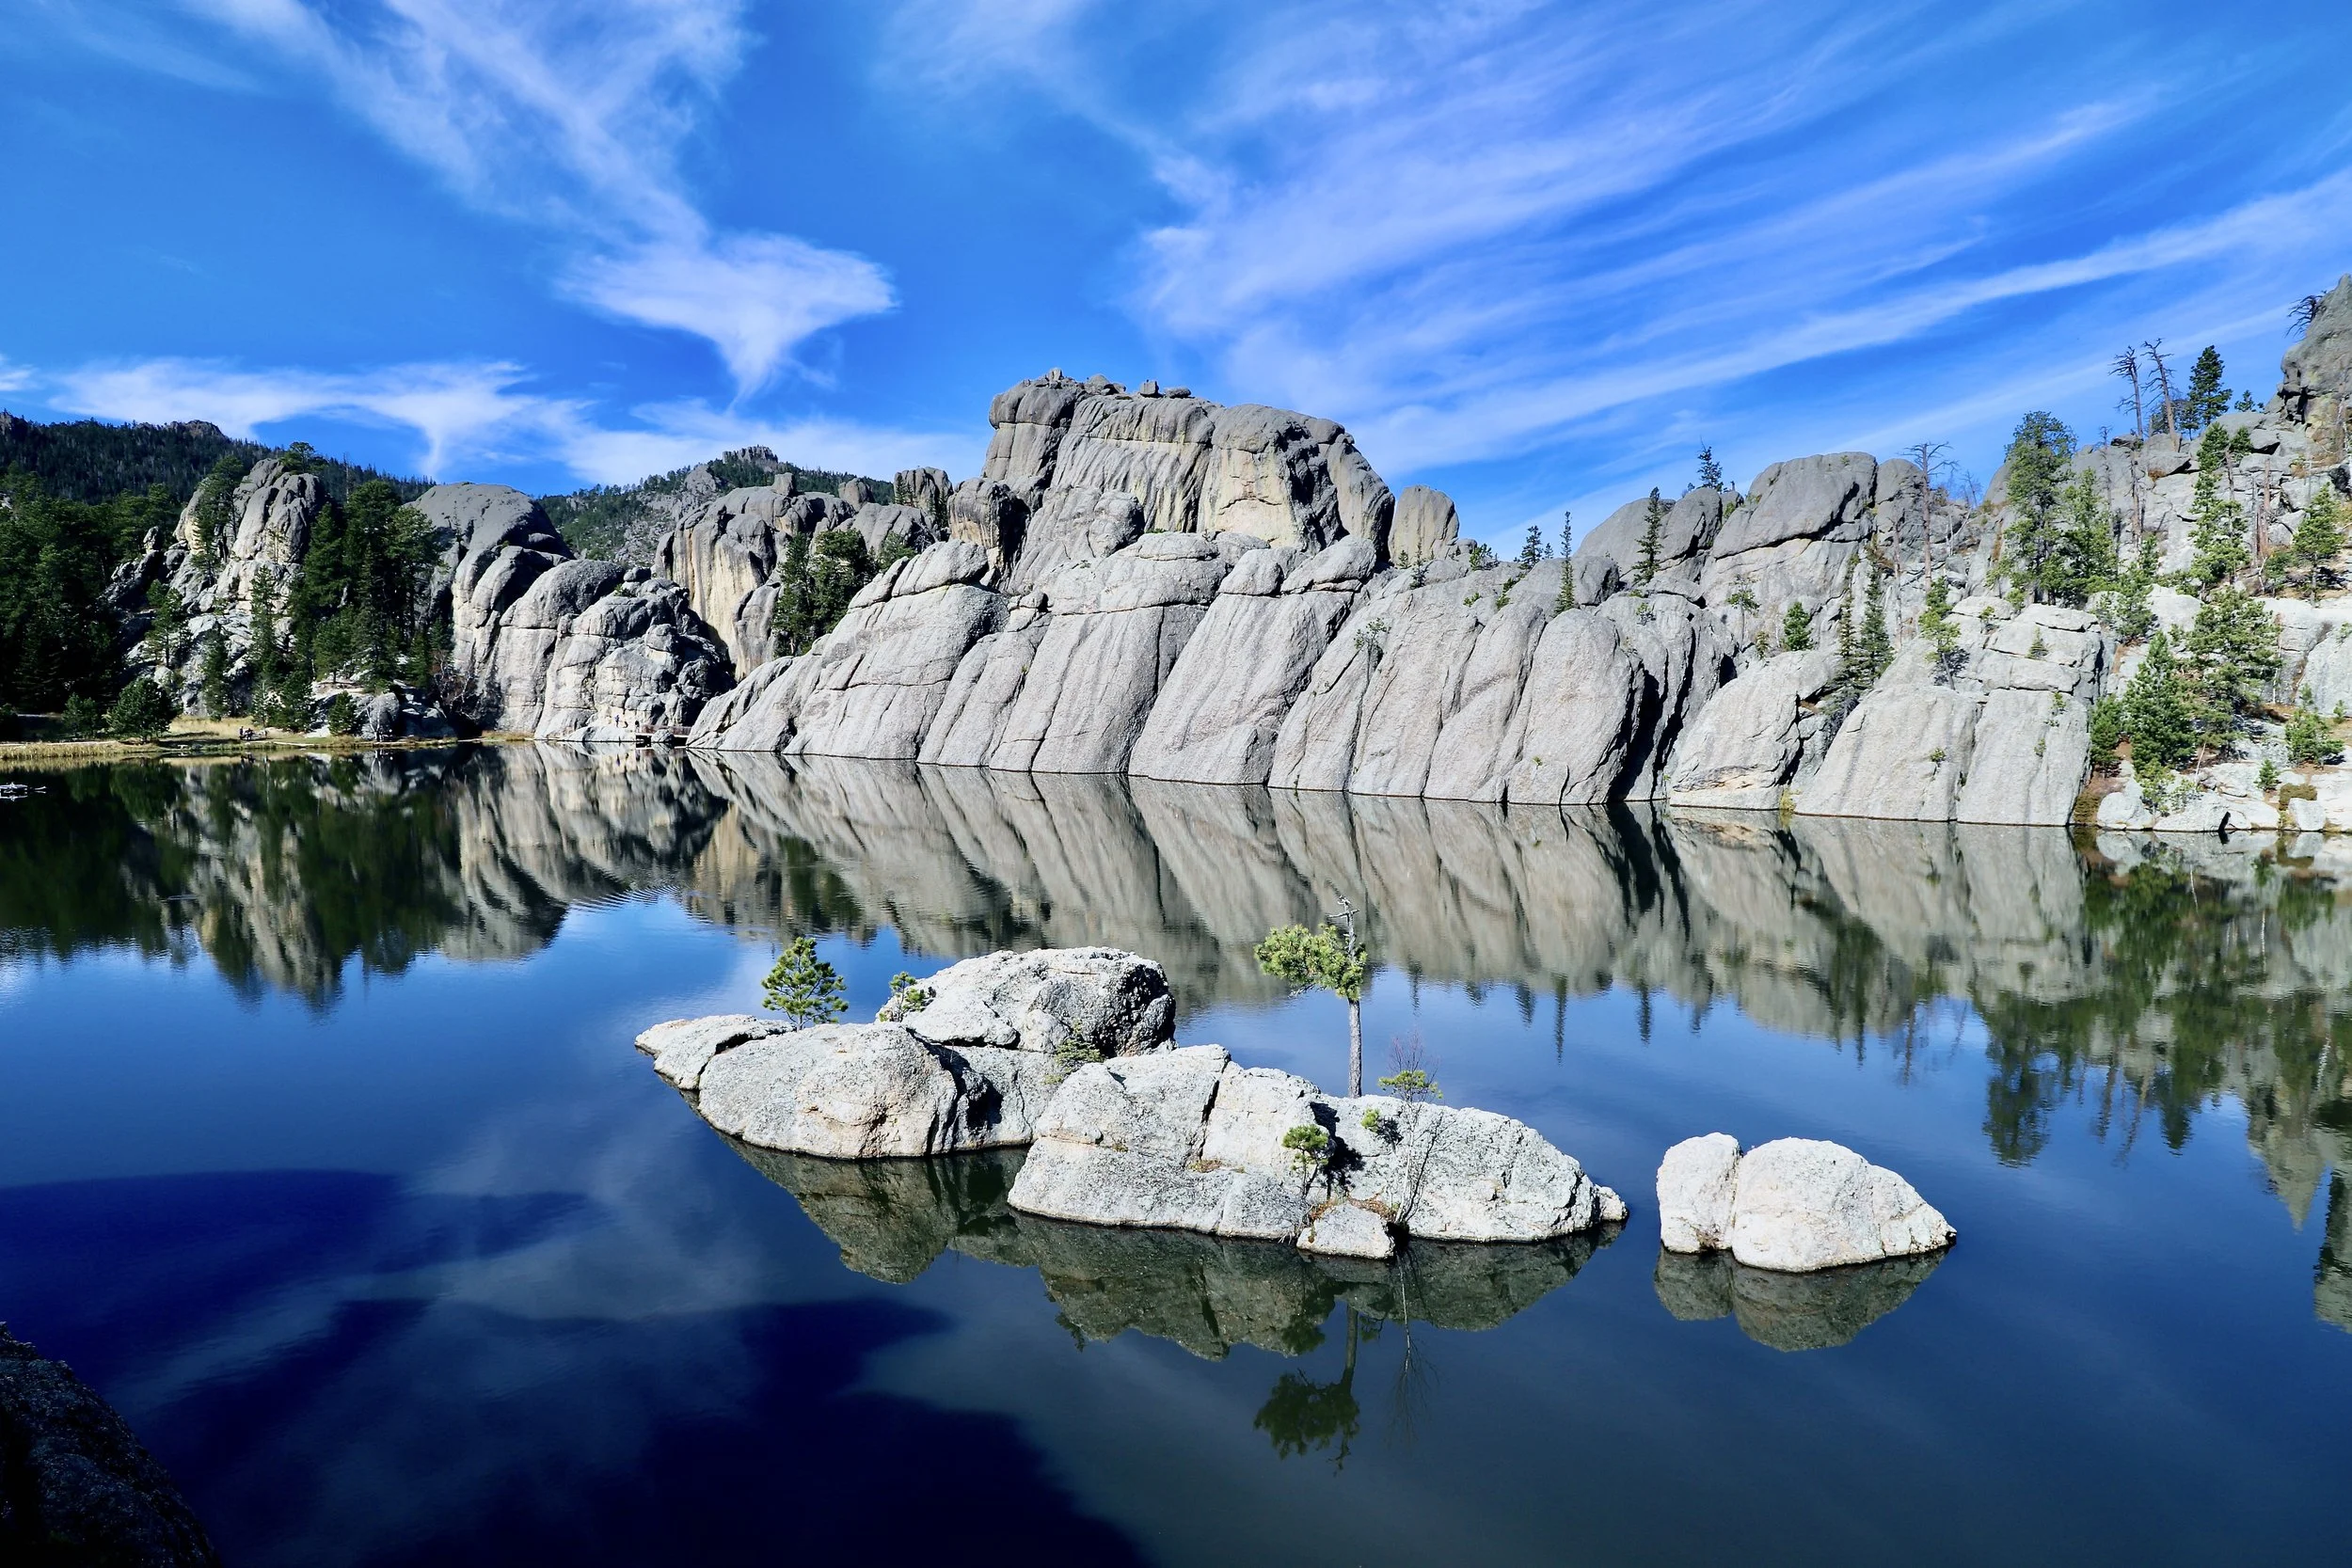




This is the story of the best hike of my life - Rim to Rim to Rim at the Grand Canyon with my husband